
Revamping your bike can be fun and affordable to give your trusty two-wheeled steed a new look. While bike shops offer a range of customization options, including powder coating, vinyl wrapping, and decals, these can be costly and time-consuming.
Many bike owners are turning to a more DIY approach: spray painting. In this blog post, we will guide you on the step-by-step process of how can you spray paint a bike. We have covered you, from gathering the necessary supplies to reassembling your newly painted ride. We will also answer common questions like how long spray paint lasts on a bike and tips to ensure a smooth spray painting experience.
How Long Does Spray Paint Last On A Bike?
The durability of spray paint on a bike can vary depending on weather conditions and usage. However, with proper preparation and application, high-quality paint can provide a durable finish that lasts years. Regular maintenance and touch-ups can help prolong the paint’s appearance; if needed, the paint can be touched up or repainted for a fresh look.
10 Easy Steps On How Can You Spray Paint A Bike
To spray paint a bike, follow these ten easy steps. First, gather supplies like spray paint, primer, sandpaper, and masking tape. Next, prepare your bike by removing any accessories or parts that you don’t want to paint. Then, clean the bike thoroughly with a damp cloth to remove dirt and grime.
Remove any existing paint or rust using sandpaper or a rust remover. Sand the bike’s surface to create a smooth base for the paint. Apply a primer coat to enhance adhesion and durability. Apply the spray paint in thin, even coats, allowing each coat to dry before applying the next.
Repeat the painting process until you achieve the desired coverage and finish. Reattach any removed parts and accessories once the paint is dry. Finally, take preventive measures like using a tarp or working in a well-ventilated area—10 Easy Steps to Spray Paint a bike.
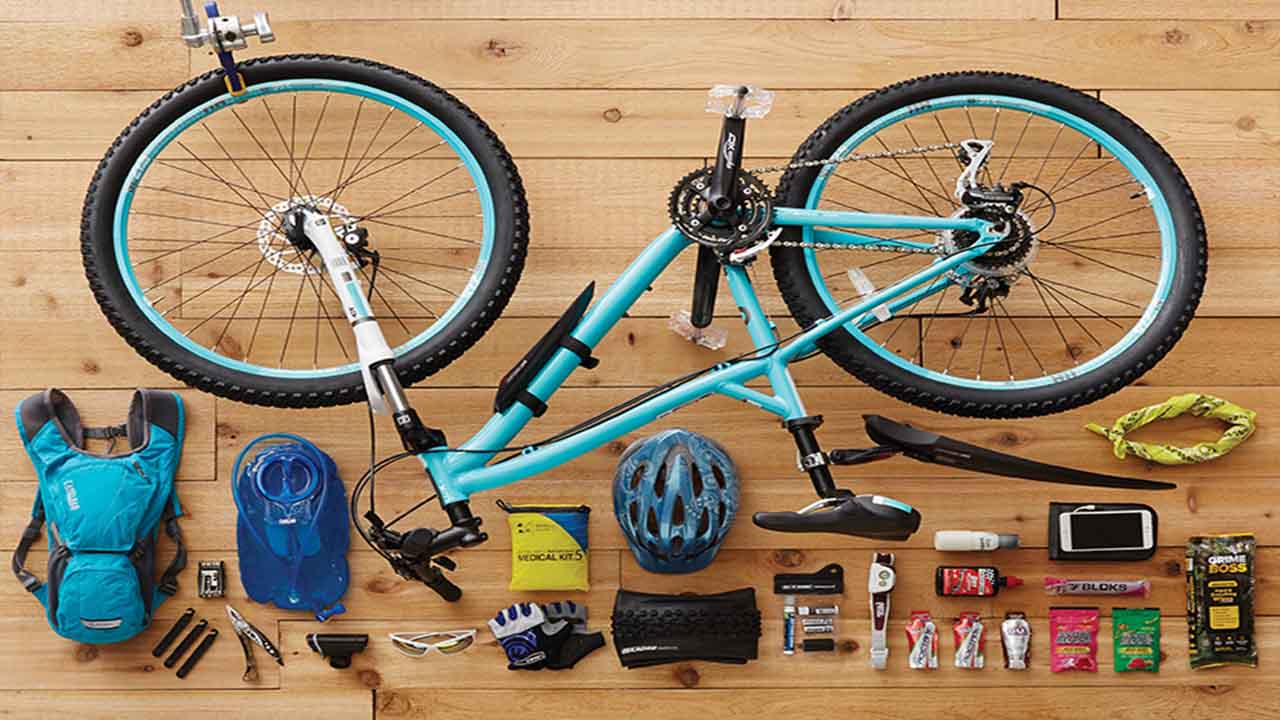
Step 1: Gather The Necessary Supplies
Before you embark on the exciting journey of transforming your bike with a fresh coat of paint, gathering all the necessary supplies is important. Preparing the required materials beforehand ensures a smooth and efficient spray painting process.
Make sure to have readily available essential items such as spray paint, primer, and sandpaper. To get everything you need, visit a hardware store where you can find a wide range of painting supplies. Having all the proper tools and equipment on hand will help streamline the painting process, saving you time and effort.
Step 2: Prepare Your Bike For Painting
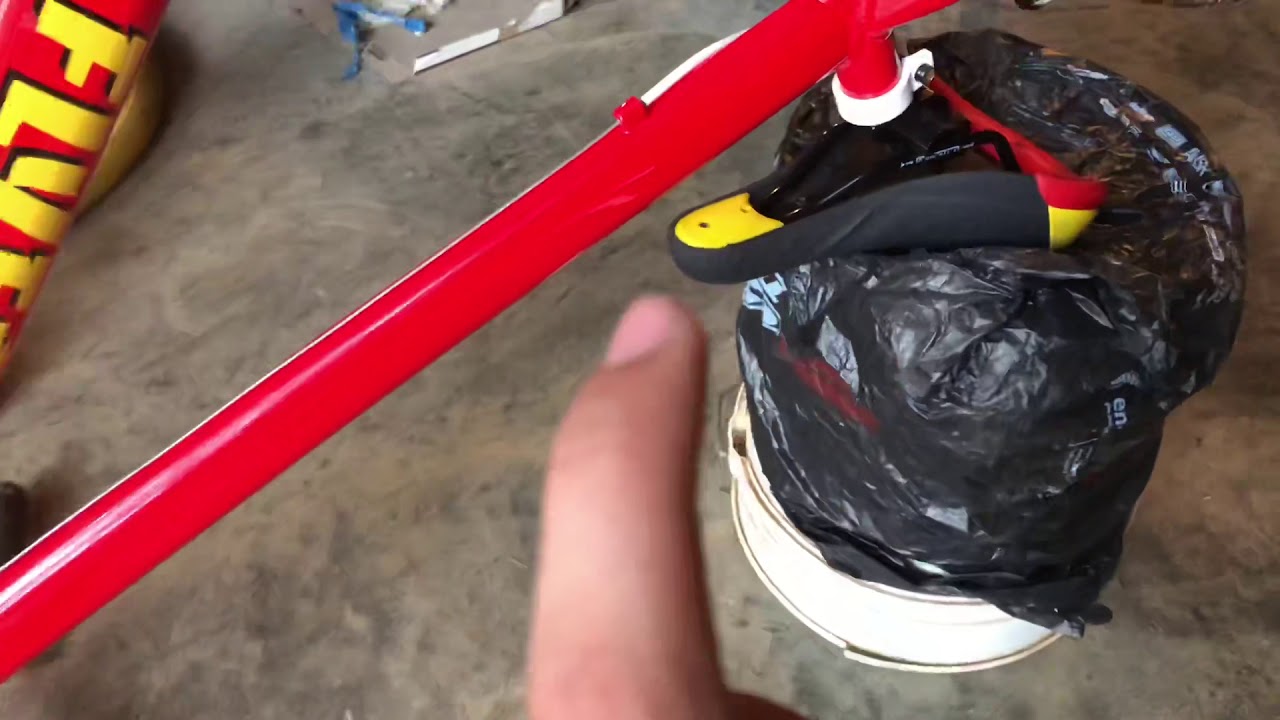
To ensure a professional and polished result, the second step in spray painting your bike is preparing it for the painting process. Start by removing any parts or accessories you don’t want to be painted.
Use painter’s tape to cover areas like the handlebars and pedals, protecting them from overspray. Taking the time to prepare your bike properly is crucial for achieving a smooth and flawless paint finish. Doing so will make you ready to move on to the next steps confidently.
Step 3: Clean The Bike Thoroughly
Cleaning the bike thoroughly is an essential step in the process of spray painting it. Before applying any paint, removing any dirt, dust, or grime from the bike’s surface is important. Using a damp cloth, carefully wipe down all parts of the bike, including hard-to-reach areas.
This thorough cleaning ensures better paint adhesion and a more even finish. By cleaning the bike correctly, you can prevent imperfections and achieve a professional-looking paint job.
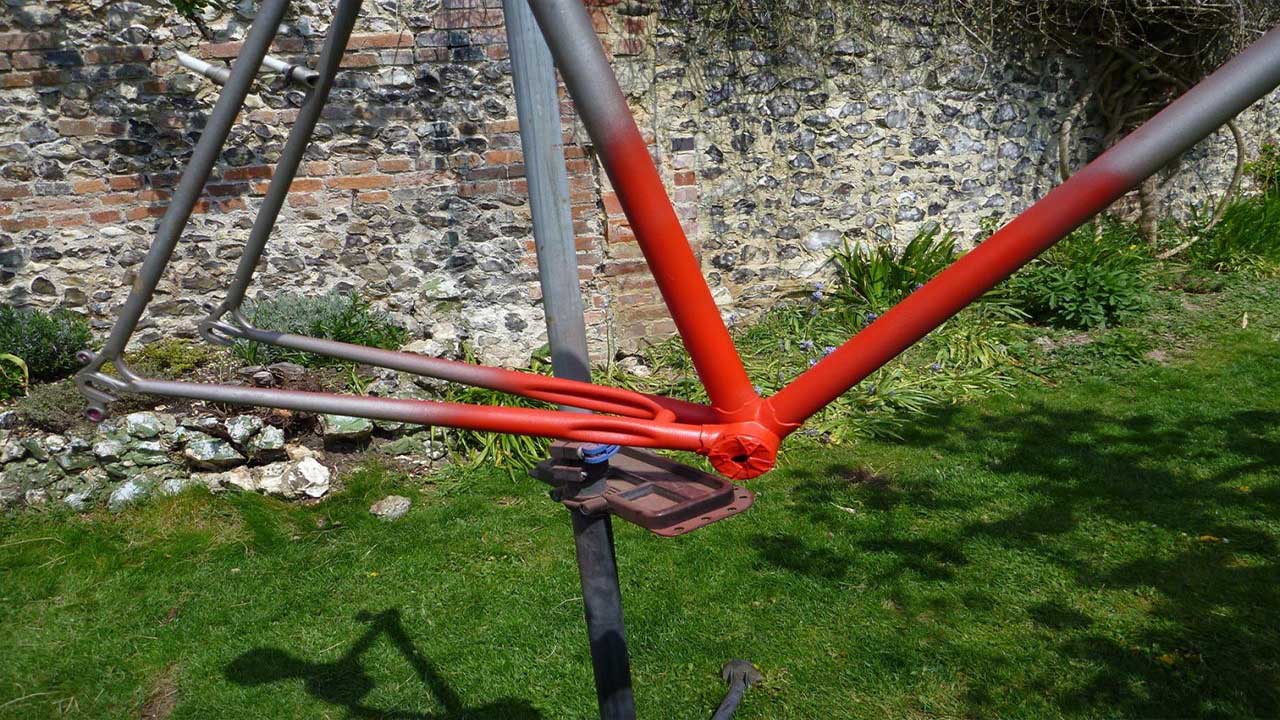
Step 4: Remove Any Existing Paint Or Rust
To ensure a smooth and long-lasting paint finish, removing any existing paint or rust before applying new paint is crucial. Take your time and be thorough in the removal process for the best results. You can use sandpaper or a rust remover to eliminate imperfections on the bike frame.
Removing old paint or rust will create a clean surface for the new paint to adhere to. This step is essential in achieving a professional-looking finish that lasts. So, give enough attention and care to this important part of the painting process.
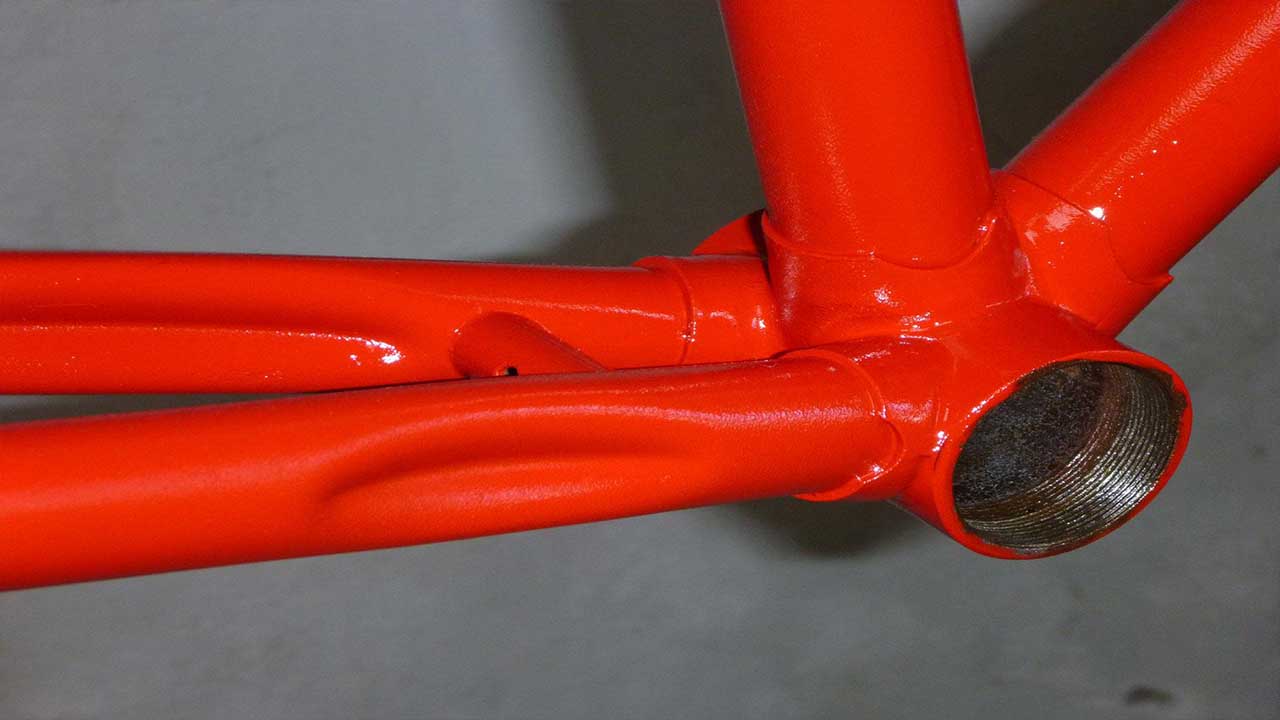
Step 5: Sand The Surface Of The Bike
To achieve a professional finish when spray painting a bike, sanding the surface is crucial. Using sandpaper, create a smooth surface for the paint to adhere to. Pay attention to rough or uneven areas on all bike frame parts.
This enhances paint adhesion and ensures a more polished result. Take your time during this process to thoroughly sand the entire frame. By doing so, you’re preparing the surface for the next steps in the spray painting process.
Step 6: Apply A Primer Coat
Applying a primer coat is crucial when spray painting a bike. It’s important to use a primer specifically designed for bikes to enhance adhesion and durability. Ensure that you apply a thin, even primer coat to the entire bike frame.
The primer acts as a base layer, helping the paint adhere better and providing a smoother finish. Remember to allow the primer to dry completely before moving on to the next step. This creates a solid foundation for the spray paint and ensures a professional-looking result.
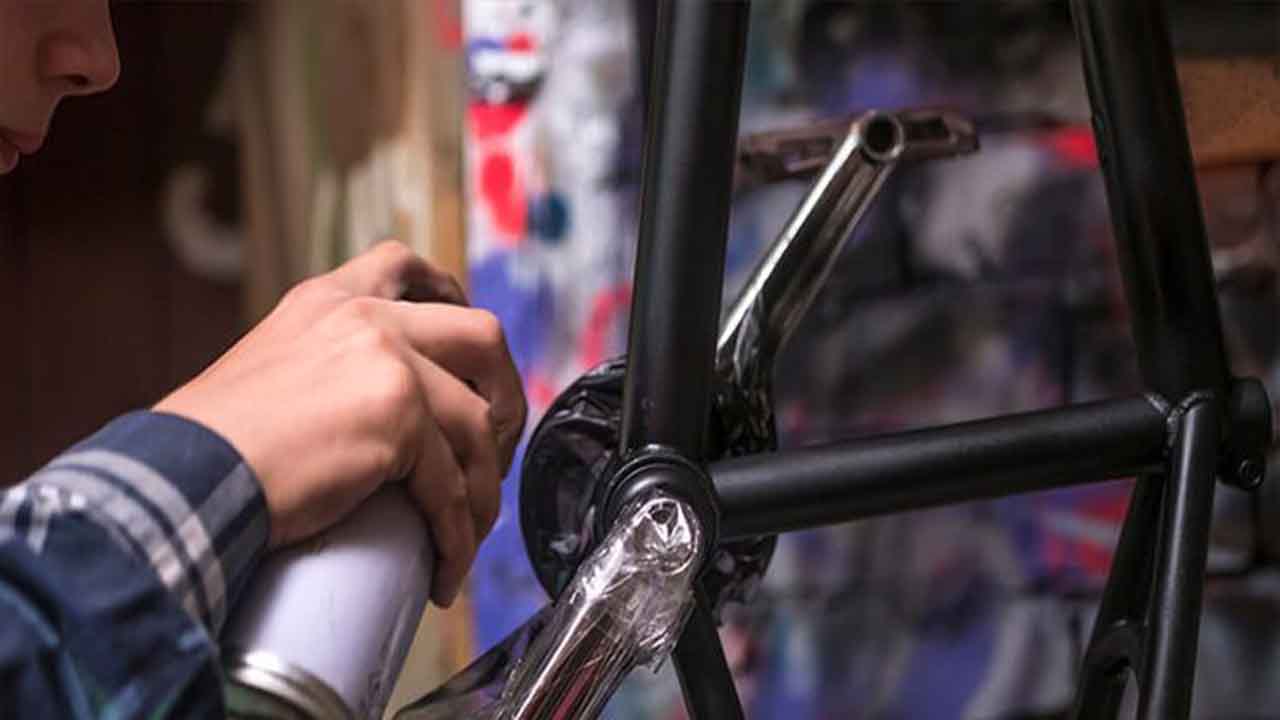
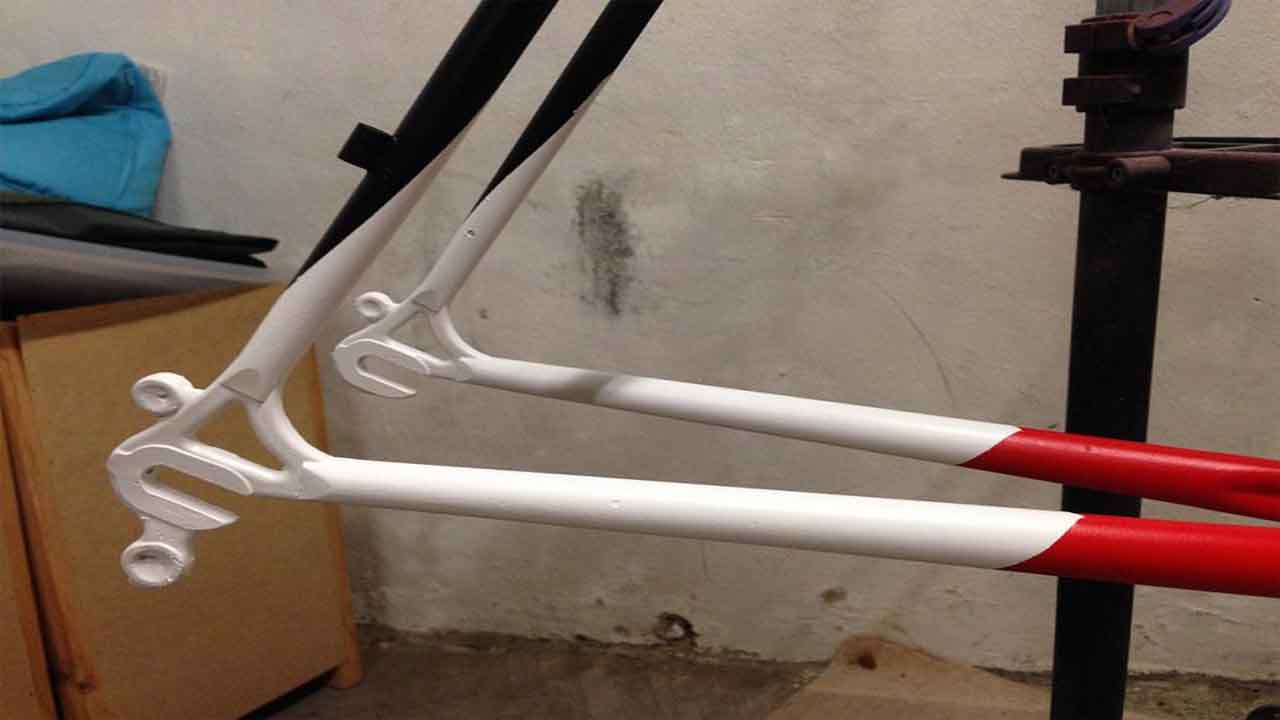
Step 7: Apply The Spray Paint
For Step 7 of spray painting your bike, it’s time to apply the spray paint to give your ride a new look. Holding the can of spray paint about 6-8 inches away from the bike frame, make sure to apply thin and even coats.
Allow each coat to dry before applying the next one. This will help you achieve a flawless finish. Take your time and be patient throughout the process. Apply multiple coats as needed until you achieve the desired color and coverage. Remember, this is the final step in the spray painting, so give it your best shot!
Step 8: Allow The Paint To Dry Completely
Once you have applied the spray paint, allowing it to dry completely before handling or using the bike is crucial. The drying time will vary depending on the type of paint used and the weather conditions.
It’s important to avoid touching or disturbing the painted surface until completely dry to prevent smudging or damage. Take this time to inspect the bike for any missed spots or imperfections and touch up as needed. Once the paint has dried, you can finally enjoy your newly revamped ride!
Step 9: Apply A Clear Coat For Added Protection And Shine
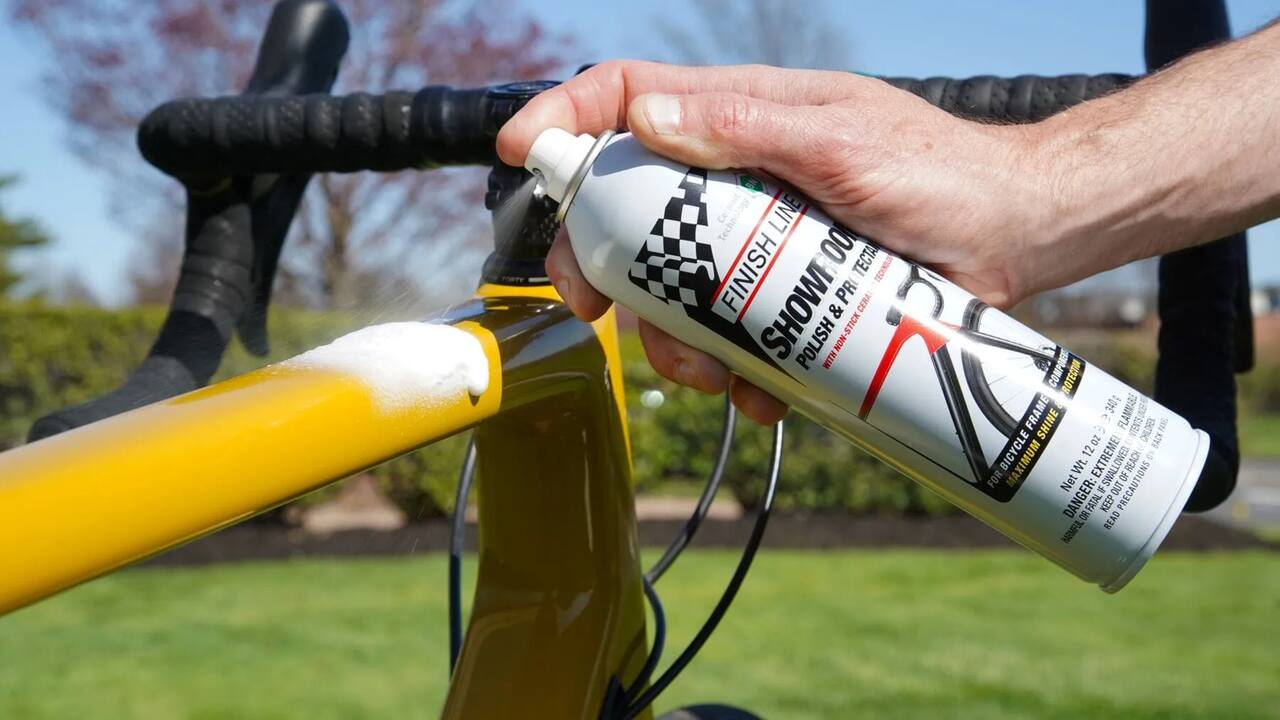
To ensure a smooth surface for your newly painted bike, it’s important to sand and clean it before applying the clear coat. This step will help the paint adhere better and prevent any imperfections. Using a primer is crucial as it acts as a protective layer, preventing rust and ensuring a long-lasting finish.
When choosing the spray paint, consider the material of your bike and the desired finish. Applying multiple thin coats of paint, allowing each coat to dry fully, is essential for a professional-looking result. Finally, finish off with a clear coat for added protection against scratches and harmful UV rays.
Step 10: Reassemble Your Bike And Enjoy Your Newly Painted Ride
After completing the previous steps, it’s time to reassemble your bike and enjoy your newly painted ride. Start by carefully removing any painter’s tape or masking that you applied to protect certain areas during the painting process. Take your time to ensure that all parts of the frame are free from any residue or debris.
Next, begin assembling the bike, starting with the bottom bracket and working your way up to the head tube. Make sure to tighten all bolts securely, but be careful not to overtighten and risk damaging the frame. Double-check that all components are properly aligned and functioning before taking your bike for a spin.
Reassembling your bike after a fresh coat of paint is a great way to showcase your DIY skills and give your ride a unique touch. Not only will it look brand new, but you’ll also be satisfied knowing that you did it yourself. So, take the time to enjoy the process and the result of your hard work. Now, get out there and ride your newly painted bike with pride!
Tips To Ensure A Smooth Spray Painting Experience
You can spray paint a bike to give it a fresh new look. Here are some tips to ensure a smooth spray painting experience:
- Prep The Bike: Thoroughly clean the bike frame to remove dirt, grease, or rust. Sand down any rough areas or imperfections to create a smooth surface for painting.
- Choose The Right Paint: Select a high-quality spray paint for metal surfaces. Consider using a primer to improve adhesion and durability.
- Disassemble The Bike: Remove parts you don’t want to paint, such as the wheels, handlebars, and pedals. This will make it easier to access all areas of the frame.
- Protect Surrounding Areas: Cover any parts of the bike that you don’t want to be painted with masking tape or plastic sheets.
- Apply Thin Coats: Hold the spray paint can about 6-8 inches away from the bike frame and apply thin, even coats of paint. Avoid spraying too close or applying too much at once, as this can lead to drips and uneven coverage.
- Allow Ample Drying Time: Follow the instructions on the spray paint can for recommended drying times between coats. It’s important to be patient and allow each coat to fully dry before applying another layer.
- Reassemble The Bike: Once the paint is completely dry, reattach all the removed parts and give your bike a final inspection for any necessary touch-ups or adjustments.
Following these tips, you can successfully spray paint your bike and give it a fresh new look that reflects your style.
Conclusion
Spray painting your bike is a fun and cost-effective way to give it a fresh look. Following the ten steps outlined above, you can transform your bike into a stylish ride that reflects your taste. Remember to gather all the necessary supplies, prepare your bike properly, and take your time to ensure a smooth painting experience.
Applying a clear coat will also provide added protection and shine to your newly painted bike. So go ahead and revamp your ride with a can of spray paint and enjoy the satisfaction of cruising around on a bike that looks brand new. We have provided bulk information can you spray paint a bike? And hope our information was helpful from your perspective.
Frequently Asked Questions
1.What Kind Of Paint Do You Use On A Bike?
Ans: The type of paint you use on a bike depends on the desired finish. High-quality spray paint designed for metal surfaces is popular, but brush-on paints like enamel or acrylic offer customization options. Properly cleaning and sanding the surface before painting ensures adhesion and a smooth finish.
2.Can You Use Spray Paint On Bike Frame?
Ans: Yes, spray paint can be used on a bike frame. To ensure a smooth and durable finish, it is important to prepare the surface by sanding and cleaning it thoroughly properly. Applying a primer before spray painting can also help improve the adhesion and longevity of the paint.
3.What Is The Best Spray Paint For Bicycles?
Ans: When choosing the best spray paint for a bicycle, consider the desired finish and surface type. Top brands like Rust-Oleum, Krylon, and Plasti Dip offer suitable options. Opt for a paint designed specifically for a durable and long-lasting finish for metal surfaces. Remember to prep the surface by sanding and cleaning before applying the paint.
4.How Much Does It Cost To Paint A Bike?
Ans: The cost of painting a bike can vary depending on the method and quality of paint used. DIY spray paint can cost as little as $20-$50 for materials, while professional powder coating can cost upwards of $200-$300. Other factors that may affect the cost include the size and complexity of the bike frame and any additional customization or design work. Budgeting accordingly and researching different options is important before deciding on a paint job for your bike.
5.What Kind Of Paint Do You Use On A Bike Frame?
Ans: When spray painting a bike frame, using paint specifically designed for this purpose is important. Look for high-quality options that are durable and weather-resistant. Brands like Dupli-Color, Krylon, and Rust-Oleum are popular choices. Prioritize proper preparation, such as sanding and cleaning the frame, to ensure a smooth and long-lasting finish.
Meet Allen Yu, the Spray Guru behind Spray Guider. With a passion for transforming rides into rolling works of art, Allen Yu specializes in Bike and Car Sprays. Unleash your vehicle’s potential with expert tips and creative inspiration. Elevate your ride with Allen Yu—because every spray tells a story!