
Your helmet is not just a piece of safety equipment but also an extension of your personality and style statement. But what if you could take it up a notch and make it stand out even more?
That’s where Helmet Spray Paint comes in. You can give your helmet a perfect look that matches your personality with different finishes like matte, gloss, metallic, and fluorescent.
In this blog, we will cover all the types of spray paint that you can use on your helmet, what factors to consider while choosing the right paint, steps to spray paint your helmet safely and effectively, safety precautions to follow while doing so, and how to maintain the look of your painted helmet. We’ll also weigh the pros and cons of using Helmet-Spray Paint. So, let’s dive in and enhance the look of your headgear!
Types Of Helmet Spray Paint
Regarding Helmet Spray Paint, various types are available to enhance the look of your headgear. One option is a matte finish, which provides a subtle and non-reflective appearance. A gloss finish is the way to go if you prefer a shiny and polished look.
On the other hand, the metallic finish adds a metallic sheen and depth to the paint, giving your helmet a unique and eye-catching appeal. A fluorescent finish is a great choice for those prioritizing high visibility and vibrant colors. You can customize your helmet to suit your style and preferences with these different options.
1.Matte Finish
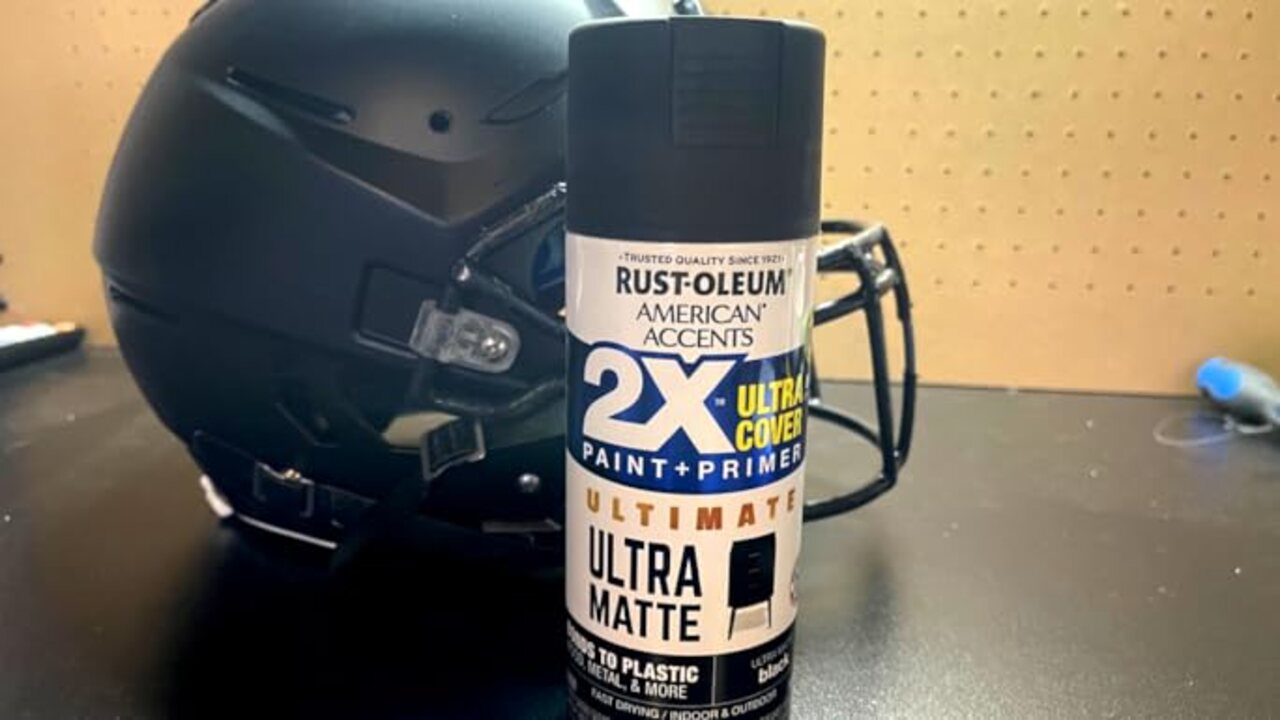
For those seeking a modern and understated look, a matte finish is the perfect choice when spray painting a helmet. This non-glossy option offers a smooth and even texture that hides imperfections with ease. Additionally, matte finishes are less likely to show fingerprints or smudges, keeping your helmet looking fresh and clean.
Whether you’re painting a motorcycle helmet or a football helmet, opting for a matte finish is a great way to enhance its appearance without drawing too much attention. Remember to exercise caution and use the proper nozzle and technique for the best results.
2.Gloss Finish
A gloss finish is known for its shiny and reflective appearance, giving your helmet a sleek and polished look. This type of finish creates a smooth and glass-like surface, adding depth and enhancing the colors to make them appear more vibrant.
One of its advantages is that it is relatively easy to clean and maintain, requiring minimal effort to keep your helmet looking its best. The classic and sleek appearance of a gloss finish is famous among many helmet enthusiasts. Adding a gloss finish to your helmet is a great way to elevate its overall aesthetic.
3.Metallic Finish
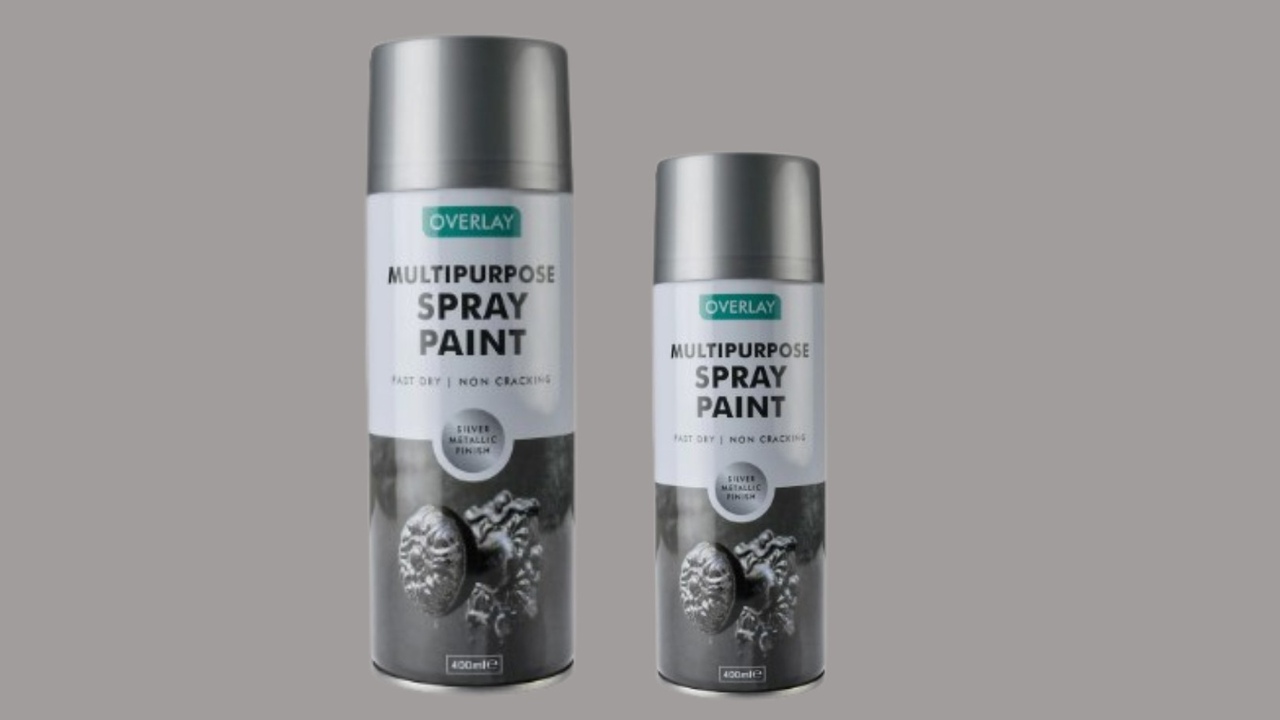
The metallic finish is for Helmet-Spray Paint, adding a captivating metallic sheen and depth to the paint. Its ability to reflect light creates a stunning visual effect that catches the eye. This finish is often used for custom designs and graphics, as it can highlight the contours and details of the helmet.
Whether it’s a motorcycle or a football helmet, adding a metallic finish is a great way to elevate its look. Remember that applying the metallic finish requires caution and attention to detail for the best results.
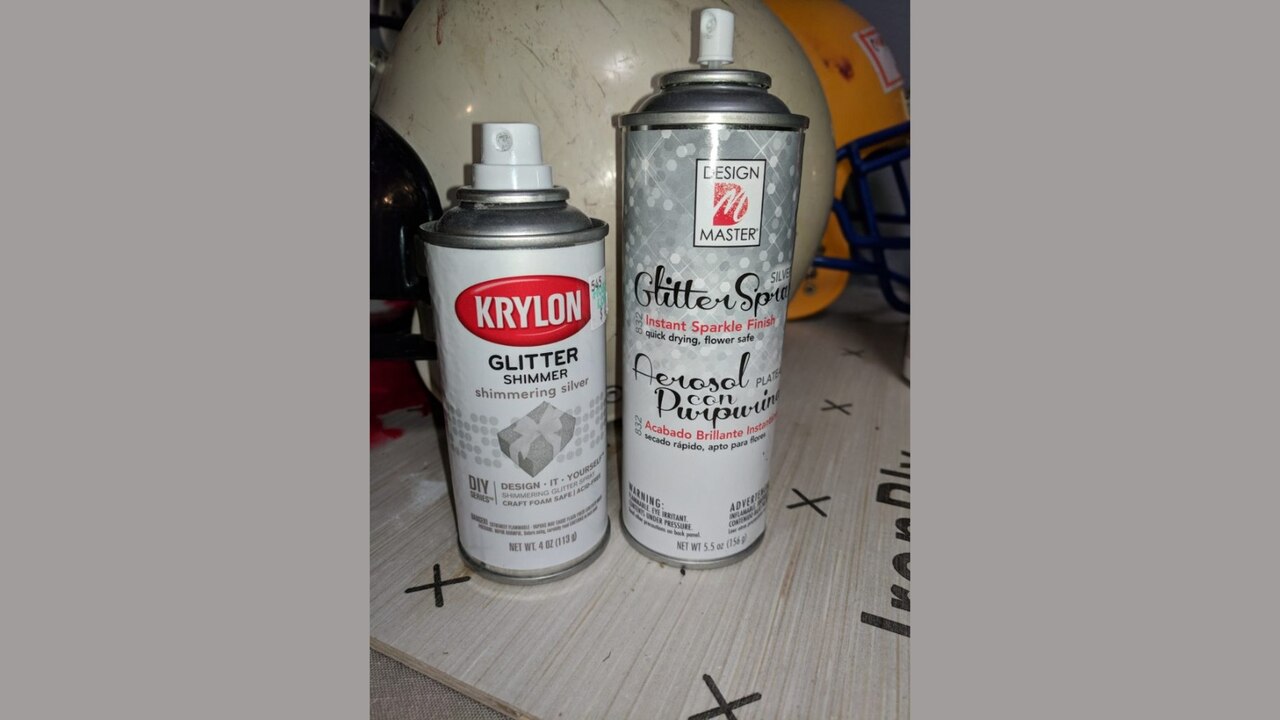
4.Fluorescent Finish
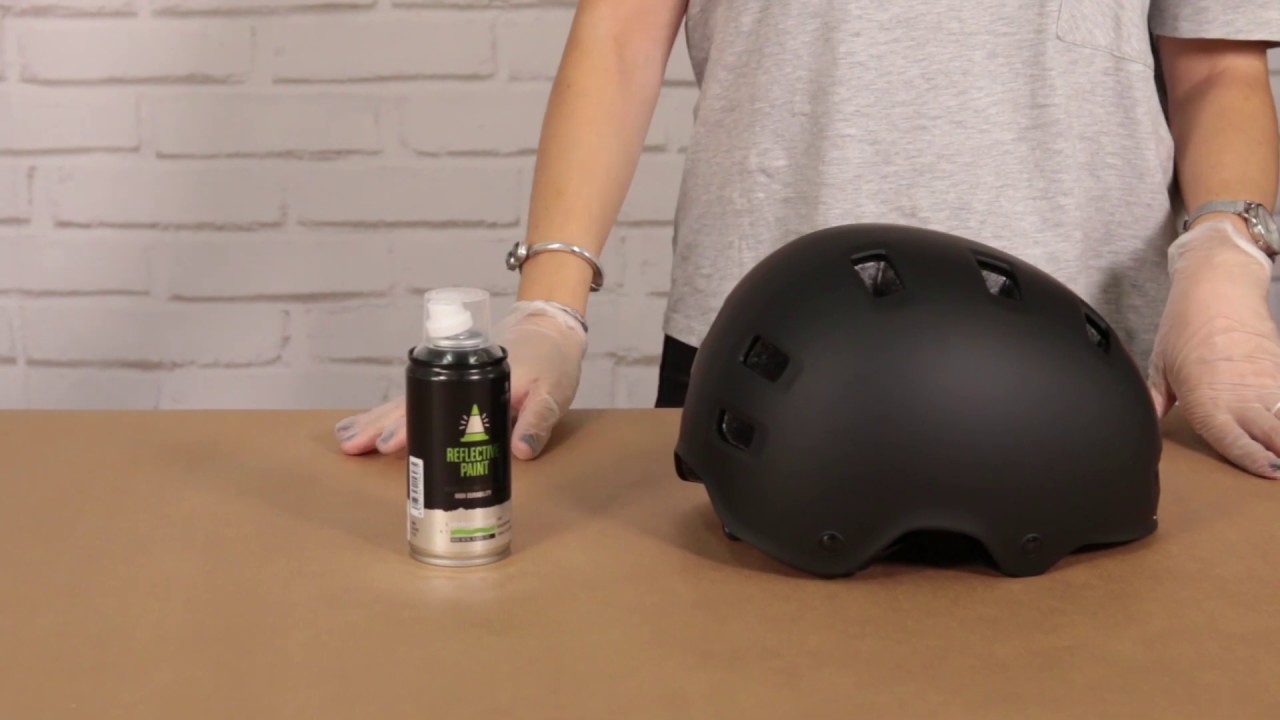
A fluorescent finish is popular for those looking to enhance visibility and make a statement with their helmet. Its vibrant colors and high visibility make it ideal for safety helmets and outdoor activities. Whether riding a motorcycle or playing sports, a fluorescent finish stands out in low-light and daytime conditions.
With its eye-catching appearance, it ensures that you are seen by others, promoting safety. By using a fluorescent finish on your helmet, you can add a touch of style and prioritize your visibility on the road or in any situation where being seen is crucial.
Factors To Consider While Choosing Right Paint For Your Helmet
When choosing the right paint for your helmet, several factors must be considered. These include. By considering these factors, you can choose the right paint for your helmet that enhances its appearance and maintains its safety and durability.
- Compatibility With The Helmet Material: Different helmets are made from different materials, such as fiberglass, polycarbonate, or carbon fiber. Choosing a paint compatible with your helmet’s specific material is essential to ensure proper adhesion and durability.
- Safety Regulations: Some helmets must meet certain safety standards, such as DOT or ECE approval. Choosing a paint that does not compromise the safety features of your helmet and does not interfere with its ability to protect your head in case of an accident is essential.
- Durability And Weather Resistance: Helmets are exposed to various weather conditions, including rain, sunlight, and extreme temperatures. Look for a paint that is durable and weather-resistant to ensure that it remains in good condition even after prolonged use.
- Ease Of Application: Consider the ease of application when choosing a paint for your helmet. Look for easy paint to spray or brush on and provide a smooth finish without streaks or bubbles.
- Color Options And Customization: Choose a paint that offers a wide range of color options to customize your helmet according to your preferences. Consider whether you want a glossy or matte finish, as well as any additional effects or designs you may want to incorporate
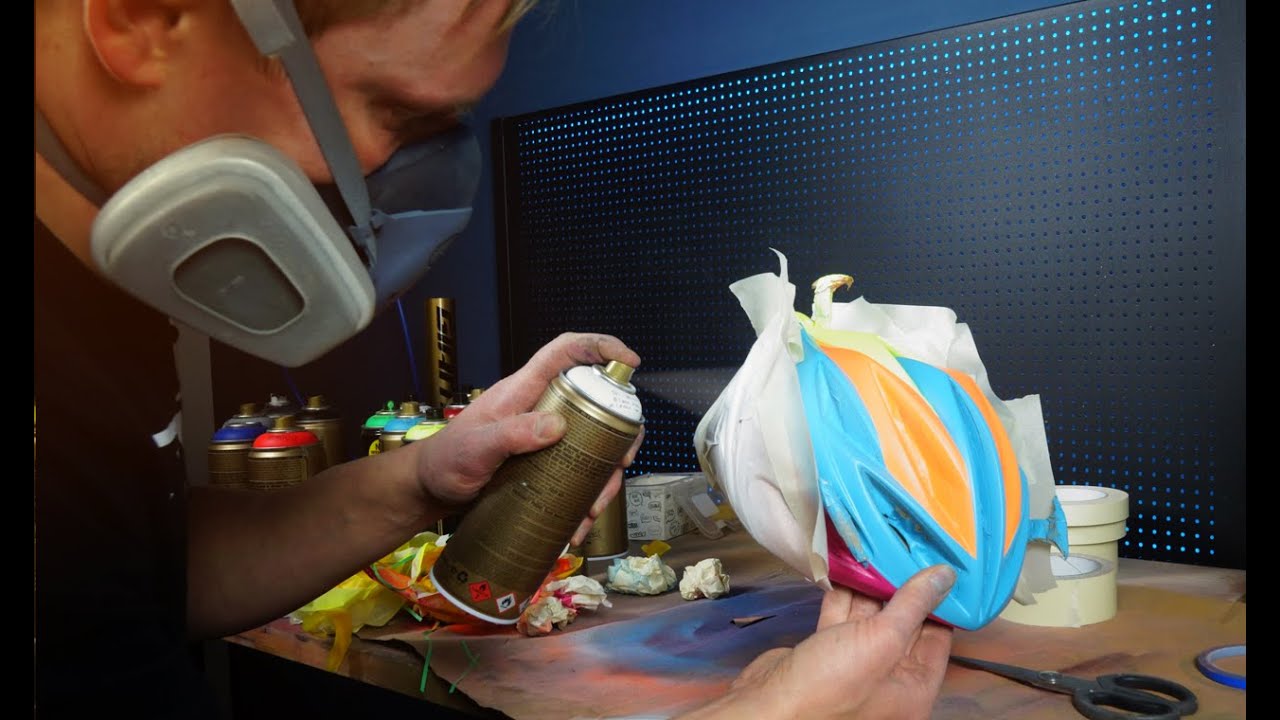
How To Spray Painting A Helmet
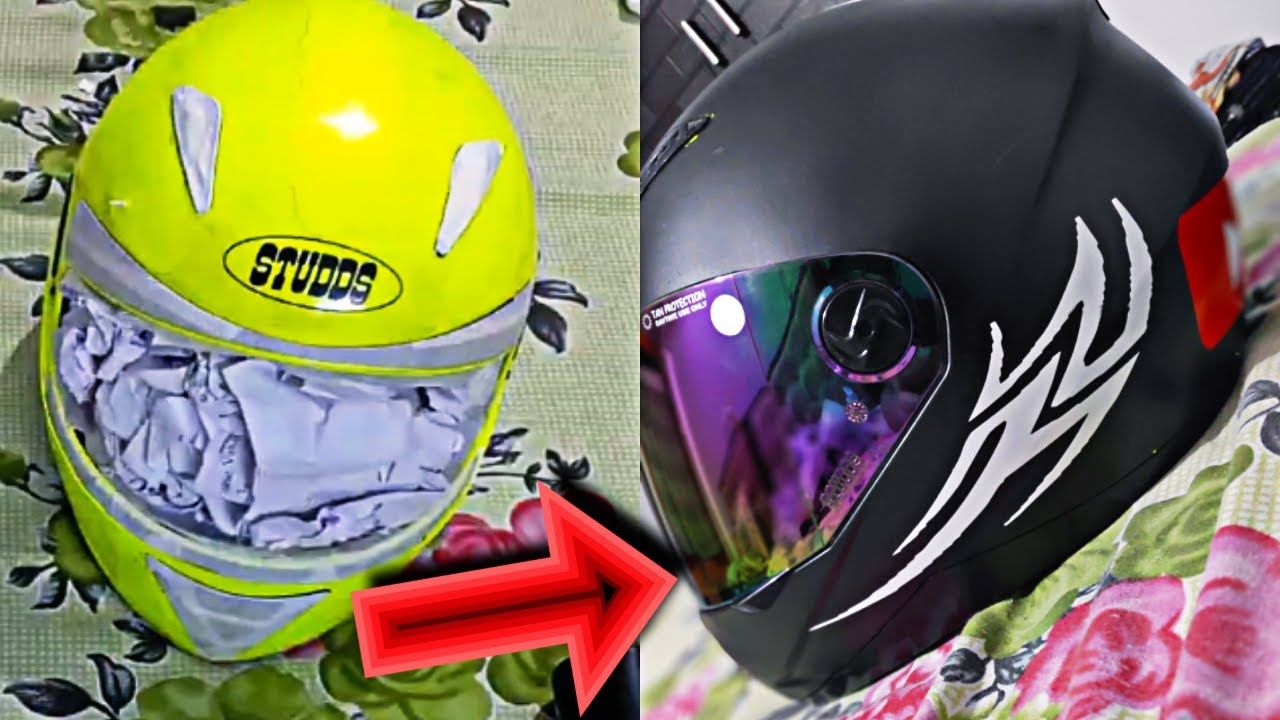
Spray painting a helmet can be a fun and creative way to personalize your headgear. Here are the steps to spray paint a helmet. Always work in a well-ventilated area and wear protective gear such as gloves and a mask when working with spray paint. Enjoy customizing your helmet and let it fully dry before using it again for safety reasons.
- Prepare The Helmet: Clean the helmet’s surface with soap and water to remove any dirt or debris. Dry it thoroughly before proceeding.
- Sand The Surface: Use fine-grit sandpaper to lightly sand the helmet’s surface. This will help the paint adhere better.
- Apply Primer: Spray a thin coat of primer onto the helmet, covering all areas evenly. Let it dry according to the manufacturer’s instructions.
- Apply Base Coat: Once the primer is fully dry, apply your chosen base coat color. Hold the can about 6-8 inches from the helmet and spray in smooth, even strokes. Allow each coat to dry before applying additional coats if needed.
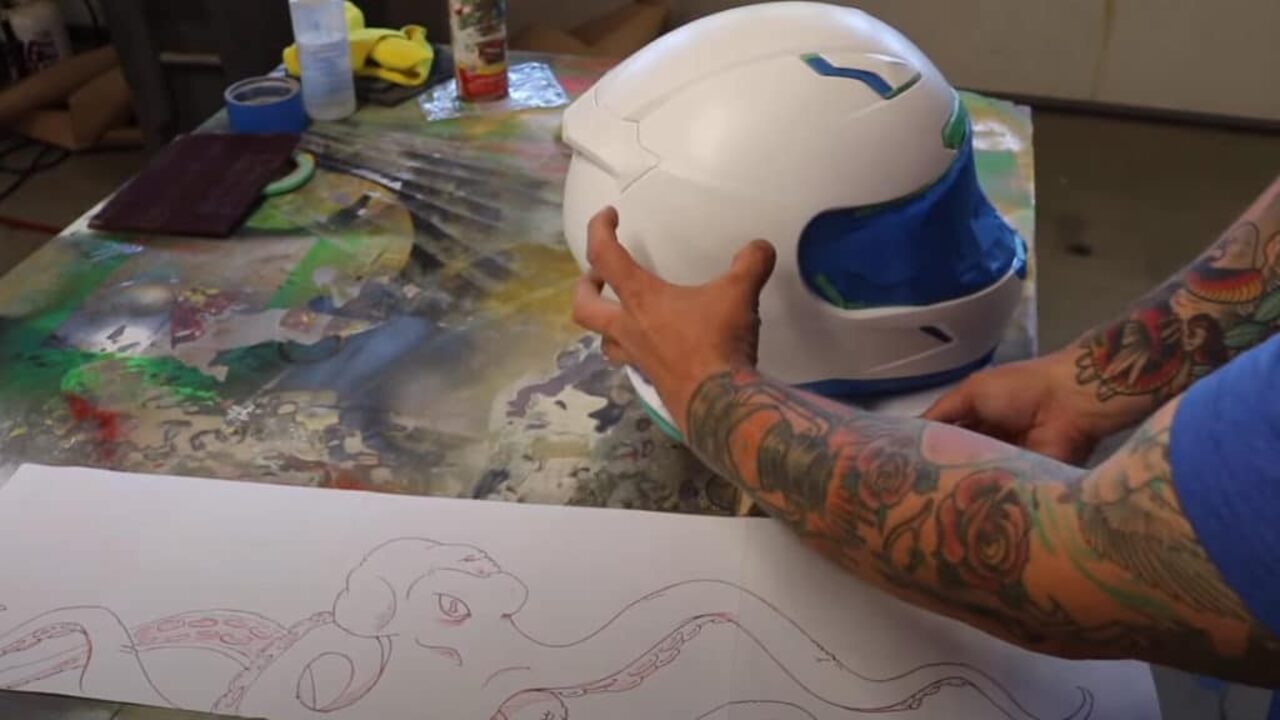
- Add Design Or Artwork: If desired, use stencils or freehand techniques to add designs or artwork onto your helmet. Take your time and be patient during this step.
- Apply Clear Coat: Once you are satisfied with your design, finish off by applying a clear coat to protect the paint and give it a glossy finish. Follow the manufacturer’s instructions for drying time.
Safety Precautions When Spray Painting A Helmet
When spray painting a helmet, it is important to prioritize safety precautions. Always wear protective gear such as gloves and a mask to ensure your well-being. Working in a well-ventilated area is crucial to avoid inhaling potentially harmful fumes.
Also, avoiding open flames or sparks while handling spray paint is essential. Following the manufacturer’s instructions for proper use and storage is highly recommended. Lastly, dispose of any unused or empty spray cans responsibly. By adhering to these precautions, you can safely transform your helmet’s appearance without compromising your health.
Maintaining The Look Of Your Painted Helmet
Regular cleaning and proper handling are essential for maintaining the appearance of your painted helmet. Avoid using harsh chemicals that can potentially damage the paint job. Consider applying a clear coat to further protect the paint from scratches and fading. Additionally, storing the helmet in a cool, dry place is important to prevent color fading.
Regularly inspect the paint for any signs of wear or peeling, as addressing these issues promptly can help prolong the lifespan of your painted helmet. By following these maintenance practices, you can ensure that your helmet stays looking fresh and vibrant for a long time.
Pros And Cons Of Helmet-Spray Paint
Regarding Helmet-Spray Paint, there are both pros and cons to consider. Here’s a breakdown of the advantages and disadvantages. It’s important to weigh these pros and cons before deciding whether or not to proceed with spray painting your helmet.
Pros:
- Customization: Helmet-Spray Paint allows you to personalize your helmet and make it unique to your style.
- Cost-effective: Spray painting your helmet can be more affordable than buying a new helmet with a specific design or color.
- Easy Application: Spray painting is relatively easy, even for beginners. You can achieve a smooth finish without needing specialized tools or skills.
Cons:
- Durability: Depending on the spray paint’s quality and the helmet surface preparation, the paint may not be as durable as a factory finish.
- Safety Concerns: Altering your helmet’s original design or structure through spray painting could compromise its safety features. Ensuring that the paint does not interfere with the helmet’s integrity is crucial.
- Resale Value: If you plan on selling or trading your helmet in the future, spray painting it may reduce its resale value compared to an original, undamaged helmet.
Conclusion
Helmet Spray Paint is a great way to enhance the look of your headgear and make it stand out from the crowd. Whether you prefer a matte, gloss, metallic, or fluorescent finish, options are available to suit your style. However, before spray painting your helmet, it is important to consider factors such as the type of paint, preparation, and safety precautions.
Also, maintaining your painted helmet’s look requires proper care and cleaning. While Helmet-Spray Paint can give your headgear a new lease of life, it is important to weigh the pros and cons before deciding. Ultimately, the choice is yours, and a customized helmet can add a unique touch to your riding experience.
Frequently Asked Questions
1.Is It Economical To Paint A Helmet?
Ans: When painting a helmet, the cost can vary depending on the type of paint and design. If you want to change the look of your helmet, painting it can be more economical than buying a new one. Consider DIY options if you’re on a budget, but don’t forget to factor in the cost of materials and time.
2.What Makes Helmet-Spray Paint A Preferred Choice?
Ans: Helmet-Spray Paint is a popular choice for customizing the look of your headgear. It offers an affordable and easy way to change the color or design of your helmet. Specially formulated to provide a long-lasting finish, Helmet-Spray Paints also help protect against scratches and UV rays.
3.What Kind Of Paint Do You Use On A Helmet?
Ans: Regarding painting a helmet, it’s important to use spray paint specifically designed for helmets. Look for a durable and weather-resistant option suitable for your helmet’s material. Clean the helmet thoroughly before painting and follow the manufacturer’s instructions carefully.
4.Can I Spray Paint Bike Helmet?
Ans: Spray painting a bike helmet is not recommended as it can compromise its integrity and void its safety certification. Opt for stickers or decals if you want to customize your helmet. Remember, safety should always be prioritized over style.
5.What Kind Of Paint Do You Use On A Bike Helmet?
Ans: When painting a bike helmet, using the right kind of paint is crucial. Opt for spray paint specifically meant for helmets. Water-based acrylic paints are a great choice as they are non-toxic and dry quickly.
Meet Allen Yu, the Spray Guru behind Spray Guider. With a passion for transforming rides into rolling works of art, Allen Yu specializes in Bike and Car Sprays. Unleash your vehicle’s potential with expert tips and creative inspiration. Elevate your ride with Allen Yu—because every spray tells a story!