
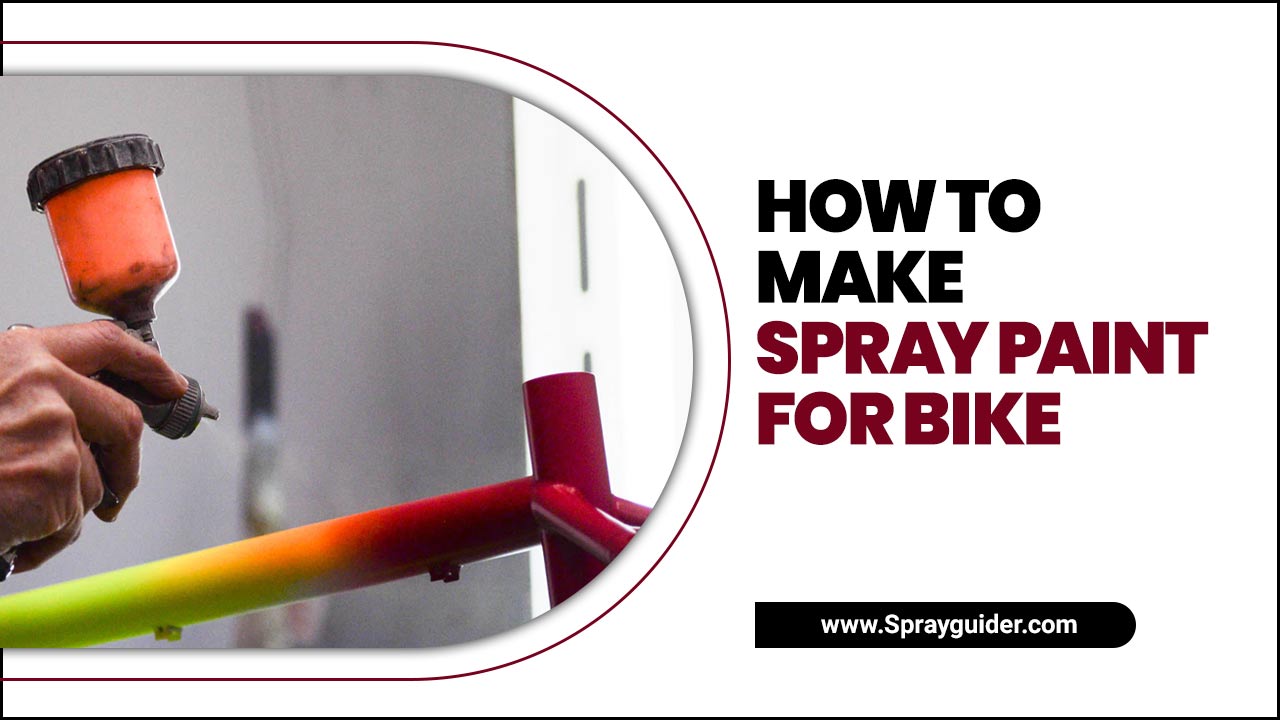
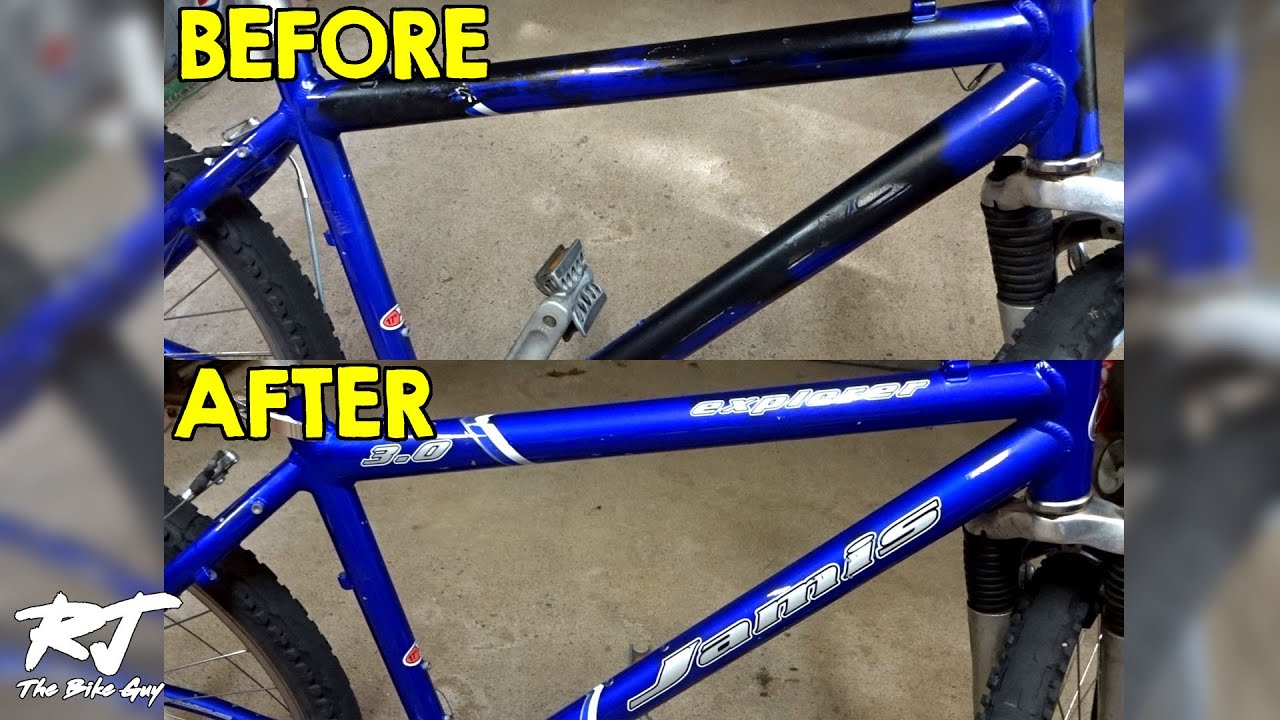
Spray painting your bike can give it a new look that will turn heads on your next ride. However, purchasing spray paint can be expensive and limiting when it comes to color choices.
That’s why more and more bicycle enthusiasts opt to make their spray paint. It is cost-effective and opens up a world of color options that may not be available in stores. Here, we will take you through a step-by-step guide on how to make spray paint for your bike. We will also delve into tips for applying the spray paint, how long it takes to dry, and things to remember while making it. So, let’s get started and discover the magic of spray painting your bike.
How To Make Spray Paint For Bike: A Step-By-Step Guide
Making your spray paint is an excellent idea to give your bike a new paint job. Gather all the necessary materials, including primer, enamel paint, and lacquer. First, set up your workspace with adequate ventilation and protective measures such as painter’s tape to cover areas you don’t want to paint.
Disassemble the bike and prepare the frame by cleaning it thoroughly. Mix the primer, enamel paint, and lacquer in the desired color to create your custom spray paint. Apply the paint in thin, even coats, allowing enough time for each skin to dry before applying the next one. This step-by-step guide will help you transform your bicycle frame into a work of art. Below, we discuss in detail how to make spray paint.
Necessary Materials And Tools For Bike Spray Painting
When spray painting your bike, having suitable materials and tools is essential for achieving a professional finish. Here are the necessary items you will need. With these materials and tools, you can confidently tackle your bike spray painting project!
- Spray Paint: Choose a high-quality color designed for metal surfaces. Look for a color that offers durability and weather resistance.
- Primer: Applying a primer before painting can help improve adhesion and ensure a smooth, even finish. Look for a primer that is compatible with your chosen spray paint.
- Sandpaper: Use sandpaper to gently roughen the bike frame’s surface before priming and painting. This will help the paint adhere better to the metal.
- Masking Tape: Use masking tape to cover any areas of the bike that you do not want to be painted, such as the handlebars or seat post.
- Drop Cloth Or Newspaper: Lay down a drop cloth or newspaper to protect your work area from overspray.
In Terms Of Tools, You Will Need:
- Screwdriver: Use a screwdriver to remove any parts of the bike that you do not want to be painted, such as the pedals or wheels.
- Cleaning Materials: Clean the bike frame thoroughly using soap and water or a degreaser before painting. This will help remove any dirt, grease, or old paint that could affect the adhesion of your new paint job.
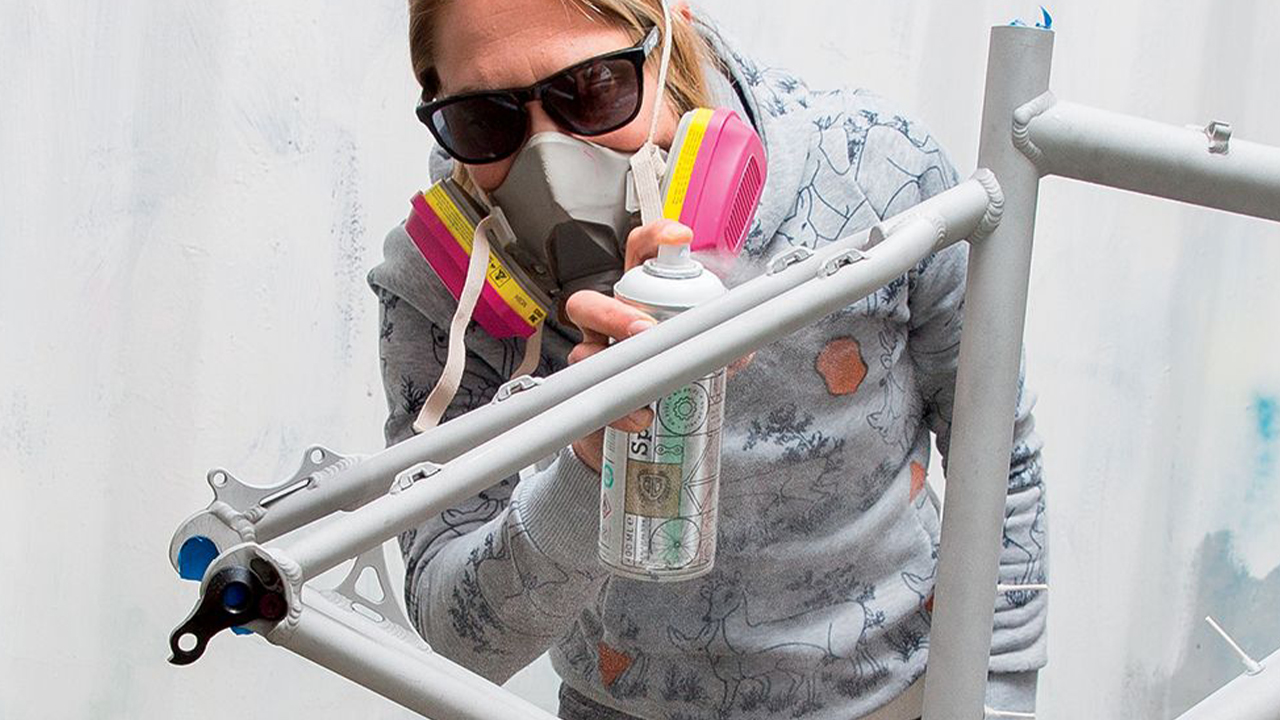
- Respirator Mask: To protect yourself from inhaling fumes and particles, wear a respirator mask while spray painting.
Step-By-Step Guide To Create Your Own Spray Paint
Set up a well-ventilated workspace to create your spray paint for your bike. This ensures proper air circulation and minimizes the risk of inhaling fumes. Next, disassemble your bike into parts for more accessible and thorough painting.
Before applying the new paint, prepare the motorcycle by sanding and cleaning off any rust or old paint. Now it’s time to create your custom spray paint. Mix primer, enamel paint, and lacquer in the desired color and consistency. Finally, apply the spray paint in thin, even coats for a professional-looking finish.
Setting Up Your Workspace
When embarking on a spray painting project for your bike, it’s crucial to set up your workspace correctly. Select a well-ventilated area with good airflow to ensure safety and achieve optimal paint application. Lay down a protective covering like a drop cloth or newspaper to prevent overspray and protect your surroundings.
Use masking and painter’s tape to cover areas you don’t want to be painted, such as the head tube or specific components. Lastly, hang your bike frame on a sturdy support, such as a hook or stand, to make it easier to paint evenly and reach all angles. These steps will create an ideal workspace for your bike spray painting project.
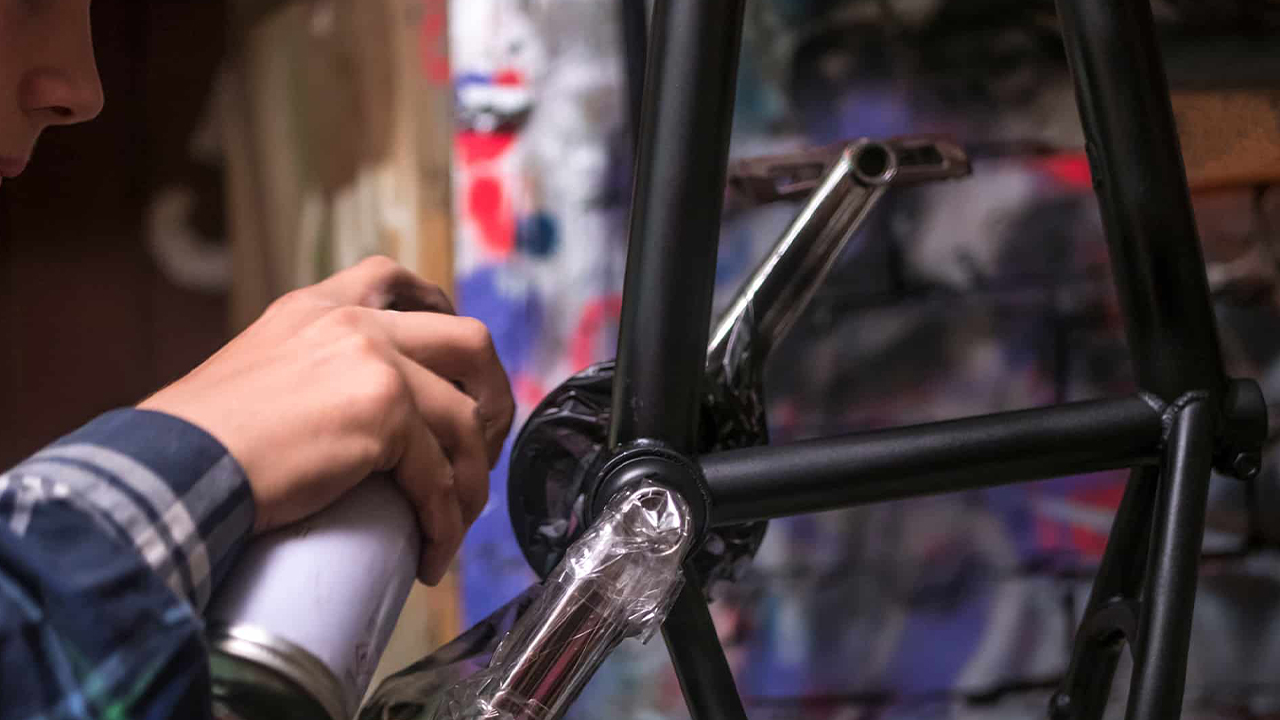
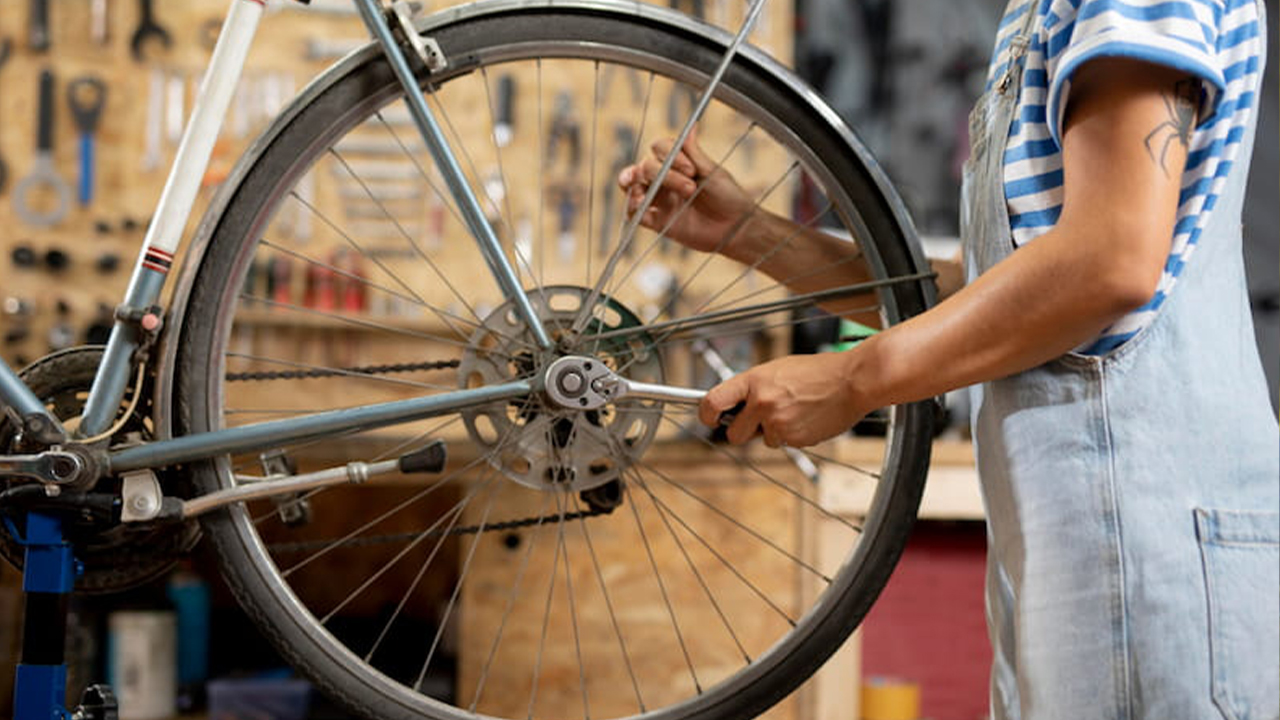
Disassembling The Bike
To prepare the bike for a fresh coat of new paint, the first step is to disassemble it. Start by removing the pedals, handlebars, and other bike parts. This will simplify the painting process and ensure all areas are adequately coated. Take apart the bike’s components carefully to avoid any damage.
Label and organize the disassembled parts so that reassembly is a breeze. Following this systematic approach will result in a well-painted bicycle frame. Disassembling the bike is a great way to ensure every nook and cranny receives the desired color. With enough time and attention to detail, your bike will be ready for a stunning transformation.
Preparing The Bike For Painting
Before applying that new paint to your bike, properly preparing the bicycle frame is essential. The first step in preparing the bike for painting is to use sandpaper to smooth the structure’s surface, ensuring that any rust or old paint is removed. Once this is done, clean the rim thoroughly with a damp cloth to remove any debris that might interfere with the painting process.
Finally, apply a primer to provide a smooth surface for the spray paint to adhere to. By following these steps, you’ll be well on your way to transforming your bike with a fresh coat of color. Ensure you give yourself enough time and attention to detail for a great result.
Creating The Spray Paint
To create your spray paint for a bike, mix primer, enamel paint, and lacquer in the desired color and finish. Make sure the paint mixture is well-blended for a consistent application. For even painting, use twine or a similar tool to suspend the bike frame. This will allow you to spray paint all angles of the bicycle frame easily.
Watching tutorial videos on YouTube to see how painters use different techniques and tools, such as painter’s tape, is a good idea. Take your time and ensure you have enough time to complete this step correctly. The new paint will give your bike a fresh and vibrant look. Once you have finished creating the spray paint, you can move on to the next step: applying it to the bike frame.
Tips For Applying The Spray Paint
When applying spray paint to your bike, there are a few tips to keep in mind for a successful and professional-looking finish. Following these tips can achieve a smooth and professional-looking finish when spray painting your bike.
- Start With Proper Preparation: Before applying the spray paint, clean your bike’s surface thoroughly. Remove any dirt, rust, or old paint using sandpaper or a wire brush. This will help the new paint adhere better and achieve a smoother finish.
- Use A Primer: Applying a primer before the spray paint can help improve adhesion and provide a more even color. Choose a primer compatible with the type of paint you are using and follow the manufacturer’s instructions for application.
- Apply Multiple Thin Coats: Instead of one thick coat of spray paint, it is better to apply several thin coats. This helps prevent drips, runs, and uneven coverage. Allow each coat to dry completely before applying the next.
- Maintain Proper Distance: Hold the can about 6 to 8 inches away from the surface when spraying the paint onto your bike. This will ensure an even color distribution and minimize the risk of over-spraying or creating clumps.
- Work In A Well-Ventilated Area: Spray painting should always be done in a well-ventilated area to avoid inhaling fumes. Do it outdoors or in a garage with open doors or windows if possible. You may also want to wear protective goggles and a mask to protect your eyes and lungs.
How Long Does The Spray Paint Need To Dry?
After spraying paint on your bike, allowing enough time to dry and harden fully is essential. The duration of drying depends on factors such as temperature and humidity. The instructions on the spray paint can provide a recommended drying time that you should adhere to.
It is advisable to avoid handling or reassembling the bike until the stain is completely dry to prevent smudging or causing any damage to the newly painted surface.
Additionally, ensure that the area where you are painting has proper ventilation to facilitate the drying process. Rushing this process can lead to a subpar finish that may not last long. Therefore, patience is vital when it comes to drying spray-painted surfaces.
Things To Keep In Mind While Making Spray Paint For Bike
When making spray paint for your motorcycle, there are a few essential things to keep in mind. Here are some key considerations. By keeping these tips in mind, you can create a professional-looking spray paint job for your bike that will stand out from the crowd:
- Safety First: Ensure you work in a well-ventilated area and wear appropriate safety gear, such as gloves and a mask, to protect yourself from fumes and chemicals.
- Surface Preparation: Before applying the spray paint, ensure that the surface of your bike is clean and free from dirt, grease, and rust. This will help the paint adhere better and result in a smoother finish.
- Choose The Right Paint: Consider the type suitable for your bike’s material. For example, if you have an aluminum frame, you may want to use a color specifically designed for metal surfaces.
- Test It Out: Before spraying the entire bike, it’s a good idea first to test the paint on a small, inconspicuous area. This will allow you to see how the color looks and how well it adheres to the surface.
- Apply Multiple Thin Coats: It’s better to use multiple light coats than one thick coat of paint. This will help prevent drips and achieve a more even finish.
- Allow Proper Drying Time: Follow the instructions on the paint can regarding drying time between coats. Allowing each coat to fully dry before applying the next one is essential.
- Protect Your Work: After painting your bike, consider adding a clear protective topcoat or sealant to help preserve the paint job and protect it from scratches and fading.
How To Store And Use Spray Paint For Bike
To store and use spray paint for your bike effectively, choose the right spray paint that matches the desired color and finishes. Considering the overall look you want to achieve with your bike’s new paint is a good idea.
Before spraying, properly prepare your motorcycle by cleaning, sanding, and masking off areas that should not be painted. When spraying, use even strokes and maintain a consistent distance between the can and the bike surface. Allow each coat to dry before applying additional layers or handling the bike. Don’t forget to follow local regulations for storing and disposing of spray paint cans.
Conclusion
To create customized spray paint for your bike, you must be patient, creative, and meticulous. Ensure you have the necessary materials and tools, set up a well-ventilated workspace, and take the time to disassemble and prepare your bike correctly.
Follow the step-by-step guide for creating your spray paint, and don’t forget to apply the paint evenly and in thin coats for a smooth finish. Allow ample drying time before reassembling your bike and taking it for a spin.
Remember to safely store and use your spray paint, and always follow the manufacturer’s instructions. With a little effort and attention to detail, you can transform your bike into a unique and eye-catching masterpiece. I hope now you know how to make spray paint.
Frequently Asked Questions
1.What Paint To Use To Spray Paint A Bike?
Ans: For spray painting a bike, the best choice is epoxy-based spray paint. Look for paints specifically designed for metal surfaces. Choose a color that complements your bike’s style. Apply thin coats and let each skin dry before applying the next.
2.Can You Use Spray Paint On Bike Frame?
Ans: Yes, spray paint can be used on bike frames. Before painting, it’s essential to properly prepare the structure and choose a high-quality spray paint designed for metal surfaces. Apply multiple thin coats, allowing ample drying time between each coat.
3.How Many Cans Of Spray Paint Do I Need To Paint A Bike Frame?
Ans: When painting a bike frame, the number of cans of spray paint you’ll need depends on the size of your structure and how many coats you plan to apply. Generally, 2-3 cans are enough for a single skin on a standard-sized edge. Consider buying extra cans for multiple coats or larger frames to ensure you have enough.
4.Can You Paint A Bike With Car Paint?
Ans: While it is possible to use car paint on a bike, it may not be the best choice. Car paint is typically thicker and heavier than spray paint designed for bicycles. Using car paint may require more preparation and equipment. Using spray paint formulated explicitly for bikes is recommended for the best results.
5.Is Painting A Bike Difficult?
Ans: Painting a bike may present challenges, but it is not impossible. Adequate preparation and technique are crucial for success. Choose the right spray paint and primer, follow instructions carefully, or seek professional help if unsure.
Meet Allen Yu, the Spray Guru behind Spray Guider. With a passion for transforming rides into rolling works of art, Allen Yu specializes in Bike and Car Sprays. Unleash your vehicle’s potential with expert tips and creative inspiration. Elevate your ride with Allen Yu—because every spray tells a story!