
There are countless ways to express creativity and artistry in today’s world. One popular medium that has gained popularity in recent years is spray paint.
Whether you are a seasoned artist or a beginner, creating stencils for spray paint can elevate your artwork to the next level. Not only do stencils provide a clean and crisp finish, but they also allow for intricate designs and patterns. However, making stencils can be daunting if you don’t know where to start.
Here, we’ll guide you through how to make stencils for spray paint. We’ll cover everything from gathering materials to tips for perfecting your design. So grab your supplies and get ready to elevate your bike’s visual appeal with our step-by-step guide on making stencils for spray paint.
How To Make Stencils For Spray Paint – Step-By-Step Guide
To create spray paint stencils, start by gathering the necessary materials. Next, choose an image that you want to turn into a stencil. Transfer the image onto stencil material using techniques like Photoshop or tracing. Once transferred, carefully cut out the stencil along the lines of the image. To ensure clean and precise results, secure the stencil firmly onto the surface you want to spray paint on.
This will prevent any unwanted smudging or movement during the process. Following these step-by-step instructions, you can easily create your spray paint stencils and bring your artistic visions to life. Harness the power of spray painting and stencil cutting to express your creativity and create stunning spray paint art. Below, we provide detailed guidelines on how to make stencils for spray paint.
1. Gather Materials
You’ll need a few materials to start making stencils for spray paint. First, gather some cardboard, an X-acto knife, and spray paint. These items will be essential for creating your stencil. Once you have your materials ready, it’s time to choose or create a design you want to use for the stencil.
Transfer the design onto the cardboard and carefully cut it using the X-acto knife. This step requires precision, so take your time to ensure clean cuts. With your stencil image ready, you can spray paint your chosen surface. Don’t be afraid to experiment with different colors and layering techniques to achieve your desired result.
2. Choose An Image
When selecting an image for your spray paint stencil, looking for a high-contrast image with clean lines and clear shapes is important. This will ensure the stencil design stands out when applied to the surface. To convert the image into a stencil, you can use photo editing software to transform it into black and white. There are also stencil-making programs that can help you create the stencil digitally.
You can manually trace the image onto stencil paper if you prefer a more hands-on approach. Once the stencil shape is traced or created, carefully cut it out using a sharp knife or stencil cutter. To keep the stencil in place while painting, use painter’s tape or adhesive spray to secure it to the surface. When applying the spray paint, remember to do so in thin, even layers to achieve the best results.
3. Transfer Image To Stencil Material

To transfer the image onto stencil material, you’ll need to choose a stencil material that fits your project requirements and budget. Various options include transfer paper, tracing paper, or using a printer. Trace or print the image onto the stencil material.
Once you have the image transferred, carefully cut out the stencil using a craft knife or stencil cutter for precise results. Secure the stencil onto the surface you want to paint using adhesive spray or painter’s tape. It’s time to apply the spray paint in thin layers, allowing each layer to dry before applying the next one. Lastly, remove the stencil with caution to avoid smudging the fresh paint.
4. Cut Out Stencil
After selecting and transferring the image onto your stencil material, it’s time to move on to the next step: cutting out the stencil. Use a sharp craft knife or stencil cutter to ensure clean and precise edges. Take your time with this process to avoid any mistakes.
You can use adhesive spray or tape to hold the stencil in place while painting. Just be sure to remove the stencil to avoid smudging or bleeding carefully. Cutting out the stencil is an important step in creating your spray paint art, as it determines the outcome of your design. So, pay attention to detail and achieve sharp and accurate edges.
5. Secure Stencil To Surface
To secure your stencil to the surface effectively, choosing the right materials for creating the stencil is important. Cardboard or acetate sheets work well for this purpose. Once you’ve cut out your design using a sharp utility knife or scissors, apply spray adhesive to the back of the stencil.
This will help ensure that it stays in place while you’re painting. Use painter’s or masking tape to secure the edges further and prevent paint bleeding. When it comes to spray paint onto the stencil, take care to do so carefully and evenly. Avoid overspraying or moving the stencil while painting. By following these steps, you’ll be able to achieve clean and professional-looking results.
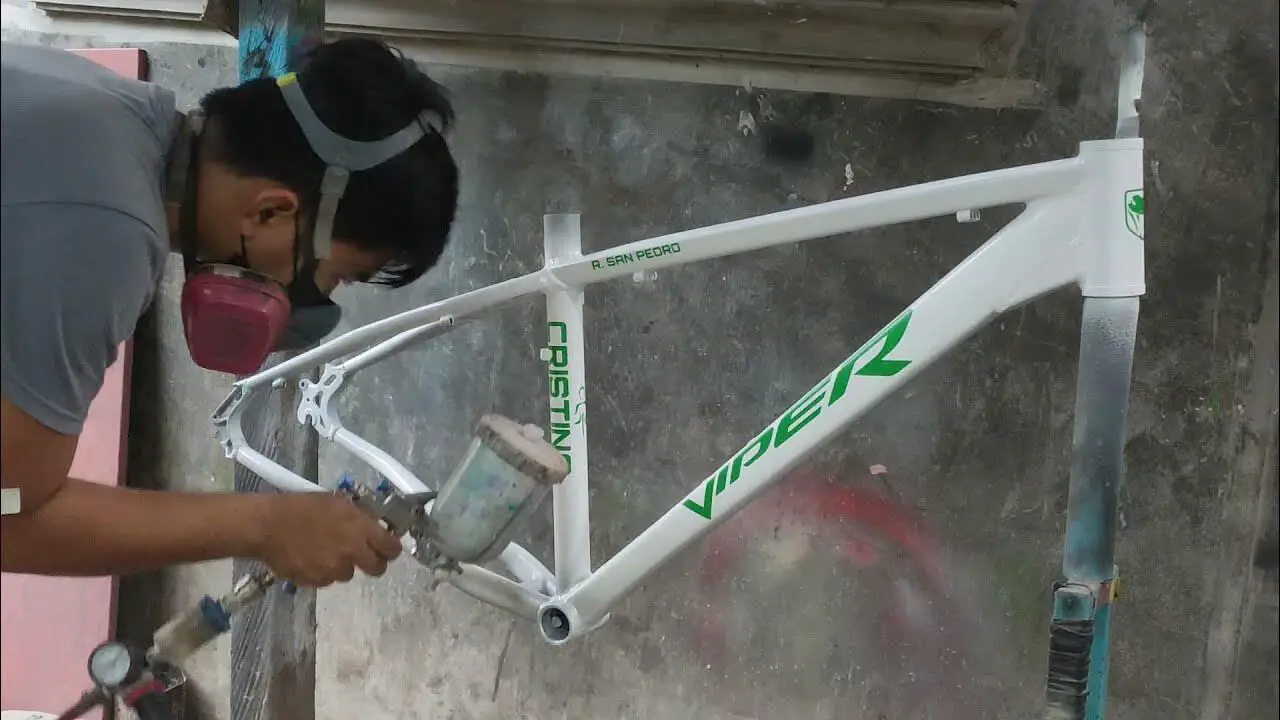
6. Apply Spray Paint
When applying spray paint to your stencil, choosing the right spray paint for your project is important. Before proceeding with the painting, it’s a good idea to practice spraying on a test surface to get a feel for the technique. When you’re ready to start, hold the can consistently from the stencil to ensure even coverage.
It’s best to apply light coats of paint, allowing each coat to dry before applying the next. You can use a stencil adhesive or masking tape to hold the stencil in place while painting. Finally, be patient and allow the final coat of paint to dry completely before removing the stencil.
7. Remove Stencil
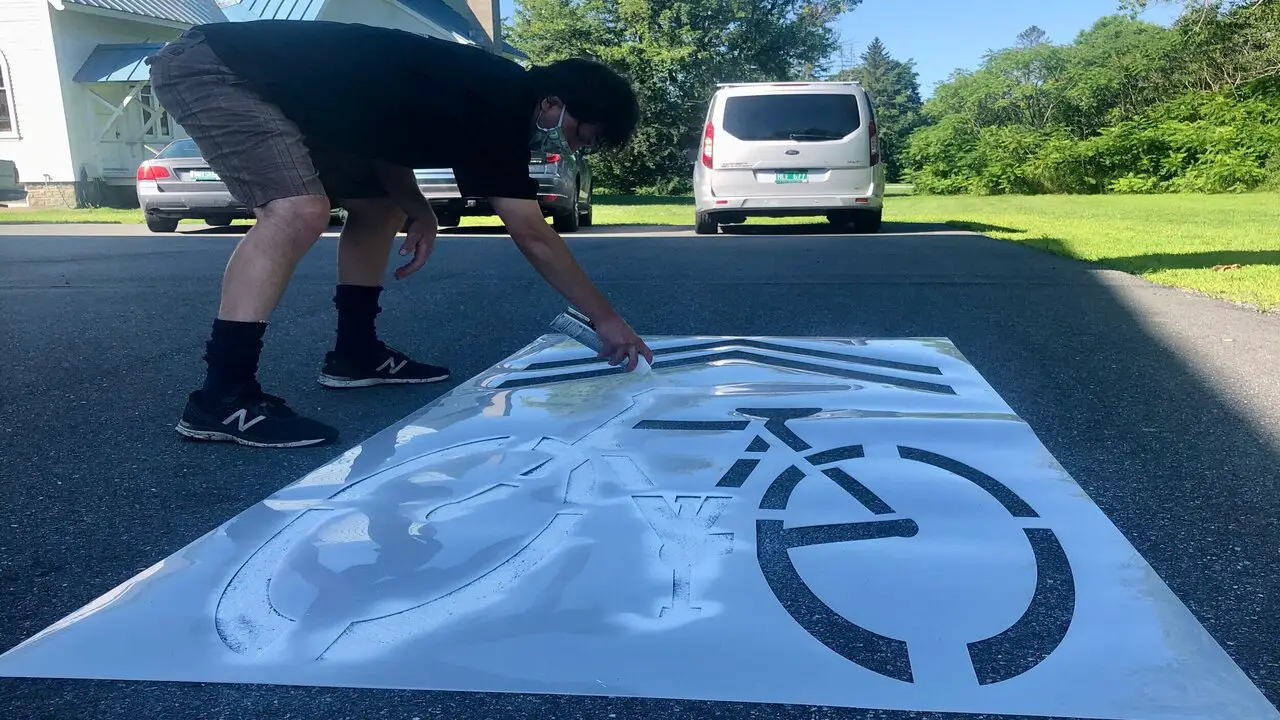
Select a design or image for your stencil to remove the stencil after spray painting. Print or draw the design onto card stock or stencil paper. Use a sharp craft knife to cut out the design, creating the stencil carefully. Once the stencil is ready, secure it onto the surface you want to spray paint using tape or adhesive.
Cover the surrounding areas with newspaper or other protective material to protect them. Now, it’s time to spray paint. Hold the can at a distance and apply the paint over the stencil with quick, light strokes. And there you have it – a perfectly stenciled spray paint art piece.
Tips For Perfect Bike Art
Creating stencils for spray paint can be a fun and creative way to personalize your bike. Here are some tips to help you achieve perfect bike art. With these tips, you can create beautiful and unique designs on your bike using stencils and spray paint. So get creative and have fun.
- Start With A Clean Surface: Before applying any stencils, make sure the surface of your bike is clean and free from dirt or grease. This will ensure that the paint adheres properly.
- Please Choose The Right Material: When making stencils, it’s important to use a sturdy material that can withstand the spray paint. Cardstock or plastic sheets are good options.
- Secure Your Stencil: Use tape or adhesive spray to secure your stencil in place on the bike. This will prevent any smudging or movement while you’re spraying.
- Spray evenly: When applying the spray paint, make sure to do so in a smooth and even motion. Start with light layers and build up as needed to avoid drips or streaks.
- Remove The Stencil Carefully: Once you’ve finished spraying, carefully remove the stencil while the paint is still wet. This will help prevent any bleeding or smudging.
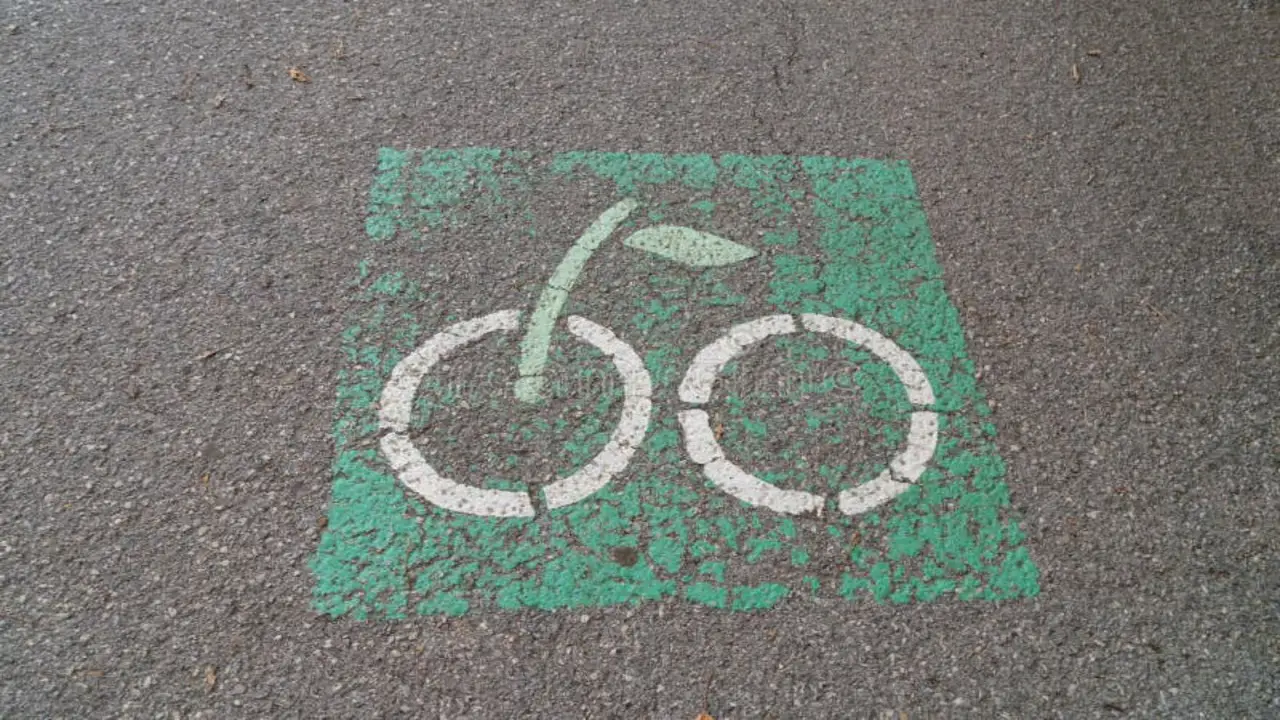
Creative Ideas For Bike Art Designs
Nature-inspired bike art designs featuring flowers, leaves, or animals can bring a touch of the outdoors to your bike. Explore geometric patterns and abstract shapes to create a modern and artistic look. Personalize your bike art by incorporating quotes or typography, adding a unique touch.
Show appreciation for your favorite artists or art movements by creating themed bike art designs. Experiment with various color schemes and textures to make your bike art visually engaging. You can transform your bike into a work of art using these creative ideas.
Benefits Of Spray Paint Stencils
Spray paint stencils offer a range of benefits for artists and DIY enthusiasts. Spray paint stencils are a fantastic tool for achieving professional-looking designs with ease and efficiency. Here are some advantages of using spray paint stencils. By utilizing spray paint stencils, you can easily achieve professional-looking results while unleashing your creativity.
- Precision: Stencils allow for precise and consistent designs, ensuring clean lines and professional-looking results.
- Time-Saving: Using stencils can significantly reduce the time and effort required to create intricate designs or patterns, eliminating freehand painting.
- Reproducibility: Stencils make it easy to reproduce the same design multiple times, making them ideal for creating identical patterns on multiple surfaces or a consistent brand image.
- Versatility: Spray paint stencils can be used on various surfaces, including walls, fabrics, wood, and metal. This versatility allows for endless creative possibilities.
- Customization: Stencils can suit individual preferences and specific design requirements. Artists can create stencils or choose from a wide range of pre-made options in stores or online.
Conclusion
Creating stencils for spray paint is a fun and creative way to add a personal touch to your bike art. Following the step-by-step guide, you can easily make your stencils and achieve professional-looking results. Gather all the necessary materials, choose an image that suits your style, and carefully transfer it onto the stencil material.
Cutting out the stencil and securing it to the surface of your bike is crucial for a clean and precise design. Finally, apply the spray paint evenly and remove the stencil to reveal your masterpiece. With these tips and ideas, you can create unique bike art designs that showcase your creativity and style. So grab your materials and start stenciling. Now You understand how to make stencils for spray paint.
Frequently Asked Questions
1.What Can I Make Spray Paint Stencils Out Of?
Ans: Some common materials for creating spray paint stencils include cardboard, acetate sheets, and vinyl. Cardboard is inexpensive but may not last long, while acetate sheets are more durable and can be reused. Vinyl stencils offer the highest durability and precision but may require special tools or equipment.
2.What Is The Best Material To Use For Spray Paint Stencils?
Ans: A transparent, thin plastic sheet is the most suitable material for spray paint stencils. Unlike cardboard or paper, this durable plastic can withstand the spray paint without damage. It should be flat and free of wrinkles or creases for optimal results.
3.Does Paper Work For Spray Paint Stencil?
Ans: While paper can be used for spray paint stencils, the durability may vary depending on the thickness and quality of the paper. For longer-lasting stencils, it is recommended to use thicker paper or cardstock. Ensure that the stencil is securely attached to the surface before painting. Experiment with different materials like vinyl or plastic for optimal results.
4.What Can I Make Spray Paint Stencils Out Of?
Ans: Spray paint stencils can be made from various materials like cardboard, plastic sheets, vinyl, or paper. Choose a sturdy material easily cut with scissors or a craft knife. Avoid materials that absorb paint to maintain the stencil’s shape for multiple uses. Experiment to find the best material for your design.
5.Does Paperwork For Spray Paint Stencil?
Ans: Paper is not the ideal material for spray paint stencils. It can tear easily and become saturated with paint, resulting in uneven results. Consider using sturdier materials like cardboard or plastic, such as freezer paper or contact paper, for better stencil-making.
Meet Allen Yu, the Spray Guru behind Spray Guider. With a passion for transforming rides into rolling works of art, Allen Yu specializes in Bike and Car Sprays. Unleash your vehicle’s potential with expert tips and creative inspiration. Elevate your ride with Allen Yu—because every spray tells a story!