
Motorcycle enthusiasts know that customizing their ride is more than just a hobby—it’s a passion. One of the most effective ways to give your bike a new look is to paint it.
However, painting a motorcycle can be daunting, especially if you don’t have access to professional tools. But don’t worry; painting your bike with a spray can is an affordable and accessible option that can produce stunning results. We will take you step by step on how to paint a motorcycle with a spray can.
We’ll cover everything from preparing your bike for paint to choosing the right spray can and technique to ensure a smooth and flawless finish. No matter your experience with painting, this will equip you with all the information you need to tackle this project confidently.
How To Paint A Motorcycle With Spray Cans
Start by preparing the surface of your motorcycle. Begin by sanding it to remove any rust or imperfections. This will ensure that the paint adheres properly and lasts longer. After sanding, apply a primer coat to create a smooth and even surface for the color.
Once the surface is prepared, use masking tape to cover areas you don’t want painted, such as the headlights or gas tank emblem. This will help protect these areas from accidental overspray.
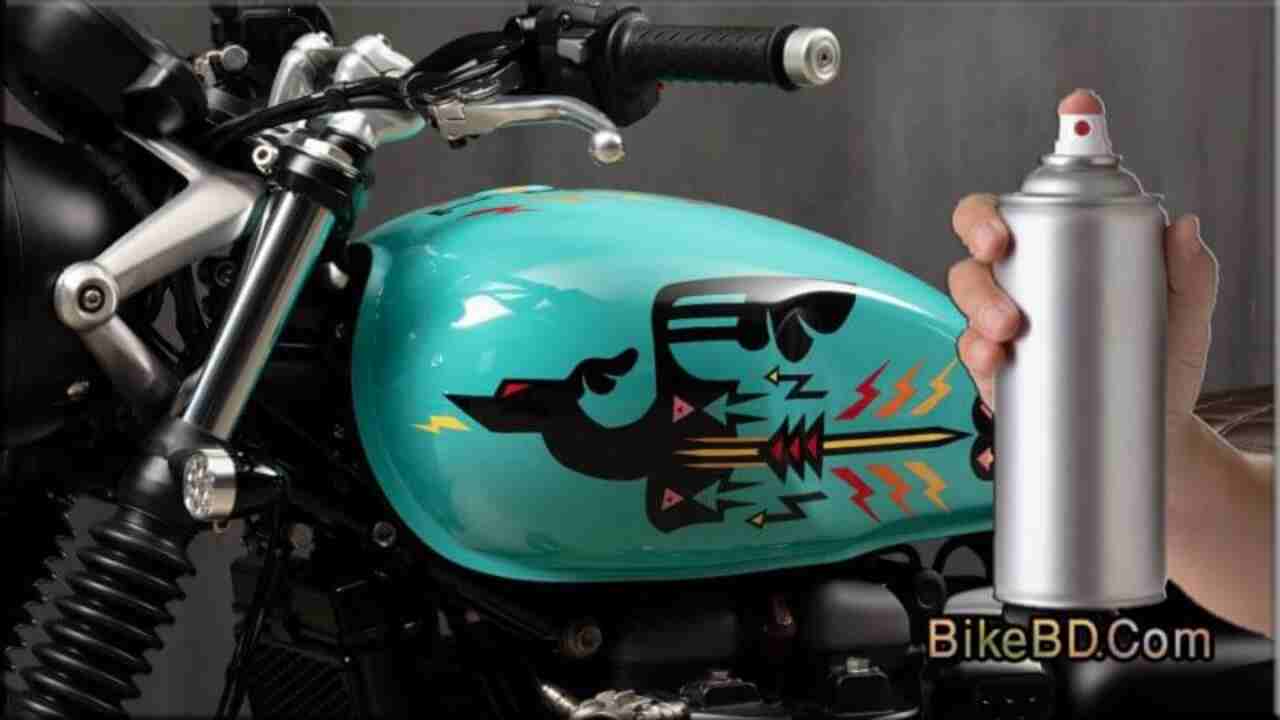
Now, it’s time to apply the spray paint. Shake the can well before using it and hold it about 12 inches away from the surface of the motorcycle. Apply the paint in thin, even coats, using a back-and-forth motion. Avoid spraying too much at once to prevent drips or runs in the color.
Allow each coat to dry completely before applying the next one. This will prevent the paint from smudging or mixing with the previous layers. This may take a few minutes to several hours, depending on the weather conditions.
Finally, finish the painting process with a clear coat. This will provide an extra layer of protection for the paint and give it a glossy finish. Apply the clear coat in the same manner as the spray paint, allowing each coat to dry before applying the next one.
Choosing The Right Spray Cans
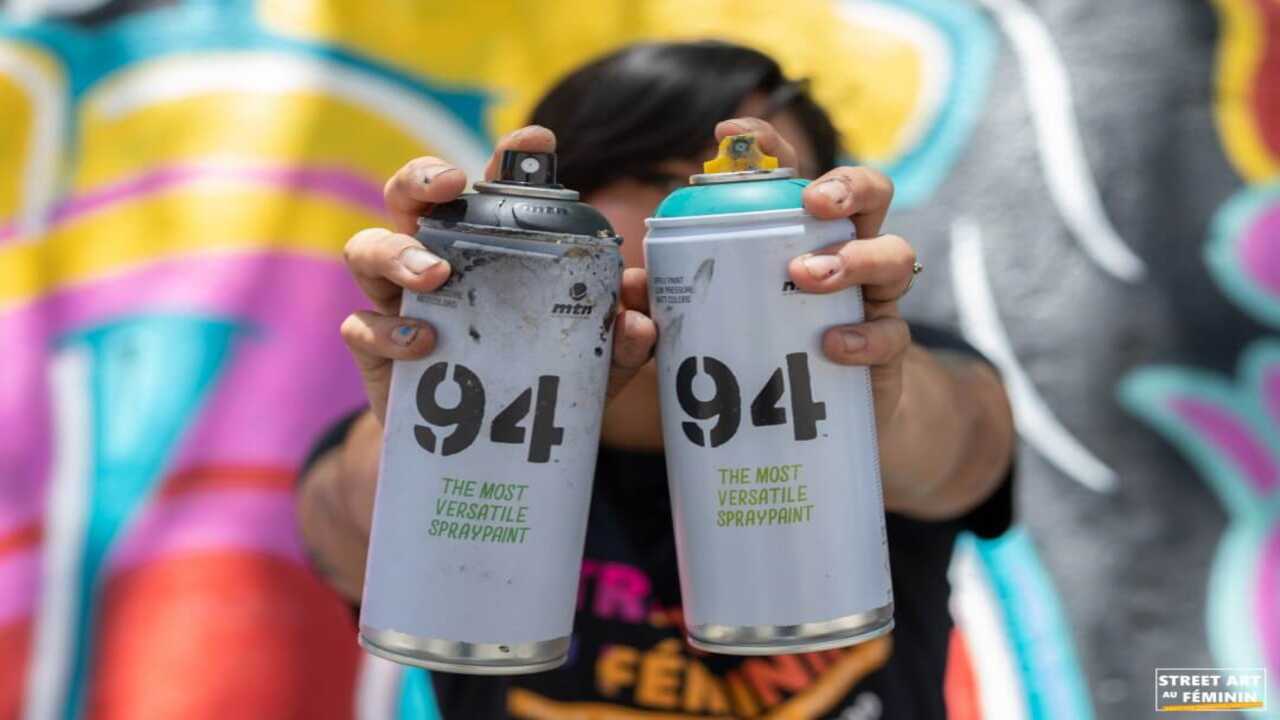
When choosing the proper spray cans for painting your motorcycle, there are a few essential factors to consider. First and foremost, you need to consider the paint type you’ll be using. Whether you opt for enamel or acrylic, ensure it suits motorcycle surfaces. Additionally, please pay attention to the compatibility of the paint with the specific material of your motorcycle, be it metal or plastic.
Another crucial aspect to look for in spray cans is the nozzle. A fine mist nozzle will ensure a smooth application, producing a professional-looking finish. Additionally, consider the desired outcome of your paint job. If you prefer a matte finish, choose a spray can that offers that option. Similarly, if you want a glossy look, select a can with a polished finish.
Preparing Your Motorcycle For Painting
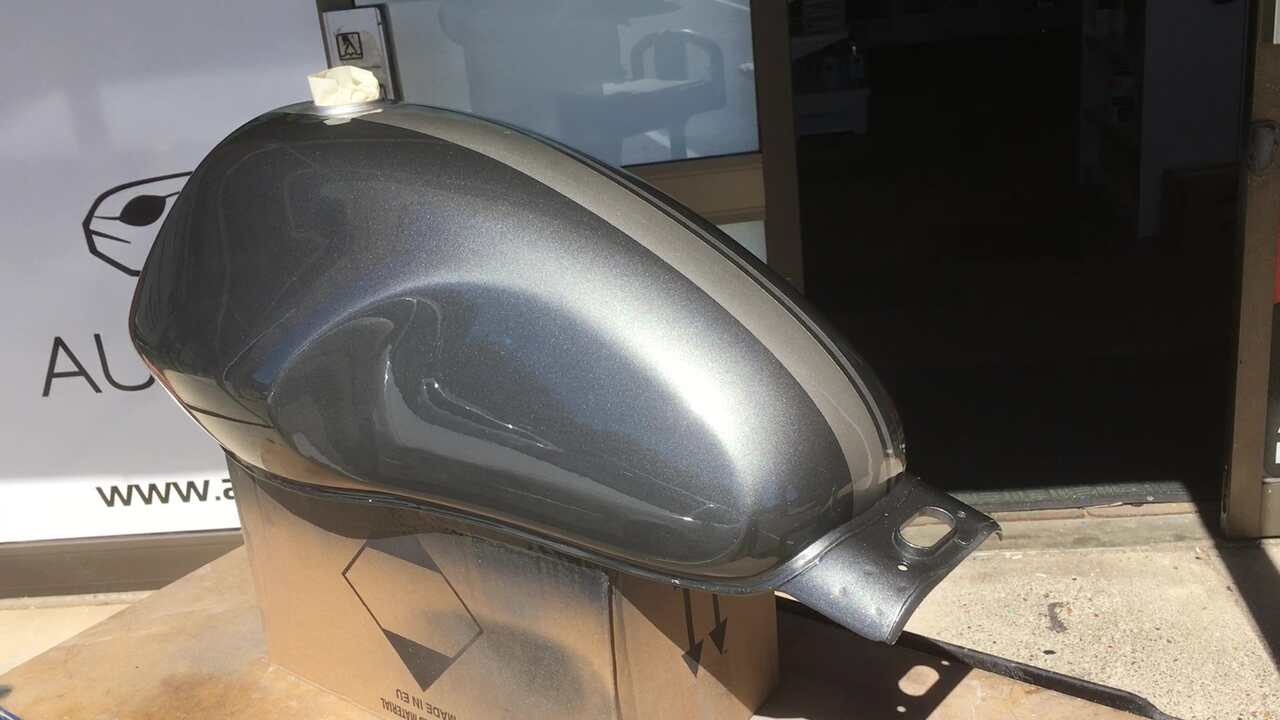
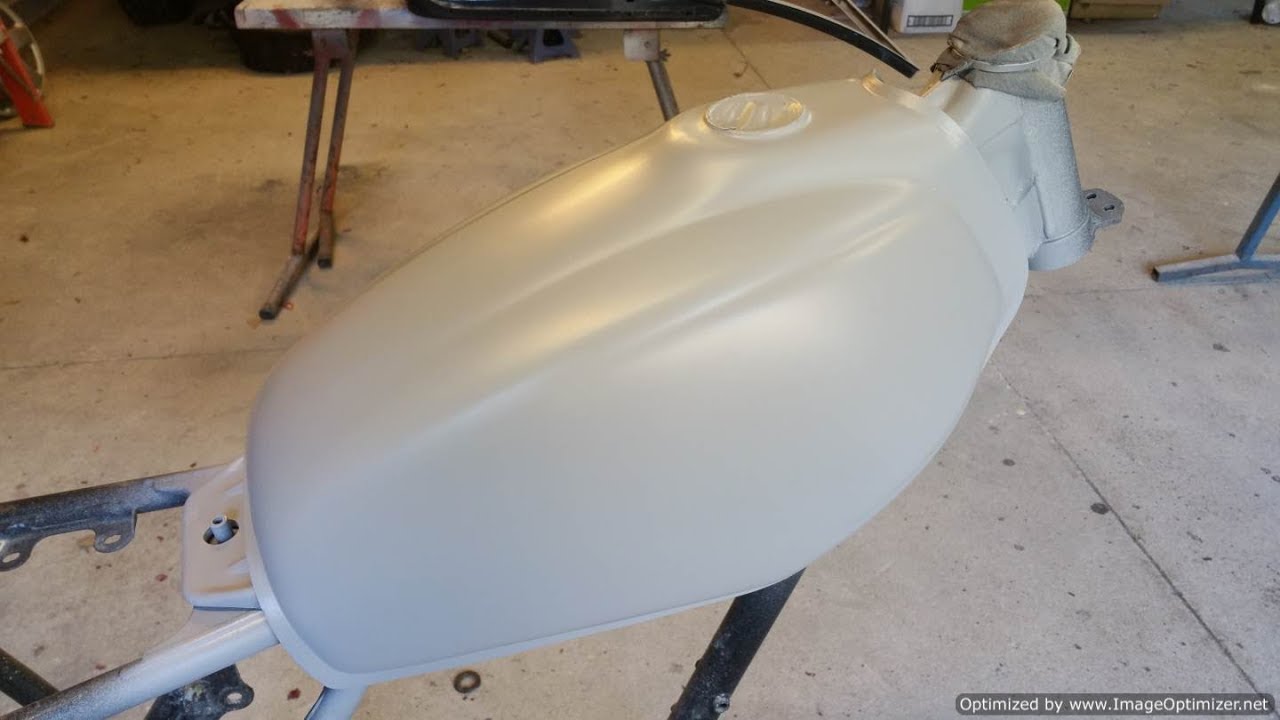
Before you paint your motorcycle with spray cans, properly preparing the surface is essential. This will ensure that the paint adheres well and creates a smooth finish. Start by removing all the motorcycle parts you plan to paint, such as the gas tank, fenders, and fairings. Clean these parts thoroughly to remove any dirt or grease that could interfere with the painting process.
Once the parts are clean, ensure the surface is dust and debris-free. You can use a cloth or a mild cleaner to remove residue. Next, inspect the surface for imperfections, such as rust or dents. Use sandpaper to smooth out these imperfections, ensuring the consistency is even and ready for paint.
Hap masking tape to protect areas you don’t want to be painted. This will prevent overspray and help create clean lines when you’re finished. It’s also essential to choose a well-ventilated area for painting. This will ensure that you have proper airflow and minimize the inhalation of fumes.
Detaching And Cleaning The Motorcycle Parts
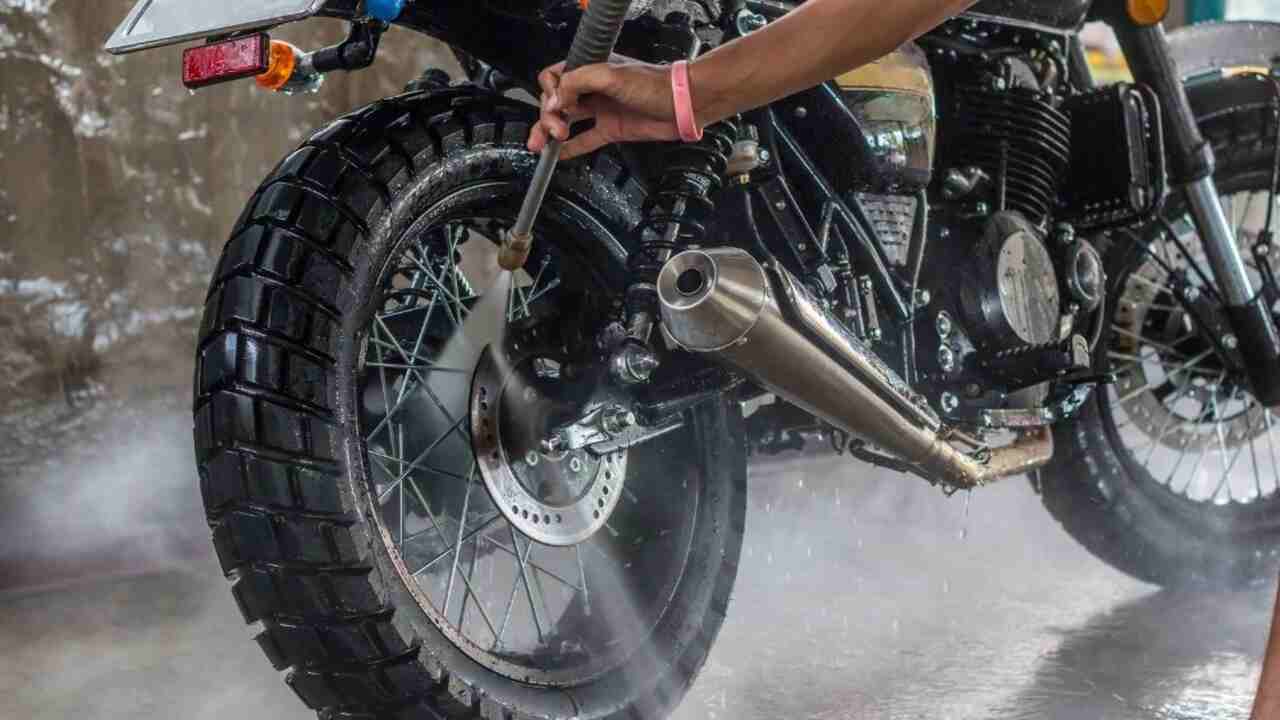
To prepare the motorcycle for painting, it is essential to detach all the removable parts, such as fairings and fuel tanks. This allows for easier access to all surfaces that need to be painted. After removing these parts, cleaning them thoroughly using appropriate cleaners is crucial. This removes any dirt, grease, or residue, providing a clean surface for the paint to adhere to. Once cleaned, it is essential to dry the parts entirely before proceeding with the painting process.
To achieve a smooth and professional finish, it is recommended to use a clean rag to wipe off any remaining dirt or residue from the parts. This helps to ensure that the paint will have a clean and even surface to adhere to. Additionally, it is essential to ensure compatibility between the cleaning agents used and the material of the parts. This prevents potential damage or adverse reactions between the cleaning agents and the motorcycle parts.
Sanding And Repairing The Motorcycle’s Surface
To prepare the motorcycle surface for painting, use sandpaper of the appropriate grit to sand the surface. This will help to roughen up the existing paint or primer, creating a better feeling for the new paint to adhere to. It will also help remove any rust or imperfections on the surface.
Next, inspect the surface for any dents or scratches. If you come across any, you can use filler or putty to repair them. Apply the filler or putty to the affected area and smooth it with sandpaper once it has dried. This will ensure the repaired areas are level and smooth, providing a seamless finish after painting.
Before applying primer, ensure the surface is clean and free from dust or debris. You can use a tack cloth to remove particles that may have settled on the surface. This step is crucial to achieving a smooth and flawless paint job.
Applying The Primer Layer
Before applying the primer layer to your motorcycle, it’s essential to shake the spray can well to ensure proper mixing of the primer. Once surprised, apply a thin and even primer coat onto your motorcycle’s surface. This will provide a smooth foundation for the paint and help with adhesion. Allow the primer to dry completely before moving on to the next step in the painting process.
After the primer has dried, carefully inspect the surface for any imperfections. If there are any, use sandpaper to sand them down until they are smooth gently. This will help create a flawless finish. It’s always a good idea to apply multiple coats of primer for better coverage, especially if you’re dealing with uneven surfaces or areas that require extra attention.
When choosing a primer, be sure to select one that is specifically designed for automotive use. You can find these primers at your local hardware store or automotive supply shop. If you’re unsure about which primer to use, seeking advice from a professional painter can be a great way to gather more info on the best product for your needs.
Ensuring An Even Coat Of Primer
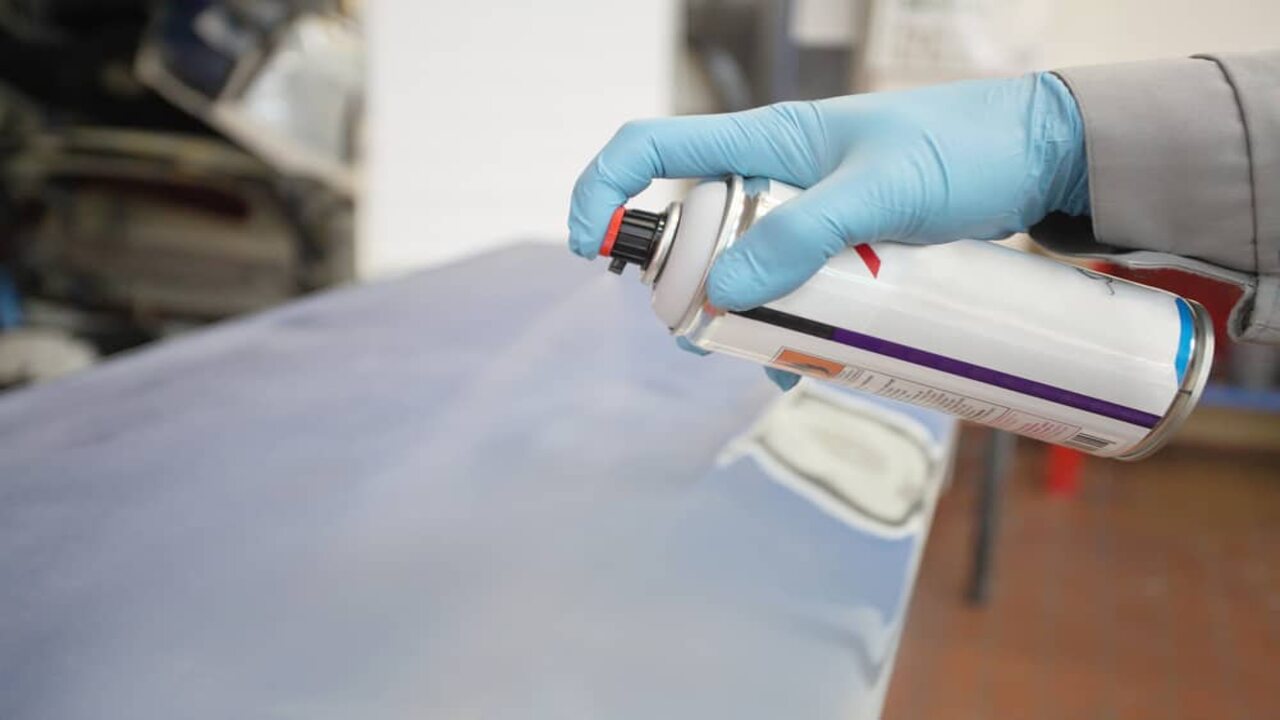
To achieve a professional-looking paint job on your motorcycle, ensuring an even coat of primer is crucial. Start by using a spraying technique that covers the surface evenly. This will help to avoid any patchy areas when applying the primer. Keep the nozzle at a consistent distance from the surface as you spray, maintaining a length of about 6-8 inches for optimal coverage.
Use smooth and overlapping strokes to create a seamless finish when applying the primer. This technique helps to blend the primer evenly across the surface, ensuring a uniform base for the paint. Avoid spraying too close or far from the surface, leading to uneven application and drips.
Instead of applying one thick coat, it’s recommended to apply multiple thin coats of primer. This allows for better coverage and adhesion to the surface. Each coat should be used in light, even layers, allowing sufficient drying time between each coat. Building up the primer gradually means you’ll achieve a smoother and more durable finish.
Remember to follow proper safety precautions and work in a well-ventilated area when conducting any spray painting. The key is to take your time and apply the primer precisely, ensuring that every surface is evenly coated. With these techniques, your motorcycle will be well-primed and ready for the next step in the painting process.
Painting With Spray Cans
Painting with Spray Cans:
When painting your motorcycle with spray cans, following some essential tips can help you achieve professional-looking results. Start by choosing high-quality aerosol spray paint from a reputable hardware store. This will ensure you have a wide range of colors and finishes and that the paint is formulated for durability and longevity.
Before you begin, read and carefully follow the instructions on the spray can. These instructions will provide valuable information about application techniques, drying times, and any additional steps you may need to take for optimal results.
When applying the paint, it’s essential in thin, even coats. This will help prevent drips, runs, and uneven coverage. Allow each coat to dry completely before applying the next one. This will ensure the paint adheres properly and gives you a smooth finish.
Use long, sweeping motions while spraying the paint to achieve a professional-looking result. This will help you evenly distribute the color and minimize streaks or lines. Practicing your technique on scrap metal or cardboard before painting your motorcycle is also good. This will give you a feel for the spray pattern and help you achieve the desired effect.
Techniques For A Smooth Paint Finish
To achieve a smooth paint finish when using spray cans to paint a motorcycle, there are several techniques you should keep in mind. First, holding the spray can at a consistent distance from the surface is essential. This ensures the paint is applied evenly and prevents any uneven spots or drips.
Another essential technique is to avoid spraying too heavily or too lightly. Finding the right balance is crucial for achieving a smooth and professional-looking result. Additionally, it’s essential to keep the nozzle moving while you spray. This helps to prevent drips or splotches and ensures an even application of paint.
Applying multiple thin coats is crucial to achieving a smooth and glossy finish. Instead of using one thick skin, it’s best to use several thin layers. This allows each layer to dry correctly and contributes a more even and durable finish.
Lastly, creating a well-ventilated area or using a spray booth is recommended during the painting process. This helps minimize the chance of dust or debris settling onto the wet paint, resulting in imperfections.
Applying The Clear Coat For Protection
Applying a clear coat is an essential step to ensure a lasting and glossy finish for your newly painted motorcycle. Before you begin, shake the can of clear coat well to ensure the contents are adequately mixed. Once ready, apply a thin and even layer of clear skin over the painted surface using smooth and consistent strokes. This will help protect the paint from everyday wear and tear and UV rays.
After applying the clear coat, allowing it to dry and cure according to the instructions is essential. This typically involves giving it sufficient time to air dry or using a heat lamp or baking method to accelerate the curing process. Once dry, inspect the surface for any imperfections or rough patches. If necessary, gently sand the surface with fine-grit sandpaper to achieve a smooth finish.
You can apply multiple coats of clear coat for added protection and a deeper shine. Just make sure to follow the recommended drying times between each coat. This will help build a solid and durable layer of protection for your motorcycle’s paintwork.
Drying And Curing The Paint
After applying the paint to your motorcycle with spray cans, allowing it to dry properly for the recommended time is crucial. This ensures that the paint sets and adheres to the surface effectively. During drying, avoiding touching or handling the freshly painted surface is essential to prevent any smudges or fingerprints.
If possible, keep the painted parts in a dust-free environment to minimize the risk of particles landing on the wet paint and affecting the finish. In addition to drying, curing the paint is essential in achieving a durable and long-lasting result. Following the instructions provided on the color can regarding fixing time is necessary.
Different colors may require different durations for curing, so adhering to these guidelines is crucial. Curing allows the paint to harden and develop its protective properties fully. To protect the freshly painted surface, avoiding exposure to extreme temperatures is advisable.
Heat can cause the paint to bubble or crack, while cold temperatures can slow the curing process. By keeping the painted motorcycle parts in a controlled environment, you can help ensure that the paint retains its quality over time.
What Are The Benefits Of Painting A Motorcycle With Spray Cans?
Painting a motorcycle with spray cans can offer several benefits. First and foremost, it is a cost-effective option compared to professional paint jobs. Spray cans are readily available and affordable, making them a budget-friendly choice for motorcycle enthusiasts.
Additionally, spray cans provide convenience and ease of use, allowing individuals to paint their motorcycles at home without needing specialized equipment or professional expertise. Furthermore, spray cans offer versatility in color options, allowing riders to customize their motorcycles according to their preferences.
Whether you want a sleek, glossy finish or a vibrant and eye-catching design, spray cans can help you achieve your desired look. Overall, painting a motorcycle with spray cans offers affordability, convenience, and creative freedom for motorcycle owners who want to give their bikes a fresh look.
How Can You Maintain The New Paint On Your Motorcycle?
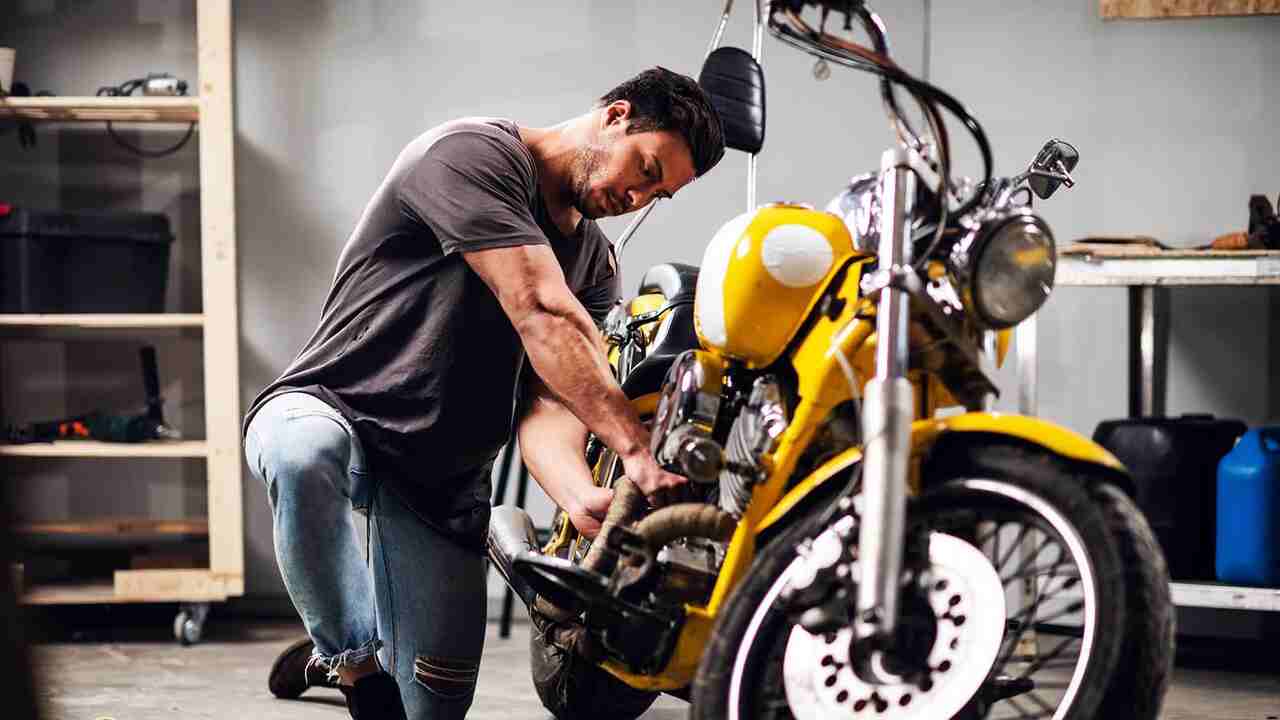
Once you have successfully painted your motorcycle using spray cans, taking the necessary steps to maintain the new paint job is essential. This will help ensure that your bike looks fresh and vibrant for years. Here are some tips to help you keep the new paint on your bike:
- – Regularly wash and wax your motorcycle. This will help remove any dirt or debris that may accumulate on the surface and potentially damage the paint.
- – Avoid parking your motorcycle in direct sunlight for extended periods. Prolonged exposure to UV rays can cause the paint to fade or discolor over time. If possible, try to park your motorcycle in a shaded area or use a cover.
- – Be cautious when cleaning your motorcycle. Use non-abrasive cleaners and soft cloths or sponges to avoid scratching the paint. Drying the surface thoroughly after washing to prevent water spots is also important.
- – Consider applying a clear coat or protective film over the painted surface. This can provide extra protection against scratches, chips, and UV damage.
Conclusion
Painting a motorcycle with spray cans is an accessible and cost-effective way to give your bike a fresh look. With the proper techniques and preparation, you can achieve a professional finish that will protect your motorcycle and make it stand out on the road.
Remember to choose high-quality spray cans and adequately prepare the surface by detaching and cleaning the parts, sanding imperfections, and applying a primer layer. Take your time when painting, using even strokes and allowing for proper drying and curing.
Finally, applying a clear coat will provide added protection and shine to your new paint job. So, grab your spray cans and transform your motorcycle into a unique and eye-catching ride.
Frequently Asked Questions
1.How Many Aerosol Cans Does It Take To Paint A Motorcycle?
Ans: The number of aerosol cans required to paint a motorcycle depends on size and condition. Typically, you will need 5-10 cans of primer, basecoat, and clearcoat. It is advisable to buy extra cans for touch-ups and ensure even coverage by following the instructions on the aerosol can.
2.Can I Paint A Motorcycle With Spray Paint?
Ans: Yes, it is possible to paint a motorcycle with spray paint. However, using high-quality automotive spray paint and adequately preparing the surface by sanding and priming is essential. Applying multiple thin coats of paint will help achieve a smooth finish without drips or runs.
3.What Spray Paint Should I Use For My Motorcycle?
Ans: When choosing spray paint for your motorcycle, opt for automotive-grade products. Acrylic enamel spray paint is popular due to its durability and glossy finish. Remember to invest in high-quality spray paint, even if it comes at a higher price. Proper painting techniques, like primer and clear coat, are essential for a successful result.
4.How Many Coats Of Spray Paint On A Motorcycle?
Ans: Generally, applying two to three coats of spray paint on a motorcycle is recommended. Each coat should be allowed to dry completely before applying the next one. Start with a light mist for the first coat and follow with heavier coats. Always refer to the manufacturer’s instructions on the spray can for best results.
5.How Do You Paint Plastic Motorcycle Parts With Spray Cans?
Ans: To paint plastic motorcycle parts with spray cans, start by thoroughly cleaning the parts with soap and water. Use a plastic primer specifically designed for these parts before applying several light coats of paint, ensuring each skin dries completely. Finish with a protective clear coat for a glossy finish.
Meet Allen Yu, the Spray Guru behind Spray Guider. With a passion for transforming rides into rolling works of art, Allen Yu specializes in Bike and Car Sprays. Unleash your vehicle’s potential with expert tips and creative inspiration. Elevate your ride with Allen Yu—because every spray tells a story!