
Regarding ensuring a flawless paint job, clearcoat is a vital component. However, things can go wrong during the application process, and overspray is a common issue.
If you’re dealing with clearcoat overspray, you know how frustrating it can be to have your otherwise perfect paint job ruined by unsightly spots and speckles. Fortunately, there are effective methods for removing clearcoat overspray and restoring your vehicle’s smooth and polished finish.
Here, we will guide you on removing clearcoat overspray and the common mistakes people make when attempting to do so. So whether you’re a professional mechanic or someone who wants to keep their car looking its best, read on for our expert tips and tricks.
Tools You Need For Removing Clearcoat Overspray
Regarding removing clearcoat overspray, having the right tools is essential. Here are some tools you will need for the job. These tools will make removing clearcoat overspray much easier and ensure that you achieve professional-looking results.
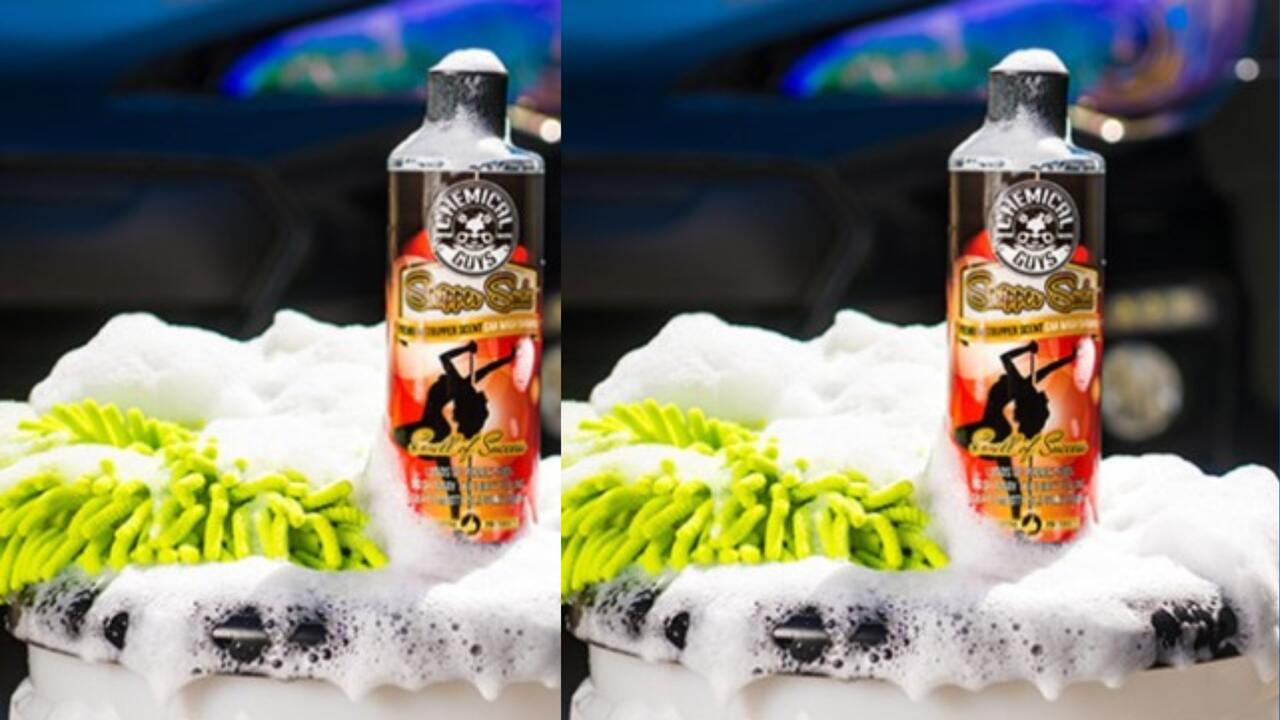
- Clay Bar: A clay bar is a must-have tool for removing overspray. It helps gently lift the overspray particles from the paint’s surface without causing any damage.
- Detailing Spray: Detailing spray is used with the clay bar to lubricate the surface and enhance its effectiveness. It also helps to remove any residue left behind by the clay bar.
- Microfiber Towels: Microfiber towels are perfect for drying and buffing the surface after removing the overspray. They are soft and gentle, ensuring they won’t scratch or damage the paint.
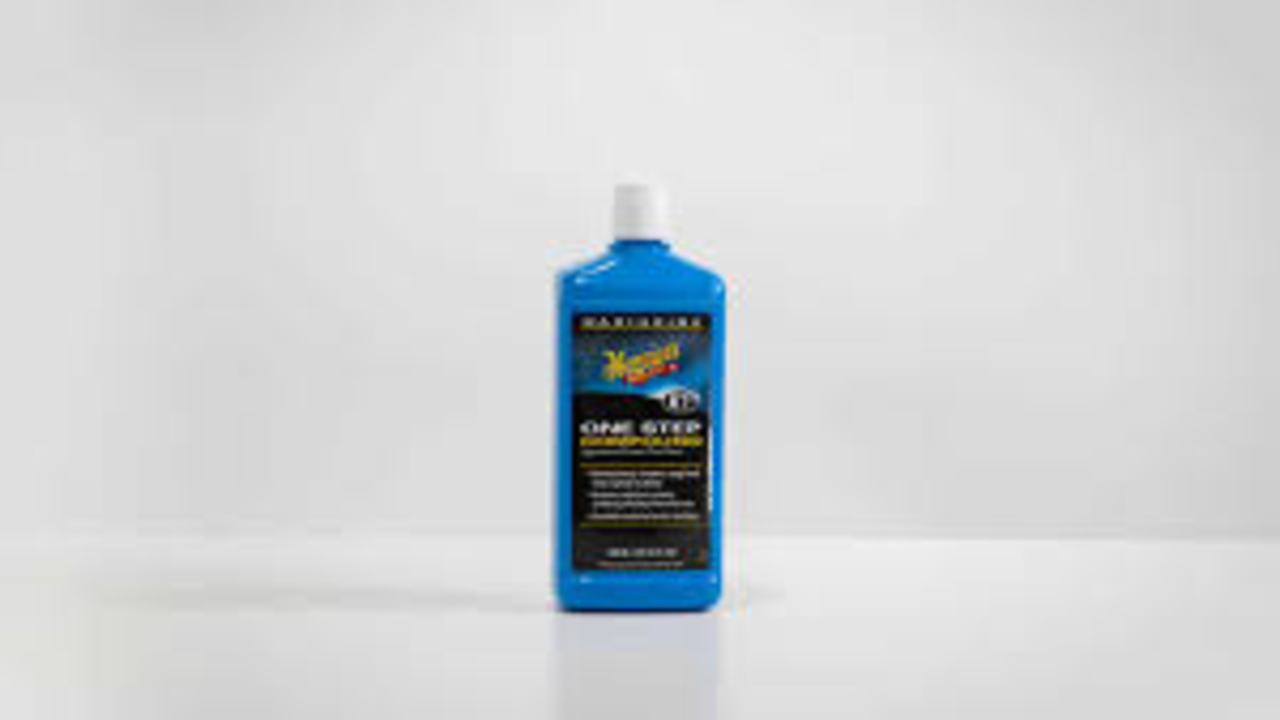
- Polishing Compound: In some cases, you may need to use a polishing compound to eliminate any remaining overspray or imperfections on the paint surface. This will help restore a smooth and glossy finish.
- Dual-Action Polisher: If you have a large area of overspray or multiple layers of clearcoat to remove, a dual-action polisher can be a time-saving tool. It allows you to quickly and effectively buff out any imperfections.
How To Remove Clearcoat Overspray Step-By-Step Guide
If you find yourself dealing with clearcoat overspray on your vehicle, you can try a few methods to remove it. One option is to use a clay bar, which can help to lift the overspray off the surface of the clearcoat gently. Another option is to use a mild abrasive compound, which can be applied with a soft cloth or sponge and rubbed in a circular motion to remove the overspray.
It’s important to test any method on a small, inconspicuous car area first to ensure it doesn’t damage the clear coat. If you’re unsure about how to proceed or if the overspray is extensive, it may be best to consult a professional detailer with experience in removing overspray without damaging the paint. Below, we guide you in detail on how to remove clearcoat overspray.
1.Prepare The Area For Cleaning

Before tackling the task of removing clearcoat overspray, it is essential to prepare the surrounding area. Cover nearby surfaces with plastic or masking tape to prevent any potential damage or transfer of overspray. This simple step will help protect the surfaces from accidental contact and ensure a smooth cleaning process.
Additionally, it is crucial to ensure that the area is well-ventilated to minimize exposure to any potentially harmful chemicals involved in the cleaning process. Adequate ventilation will contribute to a safer and more comfortable environment during removal. By preparing the area properly, you will set yourself up for a more efficient and effective cleaning experience.
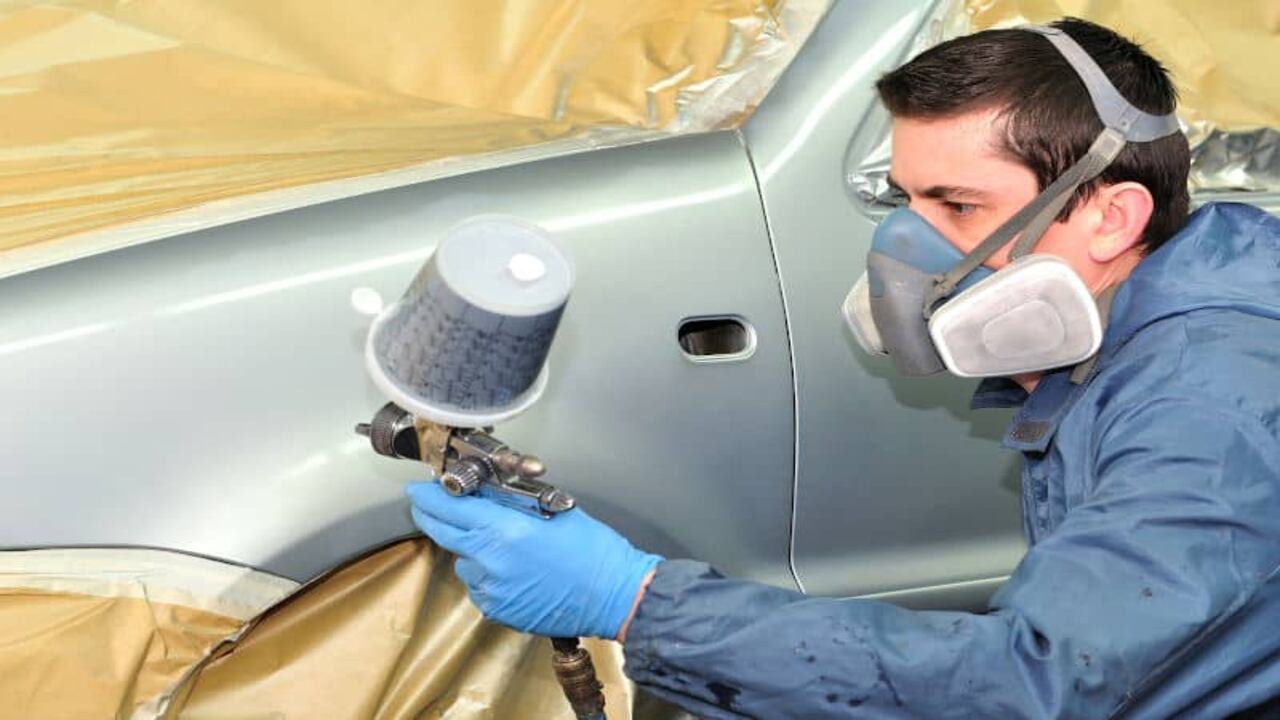
2.Apply A Chemical Stripper
Regarding removing clearcoat overspray, applying a chemical stripper can be an effective solution. A chemical stripper is designed to break down and dissolve the clearcoat overspray without damaging the paint. Before applying the chemical stripper, it is important to thoroughly clean and dry the affected area to ensure optimal results.
Once the surface is prepared, carefully apply the chemical stripper according to the manufacturer’s instructions. Allow the product to sit for the recommended time, typically a few minutes, before gently scrubbing or wiping away the clearcoat overspray.
It is important to wear protective gloves and work in a well-ventilated area when using chemical strippers. After removing the overspray, thoroughly rinse and dry the area to remove any remaining residue. Always test the product on a small, inconspicuous area first to ensure compatibility with your paint finish.
3.Scrub Away The Overspray
Once the clearcoat overspray has been softened, gently scrub the surface using a razor blade or steel wool. Avoid applying too much pressure to avoid damaging the underlying paint. It is important to regularly clean the razor blade or steel wool to prevent buildup and ensure effective removal. By scrubbing away the overspray, you can gradually reveal the vehicle’s original finish.
The process might take some time and effort, but it is necessary to achieve a flawless result. Working in small sections at a time will make the task more manageable. Remember to be patient and thorough in your approach. Scrubbing away the overspray will help restore the clarity and smoothness of the surface, leaving it ready for the next steps in the process.
4.Rinse Away The Stripper
After scrubbing the area with a chemical stripper to soften the clearcoat overspray, it is important to rinse away any residue left behind. Take your time and thoroughly rinse the surface to ensure that all traces of the stripper are removed. This will help prevent any potential damage to the underlying paint. Using water, gently rinse the area, removing any leftover chemicals.
Once the rinse is complete, pat dry the area with a clean cloth or towel to avoid water spots or streaks. This step is crucial to ensuring a smooth and flawless finish. By rinsing away the stripper and pat drying the area, you can proceed to the next steps of removing clearcoat overspray with ease.
5.Dry And Inspect The Area
After completing the removal process, the next step is to allow the surface to fully dry before moving forward. This is crucial to get an accurate assessment of any remaining clearcoat overspray. Make sure to give it enough time to dry completely so that you can inspect the area thoroughly.
Once the surface is dry, it’s important to use proper lighting and angle to examine it for any missed areas or imperfections. This will help you identify any spots that may need further attention. If you come across stubborn or missed overspray, don’t worry. Repeat the removal process in those areas to ensure a thorough job. Following these steps will give you a better chance of achieving a flawless finish.
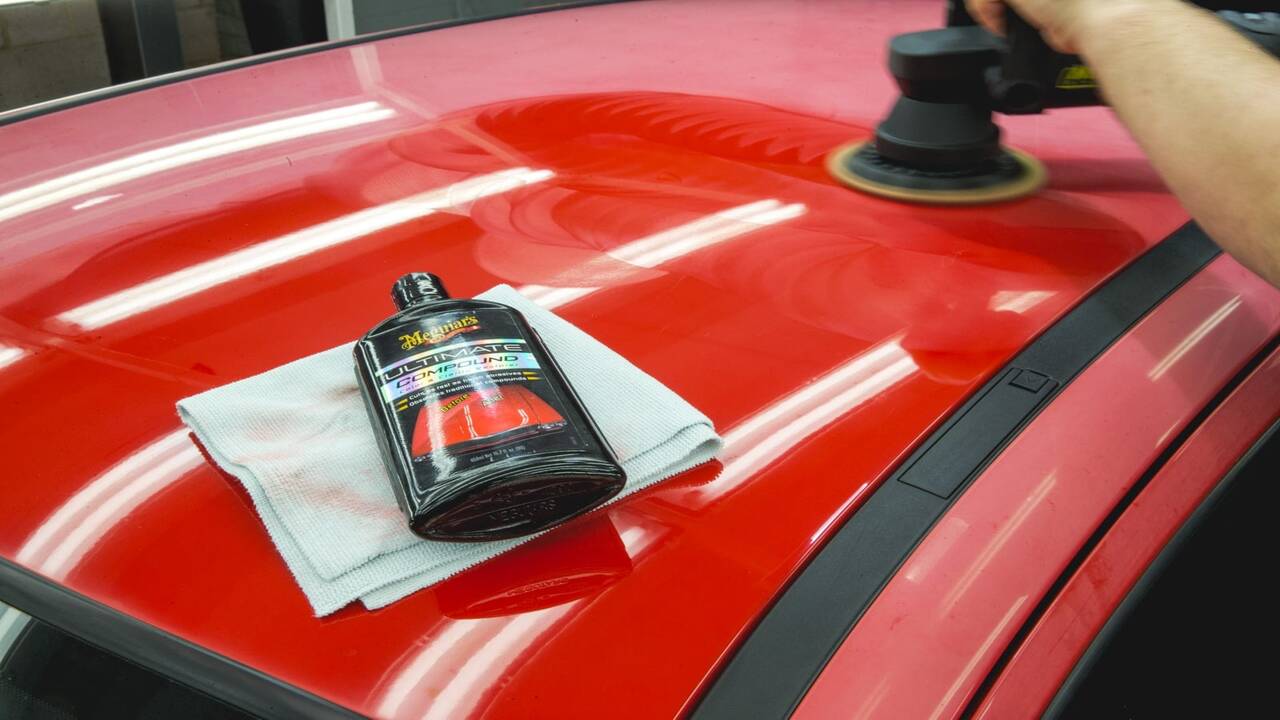
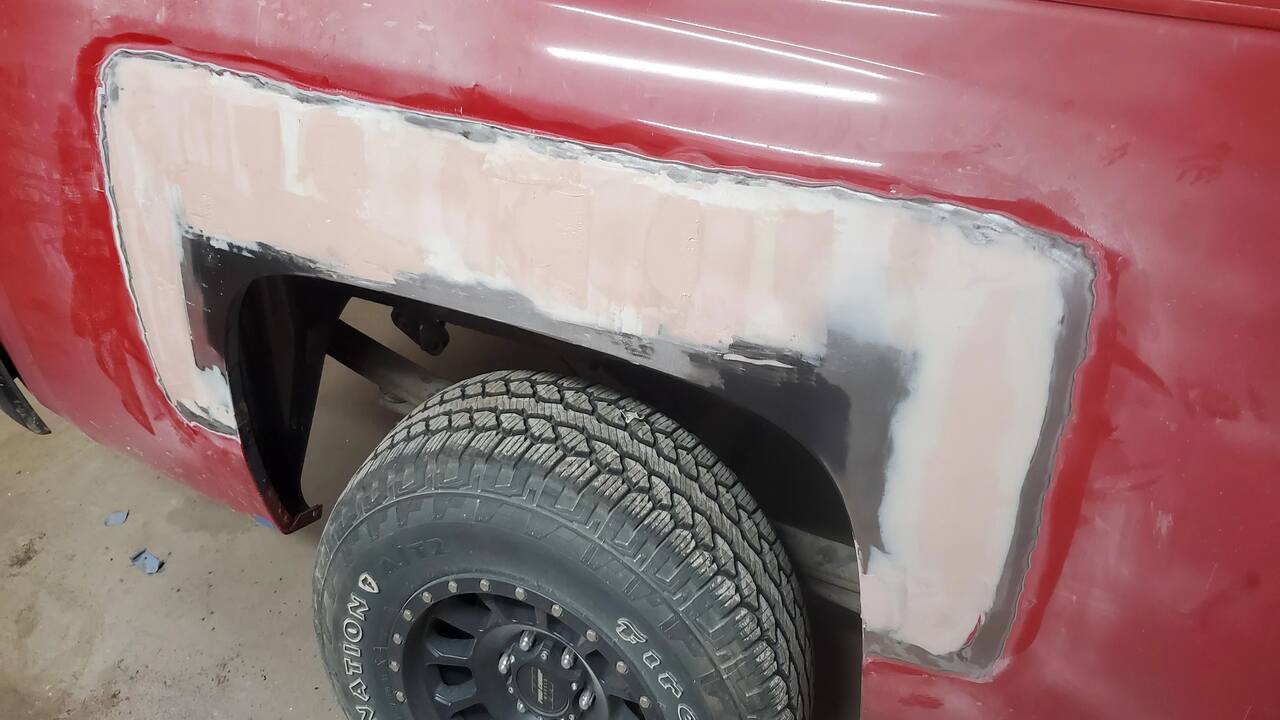
6.Buff The Area With A Polishing Compound
To remove clearcoat overspray, it is essential to buff the area with a polishing compound. This step plays a crucial role in restoring the shine and smoothness of the surface, seamlessly blending it with the surrounding paint. Using a clean cloth, apply the polishing compound in a circular motion for the best results. By buffing the area, you can achieve a flawless finish, giving your vehicle a professional appearance.
Buffing the area with a polishing compound helps eliminate any imperfections left behind after removing the clearcoat overspray. It ensures that the surface is smooth and free from any blemishes. The circular motion allows the polishing compound to distribute evenly across the area, enhancing the overall appearance. This technique also prevents potential damage from using excessive force or pressure during the buffing process.
Overall, buffing the area with a polishing compound is important in the clearcoat overspray removal process. It restores the shine and smoothness and provides a seamless integration with the surrounding paint. Remember to utilize proper techniques and take time to achieve the desired results.
7.Seal The Clearcoat With A Wax Or Sealant
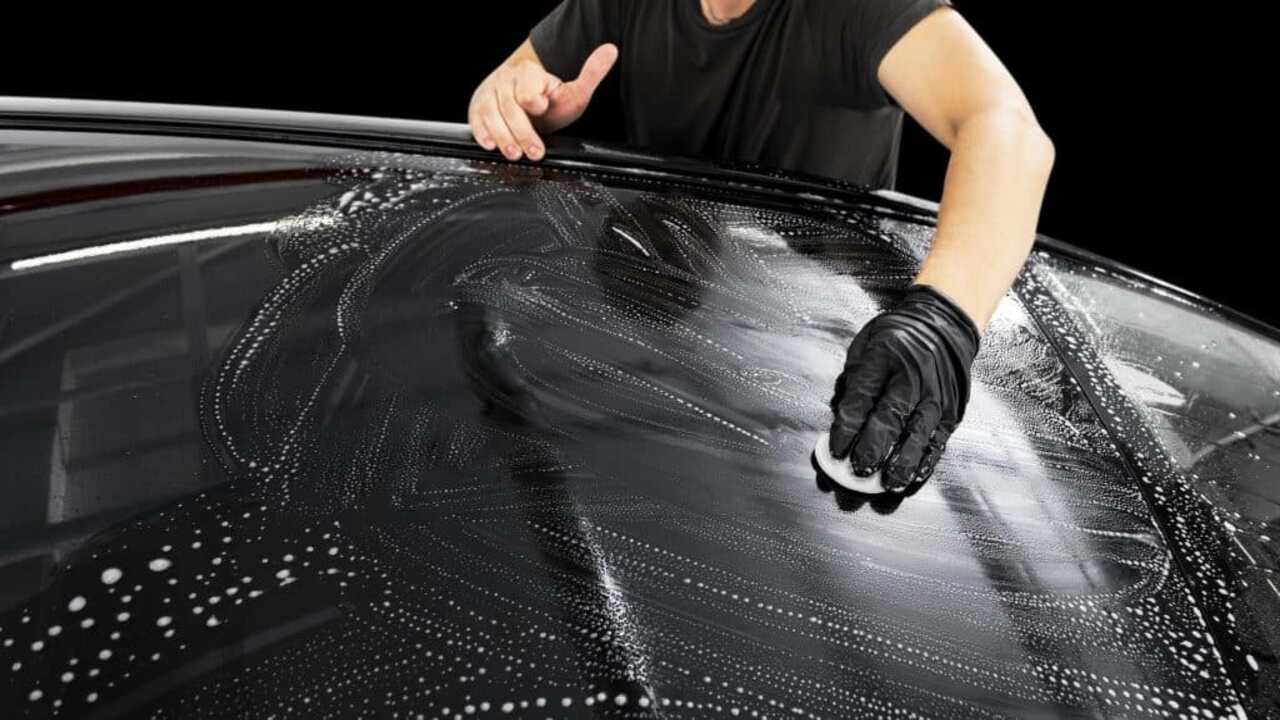
To seal the clearcoat and protect the surface after removing overspray, wash the affected area with soap and water to eliminate any dirt or debris. Next, use a clay bar to remove any remaining contaminants on the surface. Then, apply a rubbing or polishing compound with a microfiber cloth to effectively remove the overspray.
Once the clearcoat has been entirely removed, applying a high-quality wax or sealant is essential. This will not only protect the surface but also restore its shine. Regularly maintain and safeguard the surface by employing proper washing and detailing techniques. Following these steps ensures that your clearcoat is properly sealed and enjoys a flawless finish.
Common Mistakes When Removing Clearcoat Overspray
When it comes to removing clearcoat overspray, people often make some common mistakes. These mistakes can damage the underlying paint and result in a less-than-perfect finish. Here are some common mistakes to avoid when removing clearcoat overspray:
- Prepare the area by thoroughly cleaning and protecting surrounding surfaces.
- Gather all necessary supplies and tools, such as razor blades, paint thinner, steel wool, and clay bars.
- Apply a chemical stripper to soften the clearcoat overspray, following the manufacturer’s instructions and wearing protective gloves and eyewear.
- Gently scrub away the overspray using a soft cloth or sponge, using light pressure and circular motions.
- Rinse away the chemical stripper with clean water to remove any remaining residue.
- Dry and inspect the area to ensure all overspray has been removed.
- If needed, buff the area with a polishing compound to restore shine and smoothness.
- Finally, protect the clearcoat by sealing it with wax or sealant.
By avoiding these common mistakes, you can effectively remove clearcoat overspray without causing any harm to your vehicle’s paint job.
Conclusion
Removing clearcoat overspray requires careful preparation, the right tools, and a step-by-step approach. By following the correct process, you can effectively eliminate overspray and restore the appearance of your vehicle’s clearcoat. Remember to take your time and avoid common mistakes, such as using abrasive materials or skipping important steps.
If you’re unsure about tackling this task, it’s always a good idea to consult a professional who can provide expert guidance. With the right techniques and attention to detail, you can achieve a smooth, flawless finish that will make your vehicle look new. Hope now you understand how to remove clearcoat overspray.
Frequently Asked Questions
1.Can Clay Bar Remove Clear Coat Overspray?
Ans: Yes, a clay bar can effectively remove clear coat overspray. It gently lifts the overspray off the car’s surface without causing any damage. However, professional assistance may be required to avoid damaging the paint for thicker or long-standing overspray.
2.Does WD 40 Remove Overspray?
Ans: WD-40 can effectively remove overspray from certain surfaces, but its efficacy may vary depending on the type of clearcoat. Before applying WD-40 to the entire surface, it’s advisable to test a small area first.
3.Will Rubbing Alcohol Remove Overspray?
Ans: Rubbing alcohol can be effective in removing minor overspray from certain surfaces. However, it’s important to note that its effectiveness may vary depending on the type of overspray and the surface. Before rubbing alcohol, always conduct a small test in an inconspicuous area to ensure it won’t damage the surface.
4.What Solvents Can I Use To Remove Clear Coat From Glass?
Ans: When it comes to removing clear coat overspray from glass, there are a few effective solvents you can use. Acetone and rubbing alcohol are commonly used options. However, testing the solvent on a small area first is essential to avoid damaging the glass.
5.Is It Okay To Use Pressure Washer To Remove Paint Overspray From Glass?
Ans: Using a pressure washer to remove paint overspray from glass is not recommended. It can cause damage and scratches. Instead, opt for a clay bar or solvent-based cleaner designed for overspray removal. Always test the cleaning solution on a small area first.
Meet Allen Yu, the Spray Guru behind Spray Guider. With a passion for transforming rides into rolling works of art, Allen Yu specializes in Bike and Car Sprays. Unleash your vehicle’s potential with expert tips and creative inspiration. Elevate your ride with Allen Yu—because every spray tells a story!