
If you want to give your bike a fresh look, spray painting is a great way to achieve a sleek and stylish finish. However, spray painting can be daunting for beginners who have never tackled a DIY project on their bikes before.
We’ve compiled this beginner’s Guide to Spray paint for a bike. From choosing the right color to prepping your bike and applying the paint, we’ll walk you through each step to ensure you achieve a professional-looking finish.
When choosing the right paint, there are a few key factors to consider, such as the type of paint, its finish, and the color. Prepping your bike is crucial to ensure the paint adheres properly and lasts as long as possible. This includes cleaning, sanding, and masking parts you don’t want to paint.
About To Spray Paint For Bikes
If you are about to spray paint your bike, there are a few things to keep in mind. First, make sure you have all the necessary equipment and materials. This includes spray paint, primer, sandpaper, a cleaning solution, and protective gear such as gloves and a mask.
Before beginning the painting process, it is essential to thoroughly clean and sand the bike to ensure a smooth surface for the paint to adhere to. Applying a primer before the spray paint can also help the color last longer and prevent chipping or peeling.
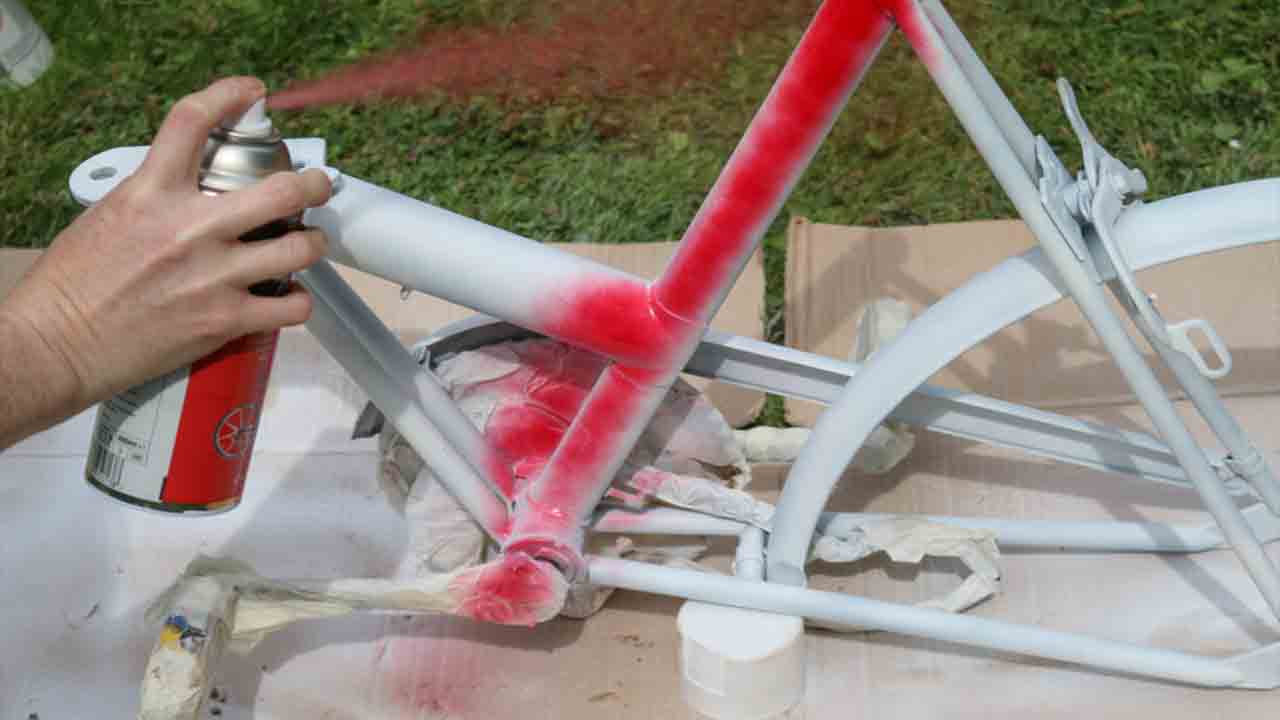
When it is time to spray paint your bike, ensure you are in a well-ventilated area and away from any valuable items that could be damaged by overspray. Begin with light and even coats, allowing each layer to dry completely before applying the next. Applying several thin coats rather than one thick skin is better, as this will help prevent drips and ensure a smooth finish.
Benefits Of Using Spray Paint For Bikes
I’m excited to start spray painting my bike today! I’ve wanted to give it a fresh coat of paint for a while now, and I finally have everything I need to get started. Here are some of the things I’m thinking about as I prepare to start painting:
- Safety First: I’ll wear a mask and gloves to protect myself from the fumes and chemicals in the spray paint.
- Prepping The Surface: Before spraying, I’ll clean the bike thoroughly and sand down any rough patches. This will help the paint adhere better and create a smoother finish.
- Choosing The Right Paint: I’ve researched and found Spray paint specifically designed for bike frames. Choosing a color that will hold up to the wear and tear of riding is essential.
- Applying The Paint: I’ll start with a light coat and gradually build the layers. Keeping the nozzle about 6-8 inches from the bike is essential.
Types Of Spray Paints For Bikes
Regarding giving your bike a fresh new look, spray painting is one of the most effective and affordable ways. However, with so many types of spray paints available in the market, choosing the right one for your bike can be unclear. This is where spray bike paint comes in.
Specifically formulated for bicycle use, spray bike paint offers a range of benefits that make it the go-to choice for many cycling enthusiasts. Firstly, it is designed to provide a durable, long-lasting finish that can resist the wear and tear of regular use. Here are a few types of spray paints that you can consider for painting your bike:
- Acrylic spray paint.
- Enamel spray paint.
- Epoxy spray paint.
- Lacquer spray paint.
- Metallic spray paint.
- Fluorescent spray paint.
- High-temperature spray paint.
- Matte spray paint.
- Gloss spray paint.
- Clear coat spray paint.
Step-By-Step Guide To Spray Paint For A Bike
Spray paint for a bike can revamp your old and rusty ride into a fresh and stylish one. Whether you want to change the color of your bike, fix scratches or marks, or add some personality to your ride, spray paint is a great option. However, it’s important to choose the right type of spray paint for your bike.
Different types of spray paint exist for other surfaces, and using the wrong one can damage your bike. It’s recommended to choose high-quality spray paint specially formulated for use on metal surfaces.
Additionally, it’s important to properly prepare the surface before painting, by cleaning and sanding it to ensure that the paint adheres well. Use even strokes when applying the spray paint, and maintain a consistent distance from the bike to avoid uneven coverage or drips. Here, we give a Step-by-Step Guide to spray paint- for a motorcycle.
Choosing The Right Spray Paint
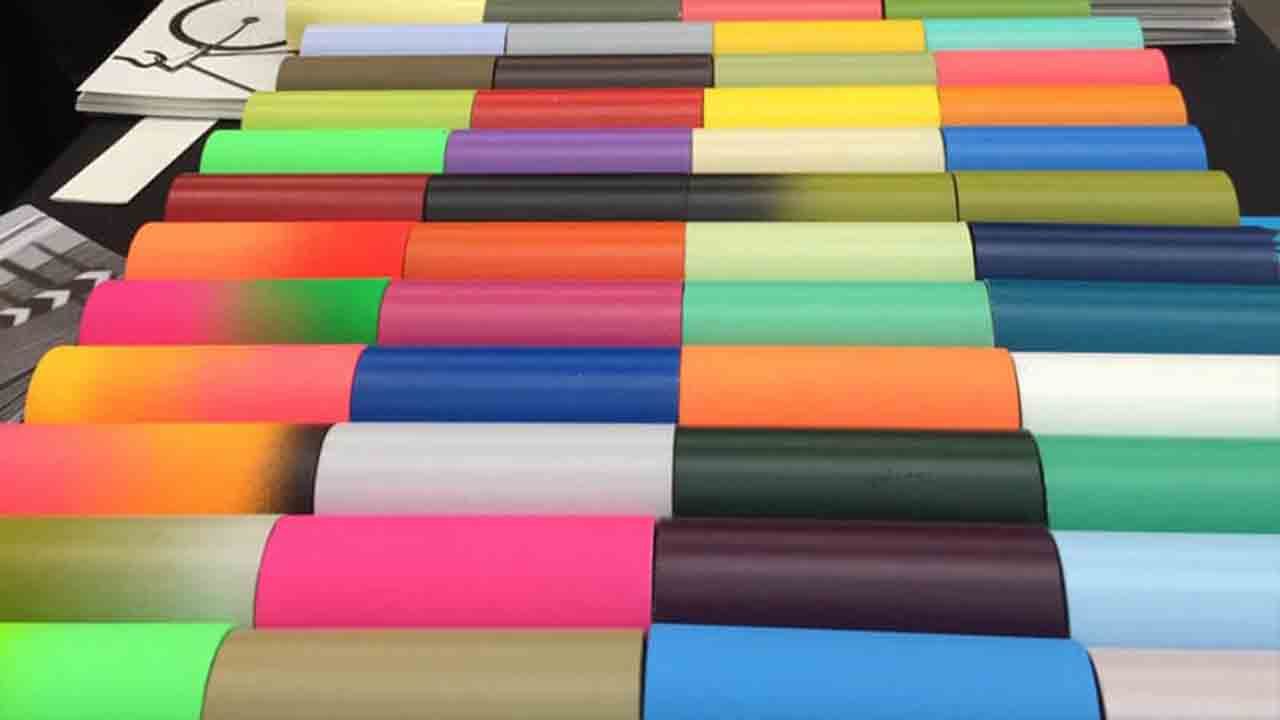
Choosing the right Spray paint for your bike might seem daunting, but it can be a straightforward process with some research. When selecting spray paint, it is essential to consider the type of surface you will be painting, the color you want, and the finish you desire.
Some spray paints are formulated specifically for bike frames and will adhere better to the metal, while others may be designed for different surfaces, such as plastic or wood. The color of the paint is also an important consideration, as some stains may require several coats to achieve the desired shade, while others may only need one.
Finally, the paint’s finish can make a significant difference in the overall appearance of your bike. Matte finishes can provide a sleek, modern look, while glossy finishes offer a classic shine. It is also essential to consider the brand and quality of the spray paint you choose. Cheaper options may not last as long or protect against wear and tear. Checking reviews and ratings can.
Preparing Your Bike For Painting
Preparing your bike for painting is an essential task that any bike enthusiast should undertake if they want their bike to look as good as new. Before you use Spray bike paint, it’s necessary to ensure the bike’s surface is clean and free of debris or dirt. This can be achieved using a solvent or degreaser to remove any existing paint, rust, or grime. Here are some crucial steps to follow to ensure that your bike is well-prepared for painting:
- Start by removing all the parts that you don’t want to paint, such as the seat, tires, brakes, and pedals. This will make it easier to paint the bike and give it a smooth finish.
- Clean the bike thoroughly with soap and water to remove all dirt and grime. Use a soft bristle brush to get into all the nooks and crannies.
- Sand the bike’s surface with fine-grit sandpaper to remove any rust or paint that is chipping off.
- Wipe the bike’s surface with a clean cloth to remove all the sanding dust.
- Apply a primer to the bike’s surface to ensure that the paint adheres well to the surface.
- Once the primer has dried, apply a layer of paint to the bike using the spray bike paint.
Steps To Spray Paint Your Bike
Spray painting your bike can be a fun and cost-effective way of giving it a fresh new look. The process can be broken down into several simple steps, starting with preparation. First, remove all the parts you don’t want to paint, like the saddle, handlebars, and pedals.
Clean the bike thoroughly to remove dirt, grime, and any old paint residue. Sand down any rough or rusted areas, and apply a primer to the frame to help the paint adhere better. Once the primer is dry, it’s time to apply the color.
Use a Spray paint specifically designed for metal surfaces and apply a thin, even layer. Don’t try to cover the entire bike in one go. Instead, spray in short bursts and allow it to dry before applying the next layer. Depending on the color and type of paint, you may need several coats. Once you’re happy with the color, apply a clear coat to protect the paint and give it a glossy finish. Here we provide some information about this:
Removing Bike Components
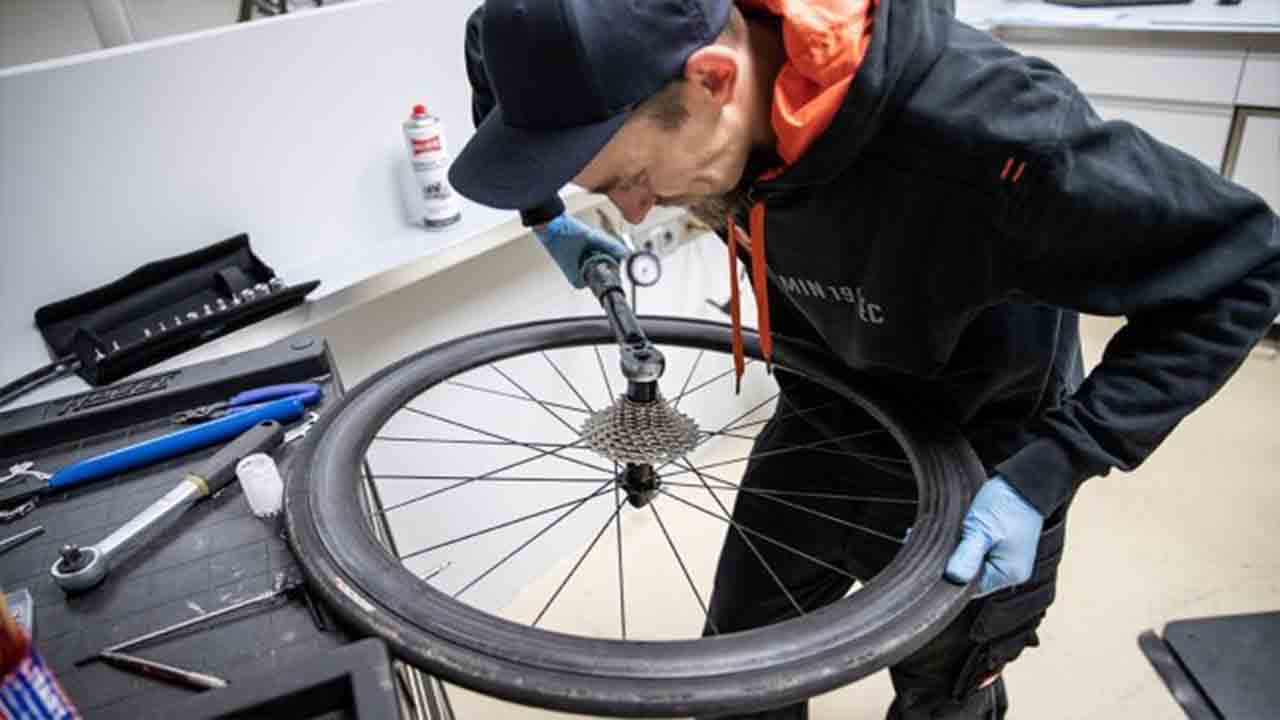
If you’re thinking of giving your bike a new look, Spray painting the components is a cost-effective way to do it. However, before you start spraying, you need to remove the bike components first. This includes the handlebars, seat post, Chain, wheels, and pedals.
Make sure to clean and sand down the surface area for better adhesion. Then, apply a primer coat to help the Spray paint stick and ensure a smooth finish. Here’s a quick guide on how to do it:
- Begin by identifying the components you want to remove. This can include the handlebars, pedals, seat, and wheels.
- Use the appropriate tools to remove the components. For example, use a wrench to remove the pedals and a screwdriver to remove the handlebars.
- Keep track of all the screws and bolts you remove, so you can quickly put everything back together later.
- Once the components are removed, you can begin preparing them for painting. Clean them thoroughly with soap and water, then use sandpaper to rough the surface. This will help the paint adhere better.
- Apply a coat of primer before spraying the final color. This will ensure that the paint sticks and lasts longer.
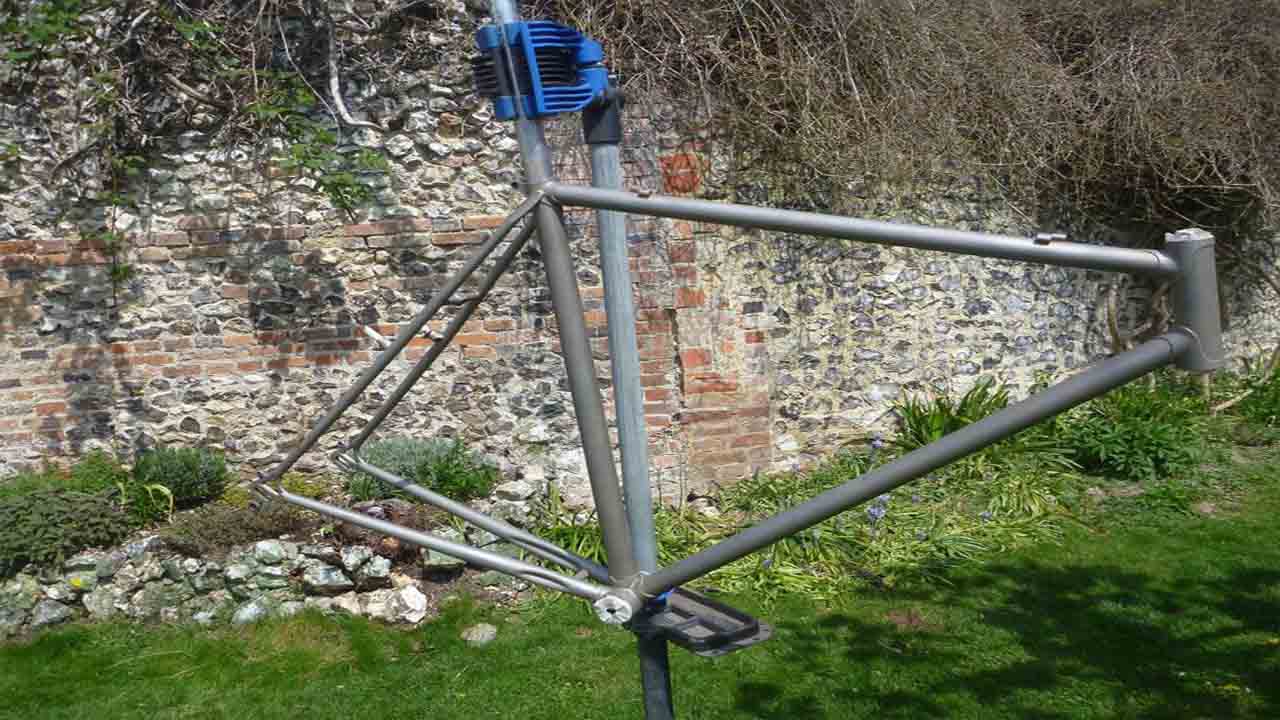
Sanding The Bike Frame
Sanding the bike frame is an essential step in the process of preparing your bike for painting or any other kind of finish that you have in mind. It helps to create a smooth surface that allows the paint or finish to adhere better to the frame, ensuring that the final product looks professional and lasts longer.
You will need sandpaper or a sanding block to sand the bike frame, depending on the type of surface you are working with. It is essential to start with coarse grit sandpaper to remove any existing paint, rust, or blemishes on the frame.
Once you have removed all the imperfections, gradually move on to finer grit sandpaper to create a smooth surface. Take care to sand all the crevices and corners of the frame to ensure an even finish. Sanding the bike frame is time-consuming, but the result is worth it.
Cleaning The Bike Frame
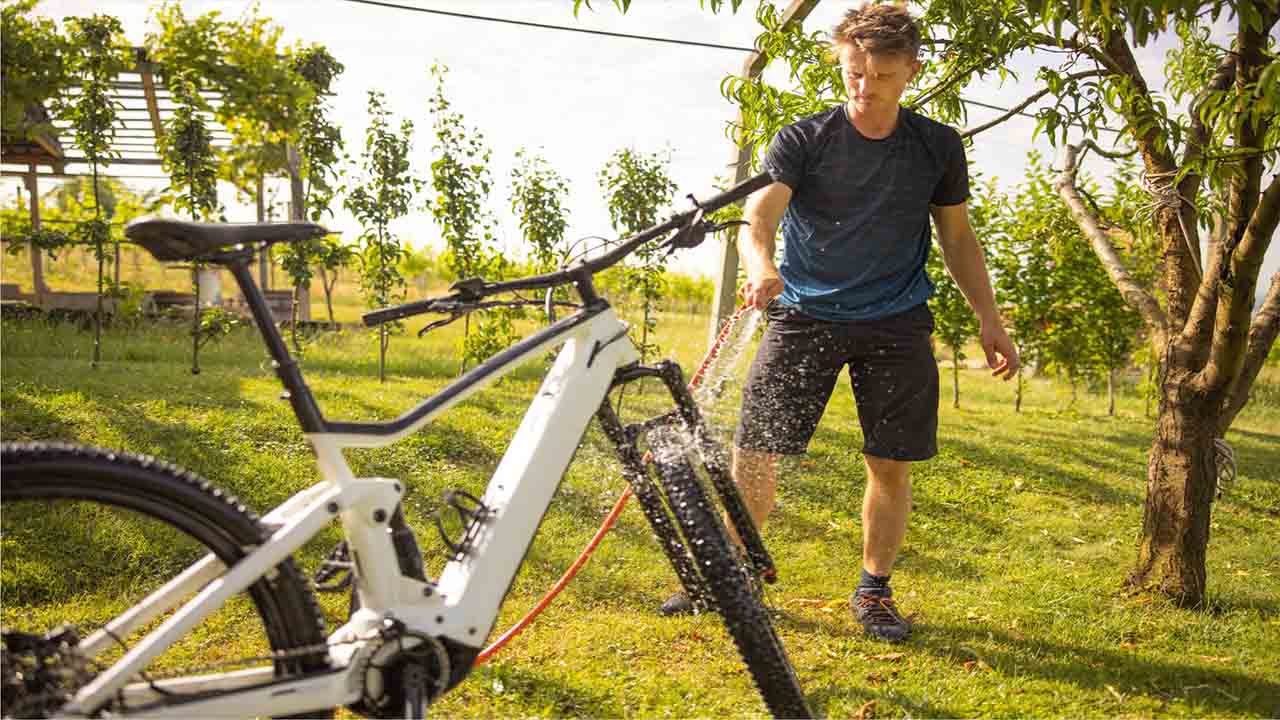
When spray painting your bike frame, one of the most important steps is cleaning the surface thoroughly. This ensures the paint adheres properly and doesn’t peel or chip off easily. Before beginning the painting process, it’s recommended to remove any old paint or decals from the frame using sandpaper or a stripping agent. Here are a few tips to ensure that your bike frame is clean and ready for painting:
- Start by removing loose dirt, grime, or rust with a wire brush.
- Next, use a degreaser to remove any grease, oil, or other contaminants from the surface of the frame. Be sure to follow the instructions on the degreaser carefully and wear protective gloves.
- Once the degreaser has been applied and allowed to sit for the recommended amount of time, use a sponge or cloth to scrub the surface of the frame until it is clean.
- Rinse the frame thoroughly with water to remove any remaining debris or cleaning solution.
- It allows the frame to dry completely before moving on to the next step.
By taking the time to properly clean your bike frame before spray painting, you can ensure that the paint adheres properly and looks great for years to come.
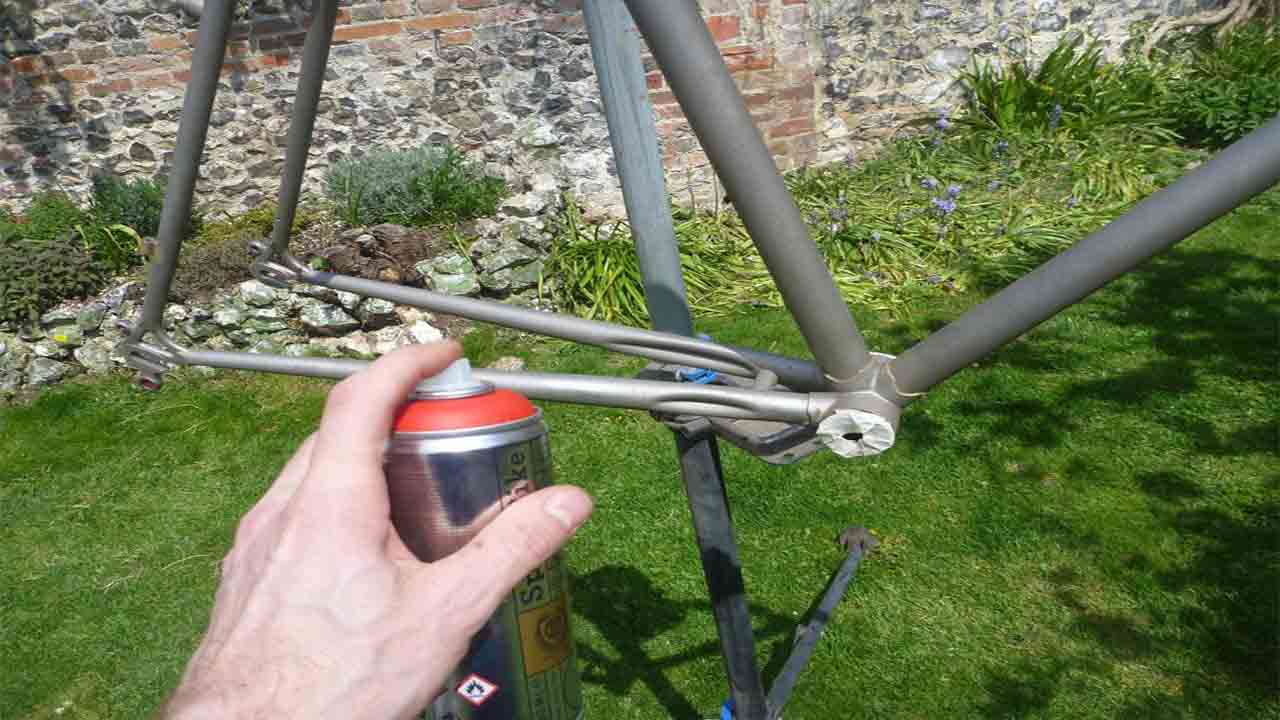
Applying Primer
Applying primer for spray paint on a bike is essential for achieving a smooth and durable finish. The primer creates a bond between the colors and the metal surface of the bike. Before applying the primer, cleaning the bike thoroughly to ensure no dirt or grease on the surface is essential.
Start by sanding the bike with fine-grit sandpaper to remove any rust or rough spots. Then, apply the primer in a thin, even coat, making sure to cover the entire surface of the bike. Allow the primer to dry completely before applying the spray paint.
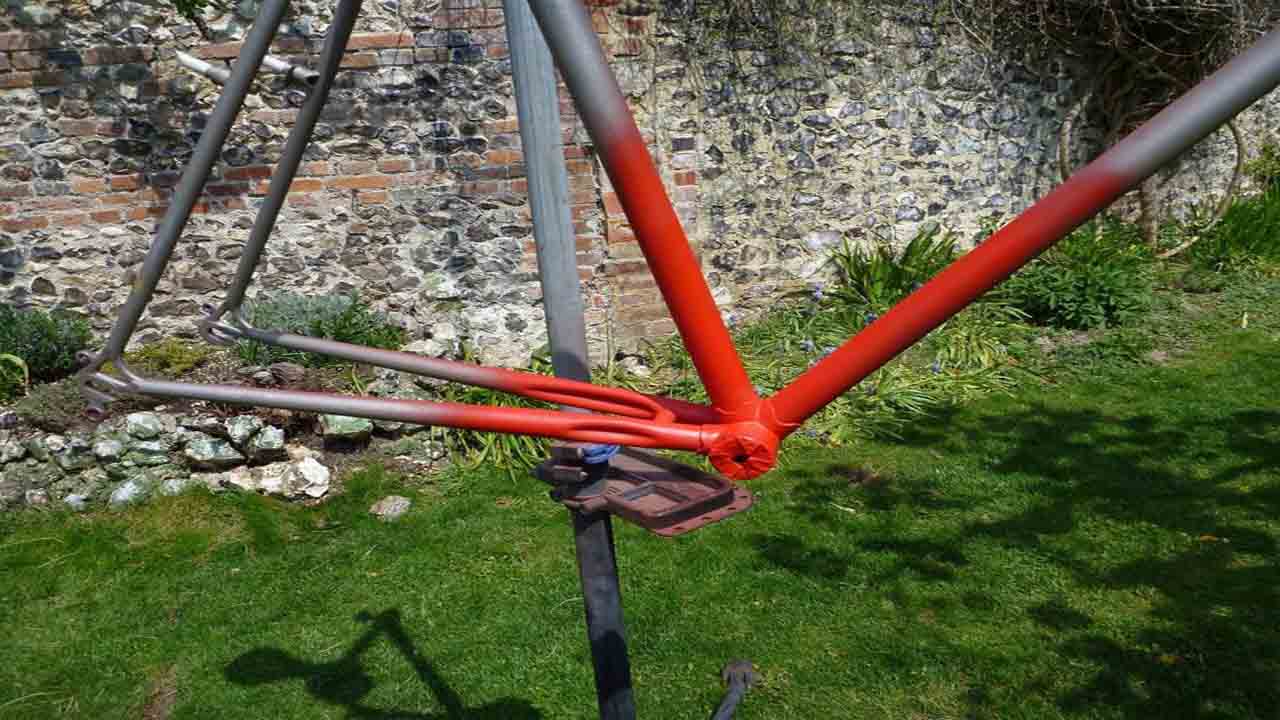
Applying Spray Paint
If you’re looking to give your bike a fresh new look, applying spray paint is a great way. Using spray paint can be a quick and easy way to change the color or add flair to your bike. However, ensuring you do it right is essential to get the best results. First, make sure you choose the right type of spray paint for your bike.
If you have a bullet bike, you’ll want to choose a paint specifically designed for metal surfaces. Next, prepare the bike for painting by thoroughly cleaning it and sanding any rough spots. Once you start painting, apply the spray paint in even, light coats.
It’s better to do multiple thin coats than one thick one to help prevent drips and uneven surfaces. Additionally, allow each coat to dry completely before applying the next one. This will help ensure a smooth and even finish.
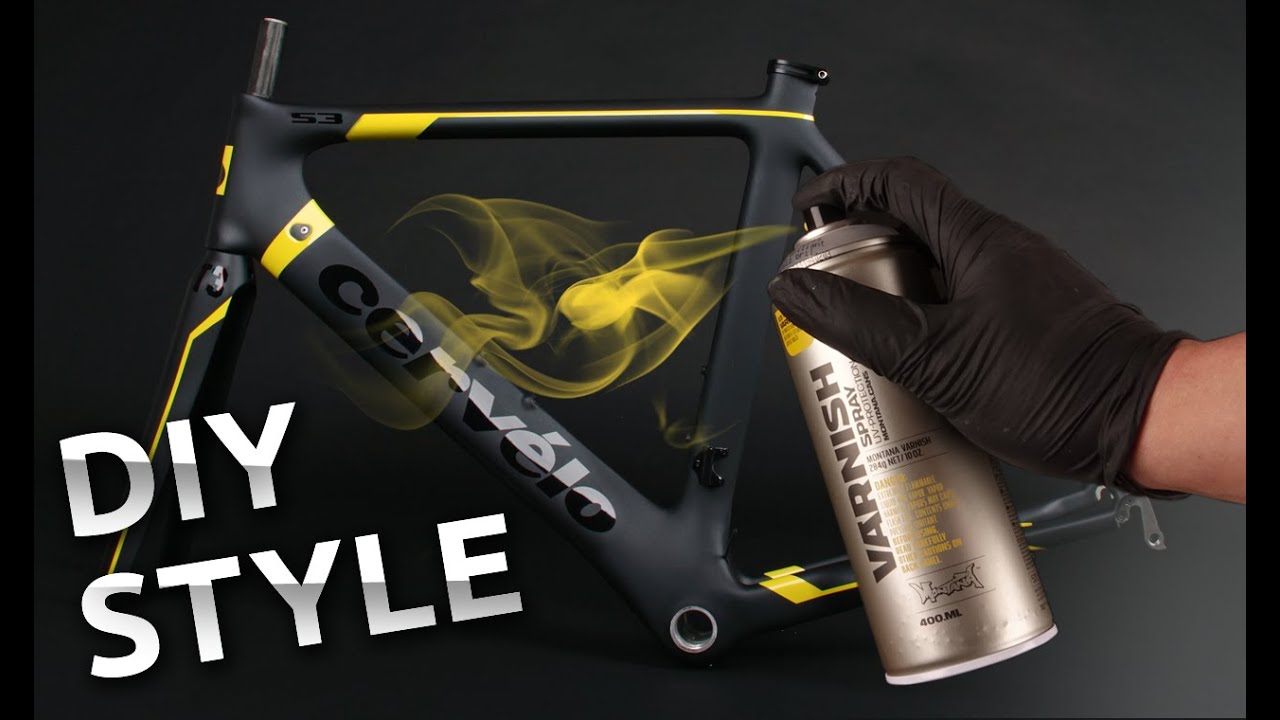
Applying Clear Coat
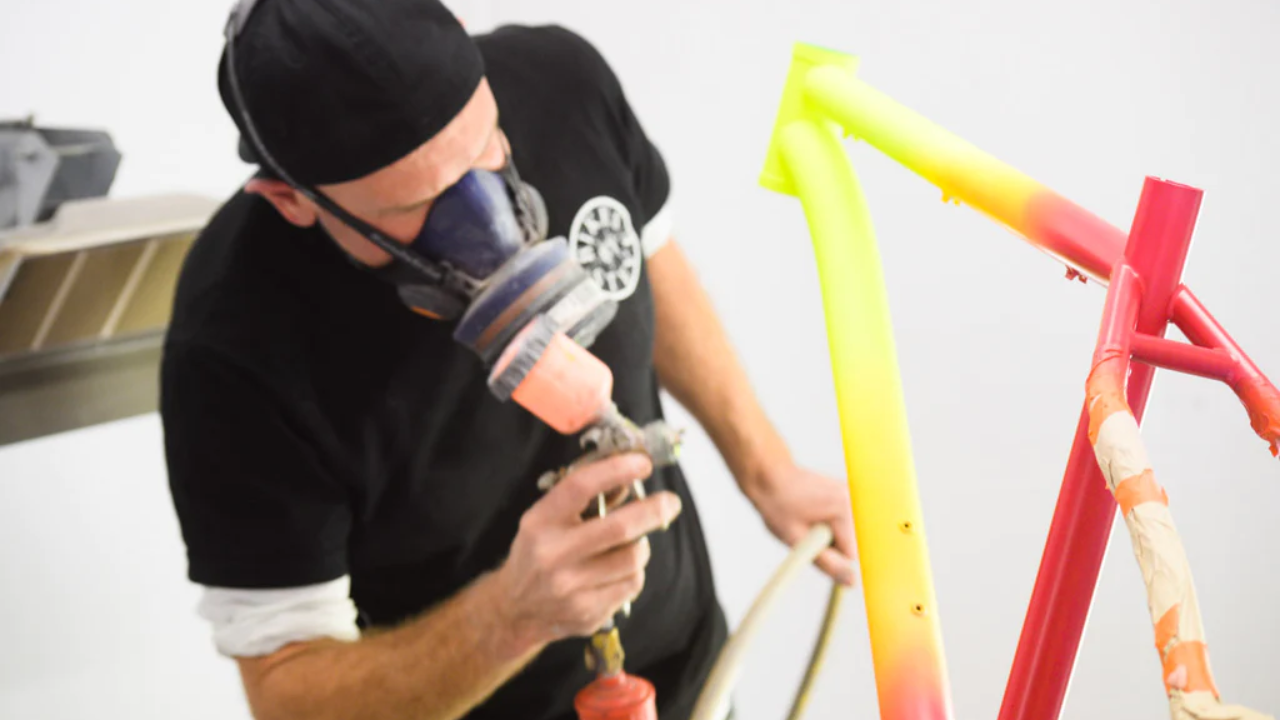
When getting the perfect finish on your bike, applying clear coat paint is essential. This process involves using a spray gun to evenly distribute a layer of clear coat over the bike’s surface. To begin, you’ll need to prepare your motorcycle for painting by sanding down any rough spots and cleaning it thoroughly. Once you’ve done this, it’s time to apply the clear coat of paint.
First, wear protective gear like a mask and gloves to avoid inhaling the Spray and getting paint on your skin. Then, load your spray gun with the clear coat paint and spray the bike, starting with the minor sections and working your way up to the larger areas.
Be sure to keep the spray gun’s nozzle at a consistent distance from the bike’s surface to avoid uneven coverage. When applying clear coat paint to a motorcycle with a bullet, take extra care around this area to ensure the clear coat is evenly spread and the shell remains undisturbed.
The Pros And Cons Of Spray Painting Your Bike
Spray painting your bike can be a great way to give it a new look and make it stand out from the crowd. However, like any DIY project, there are pros and cons to consider before jumping in. Using spray bike paint is a cost-effective and efficient way to customize your bike. It can also be a fun and satisfying activity for those who enjoy working with their hands. Here are some key points to keep in mind:
Pros
- Cost-Effective: Spray painting your bike yourself is much cheaper than taking it to a professional for a custom paint job.
- Customization: You can choose any color or design, making your bike unique.
- Fun DIY Project: Spray painting your bike can be fun and rewarding for those who enjoy working with their hands.
Cons
- Time-Consuming: Painting a bike is time-consuming, especially if you want to do it properly. It requires much prep work, including sanding and cleaning the frame, taping off parts you don’t want to paint, and applying multiple coats of paint.
Tips For A Professional-Looking Spray Paint Finish
Painting a bike can be fun and rewarding, but getting a professional-looking spray paint finish can be tricky. Fortunately, spray bike paint makes the process much easier. This type of paint is specifically designed for bicycle use and is available in various colors and finishes. Here are 6 tips to help you achieve a polished and durable finish:
- Choose The Right Paint: Look for Spray paint specifically formulated for use on bikes, as it will be more durable and resistant to scratches.
- 2. Clean And Prep The Surface: Ensure the bike frame is clean and free of grease and dirt, and use sandpaper to gently rough up the surface for better adhesion.
- Remove All Components: Take apart all removable parts, such as the wheels, handlebars, and pedals to ensure a smooth and even finish.
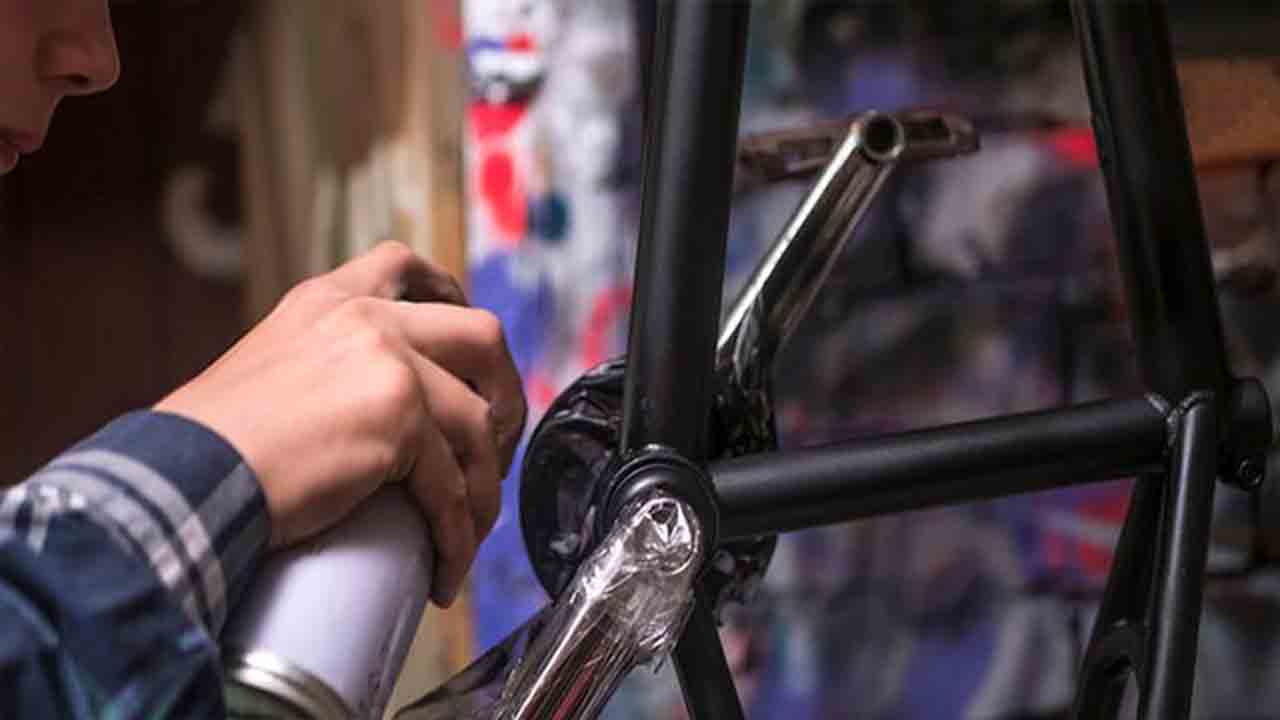
- Cover Up Any Parts You Don’t Want Painted: Use masking tape to cover up any parts of the bike that you don’t want to be painted, such as the seat post or brake cables.
- Apply A Primer: A primer will help the paint adhere better to the bike frame and provide a smoother finish. Apply it in thin, even coats and allow it to dry completely.
- Apply The Paint In Thin Layers: Spray the stain in thin layers, overlapping each pass slightly to ensure even coverage. Avoid spraying too heavily, as it can cause drips and runs.
Maintaining Your Spray-Painted Bike
Maintaining a spray-painted bike can be challenging, especially if you want to keep it looking fresh and new for an extended period. But with the right approach, you can make your bike look like it just rolled out of the spray booth.
One of the first things to consider is the Spray bike paint you use. Opt for high-quality, durable paint that can withstand the elements and abrasions. Here are some ways to maintain your spray-painted bike:
- Avoid Scratches: The first step to maintaining your spray-painted bike is to avoid scratches. Be extra careful when locking or leaning your bike against walls or other objects.
- Clean Your Bike Regularly: Regular cleaning is essential to maintaining the look of your spray-painted bike. Use gentle soap and a soft cloth to clean your bike every week.
- Wax Your Bike: After cleaning your bike, apply a coat of wax to protect the paint job from the elements.
- Store Your Bike In A Dry Place: Moisture can be detrimental to your bike’s paint job. Always store your motorcycle dry, away from moisture or humidity.
- Use a Bike Cover: If you can’t store your bike in a dry place, use a bike cover to protect it from the elements.
- Keep The Chain Lubricated: Keeping your bike’s Chain lubricated will extend its lifespan and protect the paint.
Conclusion
Choosing the right Spray paint for a bike can make all the difference in terms of longevity and aesthetics. With various options available, it’s essential to consider factors such as durability, color selection, and ease of application before deciding.
By taking the time to research and select the best spray paint for your bike, you can ensure that your ride looks great and stands up to everyday use’s wear and tear. So, invest in the right Spray paint and give your bike the makeover it deserves. Additionally, it’s essential to follow proper preparation and application techniques when using spray bike paint.
FAQ
1.Can I Spray-Paint My Bike Without Taking It Apart?
Ans: While spraying your bike without taking it apart is possible, it is not recommended. Removing the wheels, handlebars, pedals, and other parts will ensure that the paint job is smooth and even.
2.What Type Of Paint Should I Use To Spray Paint My Bike?
Ans: You should use spray paint that is specifically formulated for use on metal surfaces. Look for a color designed for outdoor use that can withstand the elements.
3.How Many Coats Of Paint Should I Apply To My Bike?
Ans: It is recommended to apply at least two coats of paint to your bike. Allow each coat to dry completely before applying the next. If you are using metallic or pearl spray bike paint, it is advised to apply a clear coat over the top to give it a glossy finish and protect it from scratches.
4.How Long Does It Take For The Paint To Dry?
Ans: It depends on the type of paint you are using and the weather conditions. Generally, the paint takes 24-48 hours to fully dry. However, it’s always best to read the manufacturer’s instructions to ensure you give the color enough time to fully cure before using your bike again.
5.Should I Wear A Mask When Spray Painting My Bike?
Ans: Yes, wearing a mask when spray painting your bike is essential to protect your lungs from the fumes. Additionally, make sure you are in a well-ventilated area.
Meet Allen Yu, the Spray Guru behind Spray Guider. With a passion for transforming rides into rolling works of art, Allen Yu specializes in Bike and Car Sprays. Unleash your vehicle’s potential with expert tips and creative inspiration. Elevate your ride with Allen Yu—because every spray tells a story!