
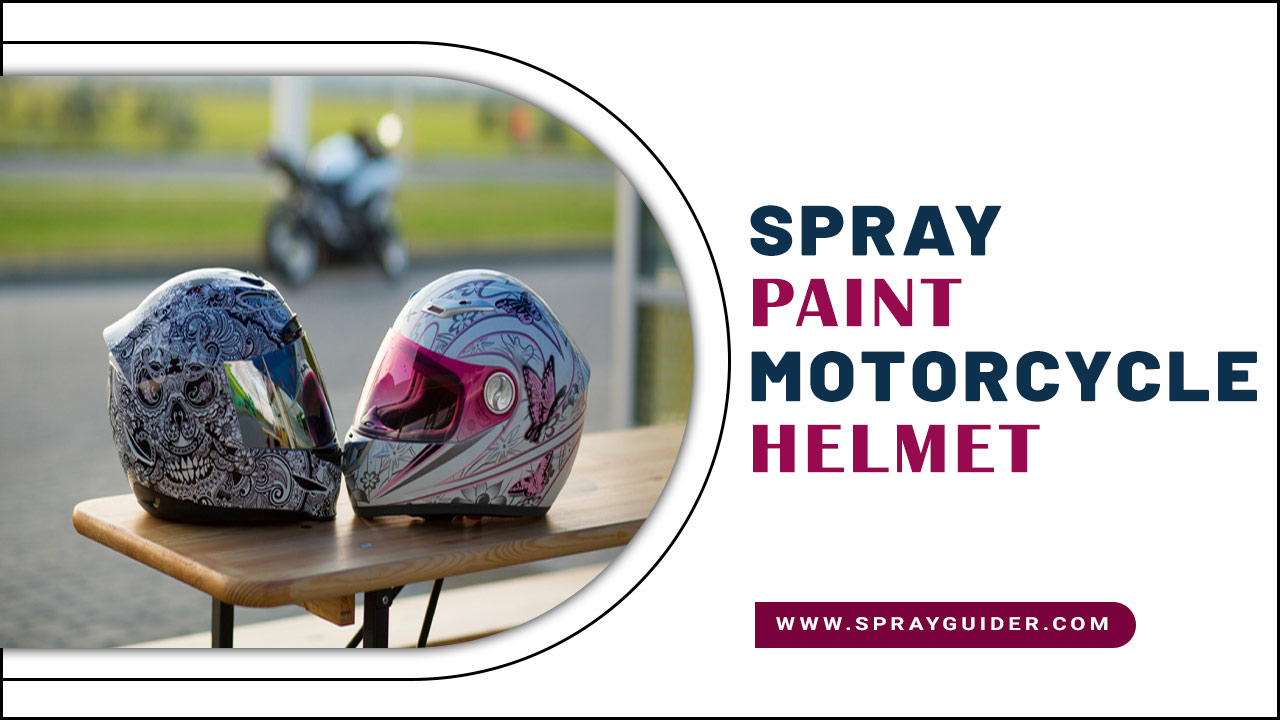
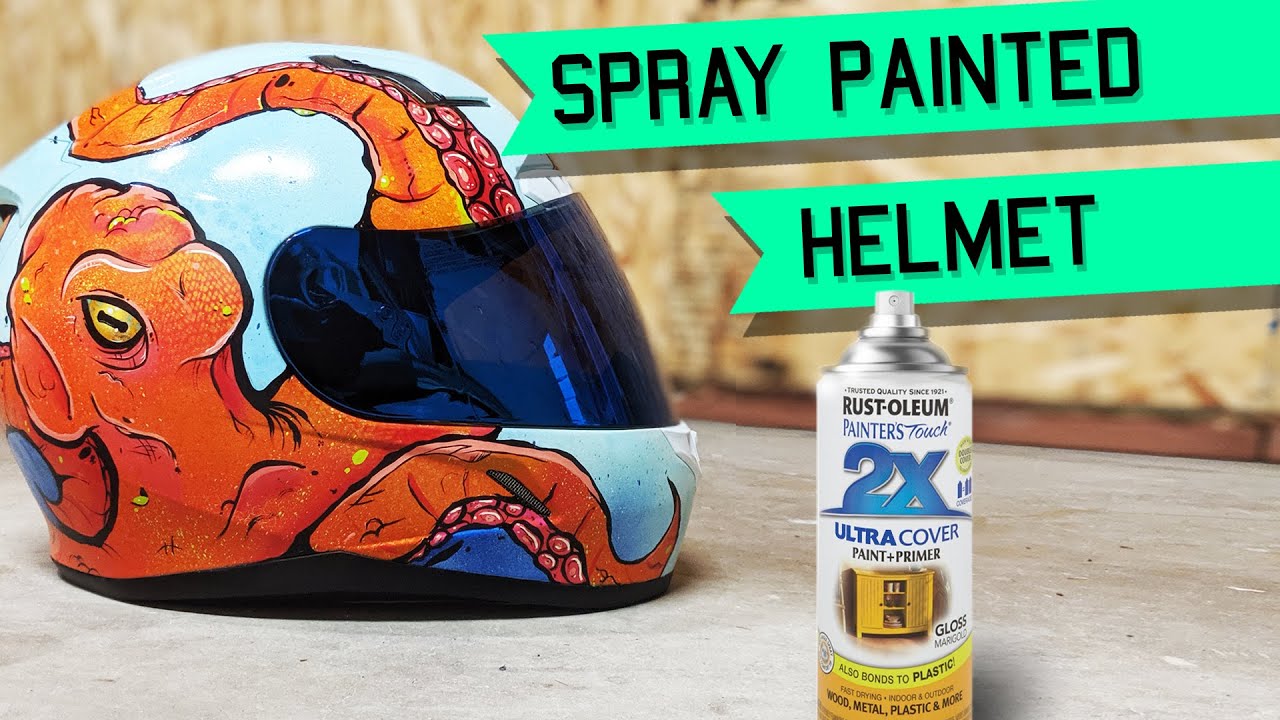
Motorcycle riders often look for ways to customize their helmets and make them stand out. This can be achieved by painting the helmet to suit their style and preference.
However, spray painting motorcycle helmets requires specific skills and knowledge to achieve a professional finish. It can also be quite an expensive undertaking if done by a professional. Fortunately, there are ways to spray paint your motorcycle helmet at home with excellent results.
We will guide you through the steps and equipment needed to paint your motorcycle helmet safely and efficiently at home. We will also highlight the common mistakes to avoid and share some of the best tips and tricks to ensure a perfect finish.
Spray Paint Motorcycle Helmet At Home. Tips And Tricks
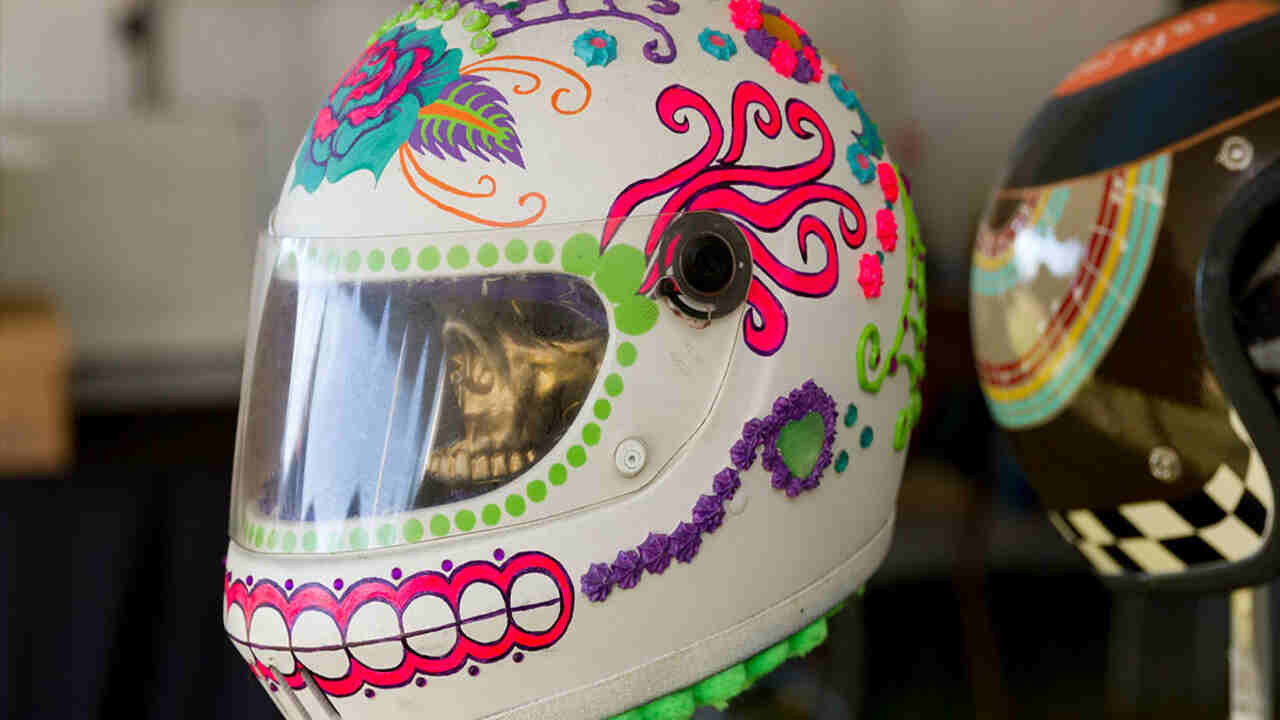
Achieving a unique and personalized design for a spray paint motorcycle helmet is part of the fun when it comes to spray paint. To add some individuality, consider using stickers and stencils to create a one-of-a-kind design.
Before you begin, make sure to use sandpaper to create a smooth surface for painting. Applying a primer will ensure that the paint adheres well to the outer shell of your helmet. Opt for acrylic paint, as it is water-based and easy to work with.
Remember to apply thin coats of paint for better control and coverage. With these tips and tricks, you’ll be able to showcase your creativity and impress your fellow riders with a finished product that truly stands out.
Preparing Your Helmet

To ensure a smooth and professional-looking paint job on your motorcycle helmet, properly prepare it beforehand. Start by thoroughly cleaning the helmet to remove any dirt and grease that may interfere with the adhesion of the paint.
Next, use masking tape to cover areas you don’t want to paint, such as vents or logos. Remove the visor and any other detachable accessories to make the painting more accessible. To create a rough surface for better paint adhesion, gently sand the helmet’s outer shell. Finally, apply a primer to create a smooth base for the paint, which will help the final color adhere evenly and last longer.
Safety Precautions
When spray painting a motorcycle helmet at home, it is essential to take certain safety precautions to ensure your well-being and the safety of those around you. First and foremost, work in a well-ventilated area to avoid inhaling fumes. Wear gloves and a mask to protect your skin and lungs from potentially harmful chemicals.
It is also crucial to avoid spraying near open flames or sparks to prevent accidents. Keep solvents and paints safely stored away from children and pets. Lastly, always remember to follow local laws and regulations regarding helmet customization to ensure that you are within legal boundaries. By following these safety precautions, you can enjoy customizing your helmet while prioritizing your safety.
Cleaning The Helmet
To clean the helmet, use a mild detergent and warm water. Gently scrub the surface to remove any dirt or grime. Rinse thoroughly and make sure to dry it completely before proceeding. Use rubbing alcohol to get rid of any fingerprints or grease marks that may be present.
It’s essential to ensure the helmet is free from dirt or debris before painting, so give it a final wipe with a lint-free cloth. You’ll have a clean and ready-to-paint helmet surface by following these steps.
Sanding And Priming
To prepare your motorcycle helmet for spray painting, use sandpaper to create a rough surface that promotes better paint adhesion. Make sure to wipe away any dust or debris after sanding to ensure a clean surface. A primer is essential as it creates a smooth base for the paint and enhances its durability.
Allow the primer to dry completely before moving on to the next step. To achieve a smoother finish, lightly sand the primed surface. This step ensures that you have a solid foundation for applying the base color and any additional coats of paint.
Choosing The Right Paint
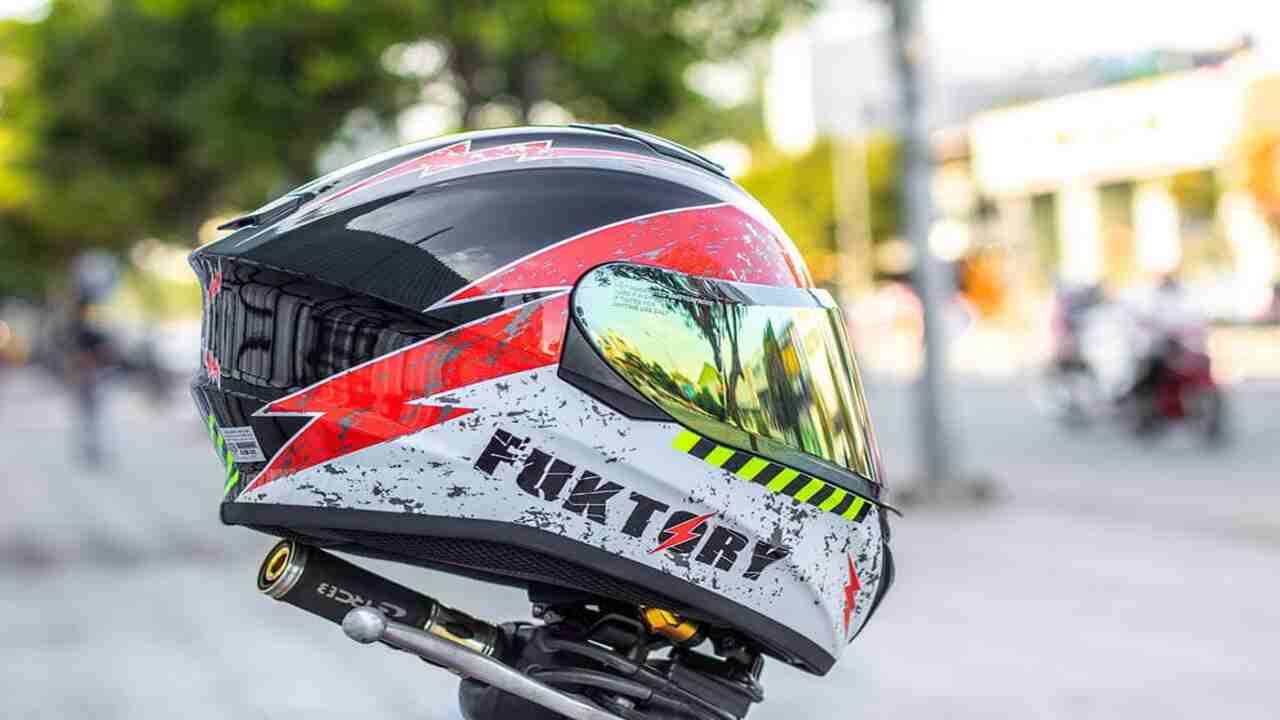
When spray painting a motorcycle helmet, choosing the right paint is crucial for achieving the desired results. Acrylic paint is popular due to its ease of use and quick drying time. Consider using a matte finish for a sleek and modern look. Selecting a base coat color that complements your design and enhances your individuality is paramount.
Use a spray gun for an even application to ensure a professional finish. Remember to choose a high-quality paint specifically designed for use on helmets. By selecting the right color, you’ll be one step closer to achieving a stunning and unique finished product that will impress your fellow riders.
Spray Painting Techniques

Following proper techniques to achieve a professional and flawless finish when spray painting your motorcycle helmet is essential. First, hold the spray can or gun 6-8 inches away from the helmet’s surface. This ensures that the paint is applied evenly without any drips or splotches. Use smooth and even strokes to apply the paint, maintaining a consistent spraying speed and distance.
Applying multiple thin coats rather than one thick skin is recommended for better coverage and a smoother finish. Allow each coat to dry completely before applying the next one to prevent smudging or uneven texture. You can transform your helmet into a personalized and eye-catching masterpiece using these techniques.
Spraying Distance
Maintaining the proper spraying distance is crucial when spray painting a motorcycle helmet. To achieve an even application of paint, keep the spray can or spray gun approximately 6-8 inches away from the helmet’s surface. Avoid spraying too closely, which may result in drips or uneven coverage.
On the other hand, rushing too far out can lead to overspray and unnecessary wastage of paint. Experimenting with different distances can help you achieve the desired effect for your helmet. By maintaining a consistent spraying distance, you can ensure a professional and polished finish.
Spraying Patterns
When spray painting a motorcycle helmet, attention to the spraying patterns is essential for an even and professional-looking finish. To achieve this, use a back-and-forth motion while spraying, ensuring you start off the helmet and continue across its surface. Make sure to overlap each pass slightly to avoid any patchy areas.
It’s also a good idea to rotate the helmet while spraying to ensure that all angles are evenly covered. If you’re new to spray painting, it can be helpful to practice on a test surface to get comfortable with different patterns before tackling your helmet. Remember, the spraying pattern is crucial in achieving a flawless and eye-catching finished product.
Layering Coats
For optimal coverage and a smooth finish, applying multiple thin coats of paint when spray painting a motorcycle helmet is recommended. Each coat should be allowed to dry completely before applying the next one. Avoid using thick coats, which can result in drips or an uneven texture.
Instead, gradually build up the color by layering several thin coats. Consider using a clear coat as the final layer to protect the paint and give it a glossy finish. By layering coats properly, you can achieve a professional-looking paint job that will make your helmet stand out on the road.
Drying And Curing
To ensure a durable and professional-looking finish, allowing your spray-painted motorcycle helmet to dry properly before moving on to the curing stage is crucial. Give it at least 24 hours to dry completely, allowing the paint to set and harden. Curing is when the paint fully bonds to the surface, ensuring longevity and durability.
The curing time may vary depending on the type of paint used and the manufacturer’s instructions, so following their recommendations is essential. Once the curing process is complete, use a soft cloth to gently buff the helmet, removing imperfections and giving it a glossy finish.
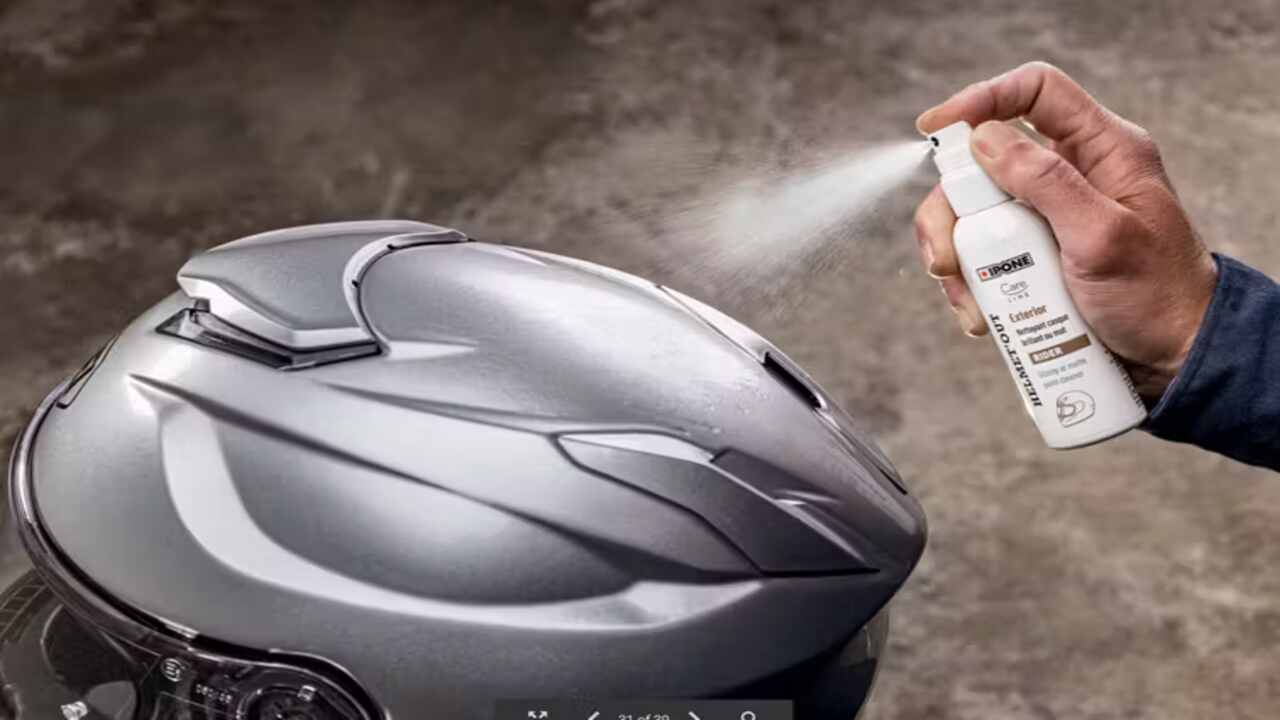
Polishing The Helmet
To achieve a polished finish on your motorcycle helmet, thoroughly clean it to remove any dirt or debris. Next, use a polishing compound and a soft cloth to buff out scratches and restore the shine. Be careful to avoid smudging or streaking by buffing away any excess polish.
Repeat the polishing process until you achieve the desired level of brightness. Apply a protective coating to maintain the helmet’s appearance and prevent future scratches. This will help to preserve the shine and keep your helmet looking its best. With these steps, you can ensure that your helmet is safe and visually appealing to fellow riders.
How To Remove The Paint From A Motorcycle Helmet
To remove the paint from a motorcycle helmet, use a paint stripper designed explicitly. Ensure you work in a well-ventilated area and wear protective gear such as gloves and goggles for safety. Once the old paint has been stripped off, use sandpaper to gently sand the helmet’s surface, creating a smooth and even texture for the new paint to adhere to.
Before applying the fresh color, it is crucial to apply a primer to ensure better adhesion and durability. When applying the mint color, it is recommended to use a spray gun or an aerosol can for an even and consistent application.
Apply thin coats of paint, allowing each coat to dry before applying the next one. This step-by-step guide will help you restore your helmet to its former glory while maintaining the integrity of its outer shell.
Conclusion
To sum up. Spray painting motorcycle helmets at home can be a fun and creative project. However, following proper safety precautions and taking the necessary steps to prepare and clean your helmet before painting is essential. Choosing the right paint and using proper spraying will ensure a smooth and professional-looking finish.
Remember to allow the paint to dry and cure appropriately before wearing the helmet. If you ever decide to remove the color from your helmet, methods are available to safely strip off the stain without damaging the helmet’s surface. With these tips and tricks, you can give your motorcycle helmet a unique and personalized look that reflects your style and personality.
Frequently Asked Questions
1.Can You Spray-Paint A Motorcycle Helmet?
Ans: Yes, it is possible to spray paint a motorcycle helmet. However, choosing the right paint type and taking safety precautions is crucial. Some helmets may have special coatings that need to be removed before painting. It is advisable to seek advice from a professional or consult the manufacturer before attempting to paint your helmet.
2.Can You Paint A Helmet With Spray Paint?
Ans: Yes, it is possible to paint a helmet using spray paint. However, using high-quality spray paint specifically designed for helmets is essential. Make sure to wear protective gear and work in a well-ventilated area. Follow the manufacturer’s instructions and allow sufficient drying time before using the helmet.
3.Can You Spray Paint Plastic Helmets?
Ans: Yes, it is possible to spray paint plastic motorcycle helmets. Before painting, ensure the helmet is thoroughly cleaned for better adhesion. Use a plastic-specific primer before applying the spray paint. Allow sufficient time for the color to dry and cure before using the helmet.
4.How Much Does It Cost To Paint A Motorcycle Helmet?
Ans: The cost of painting a motorcycle helmet can vary depending on the complexity of the design and the painter’s expertise. A simple one-color paint job can cost around $50-$100. More complex designs with multiple colors and intricate details can cost $200-$300 or more. Choosing a reputable painter with high-quality paint for durability and safety is essential.
5.How To Paint A Motorcycle Helmet?
Ans: Choose a well-ventilated area to paint a motorcycle helmet and protect surrounding surfaces. Thoroughly clean the helmet and sand it down with fine-grit sandpaper. Apply a primer coat and multiple thin layers of paint, allowing each layer to dry. Finish with a clear coat for added protection and shine.
Meet Allen Yu, the Spray Guru behind Spray Guider. With a passion for transforming rides into rolling works of art, Allen Yu specializes in Bike and Car Sprays. Unleash your vehicle’s potential with expert tips and creative inspiration. Elevate your ride with Allen Yu—because every spray tells a story!